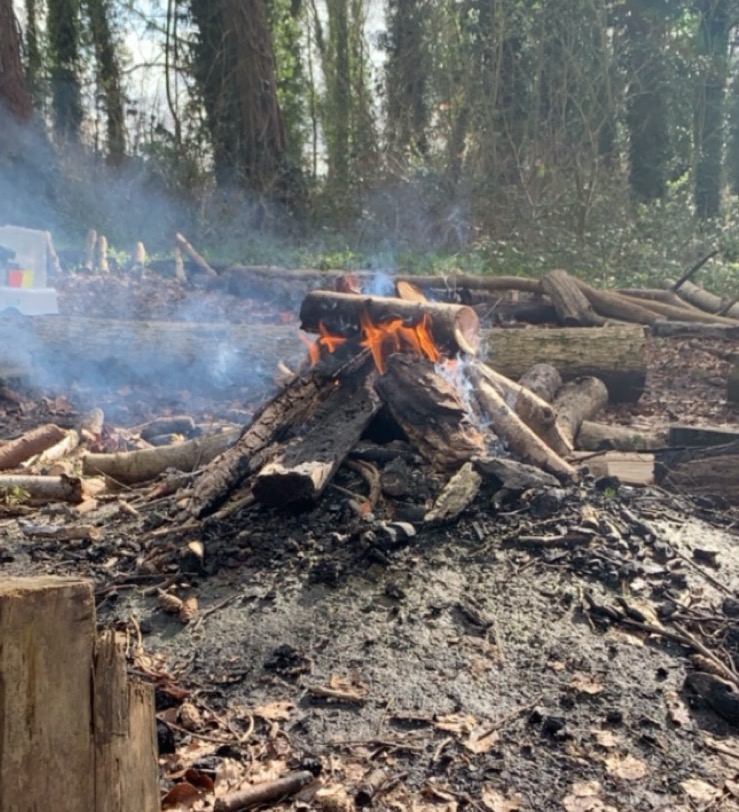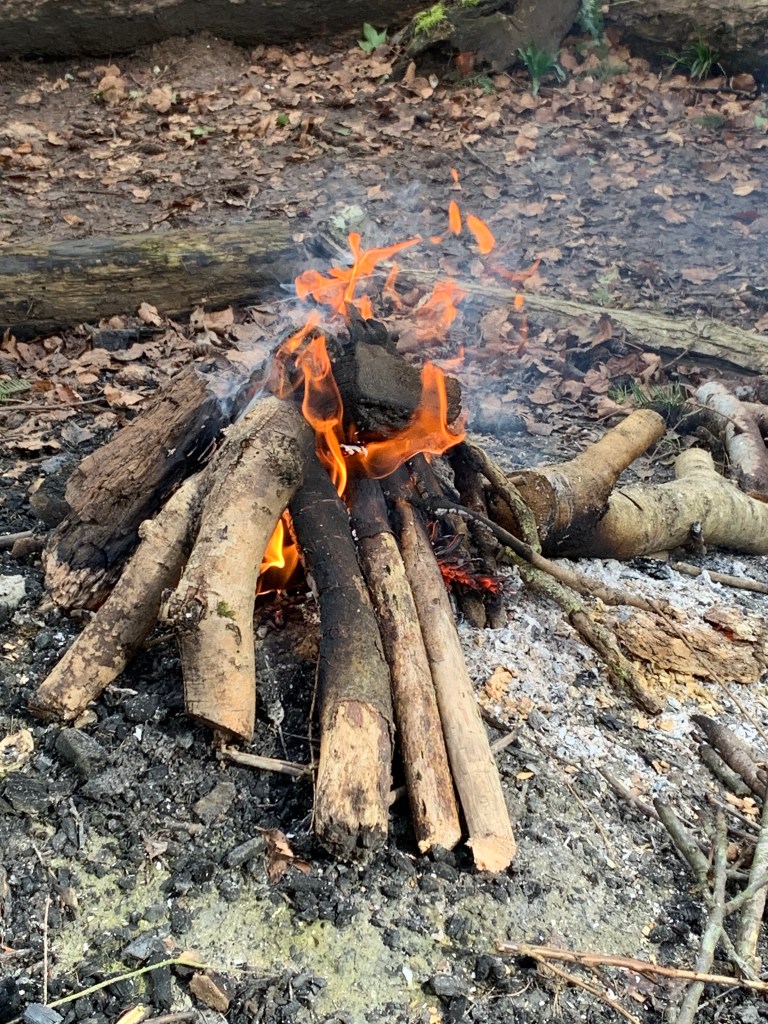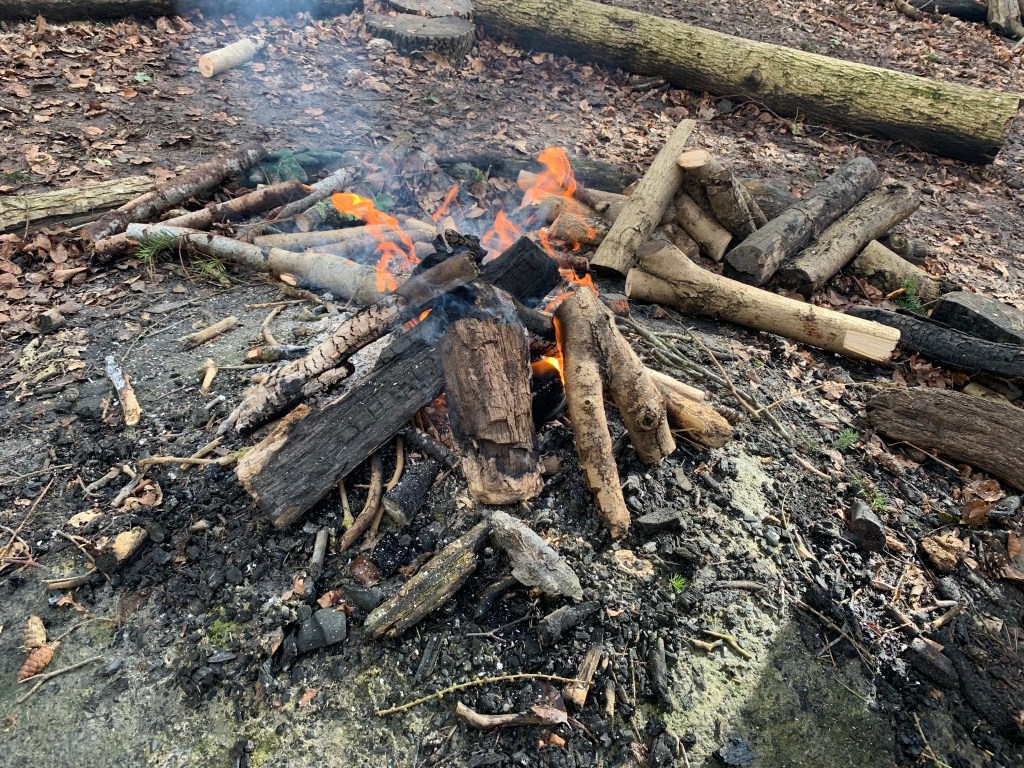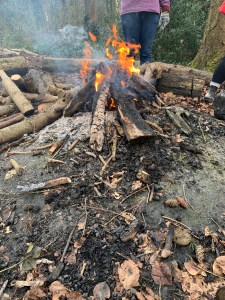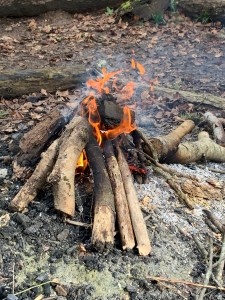
Cooking on the campfire

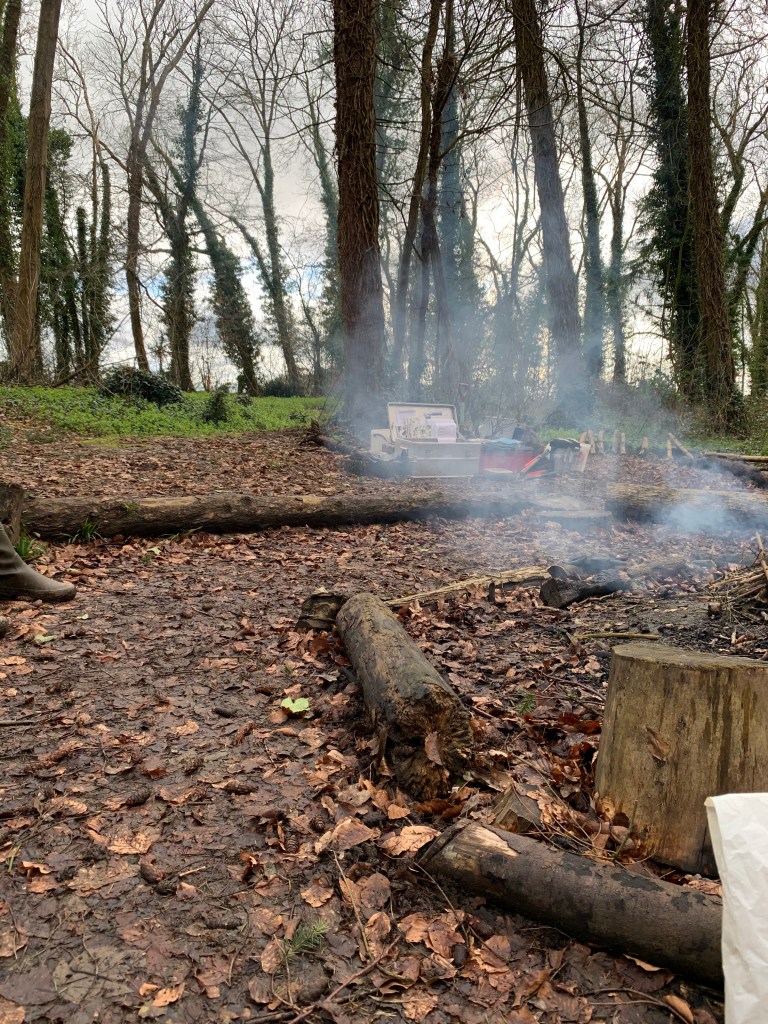
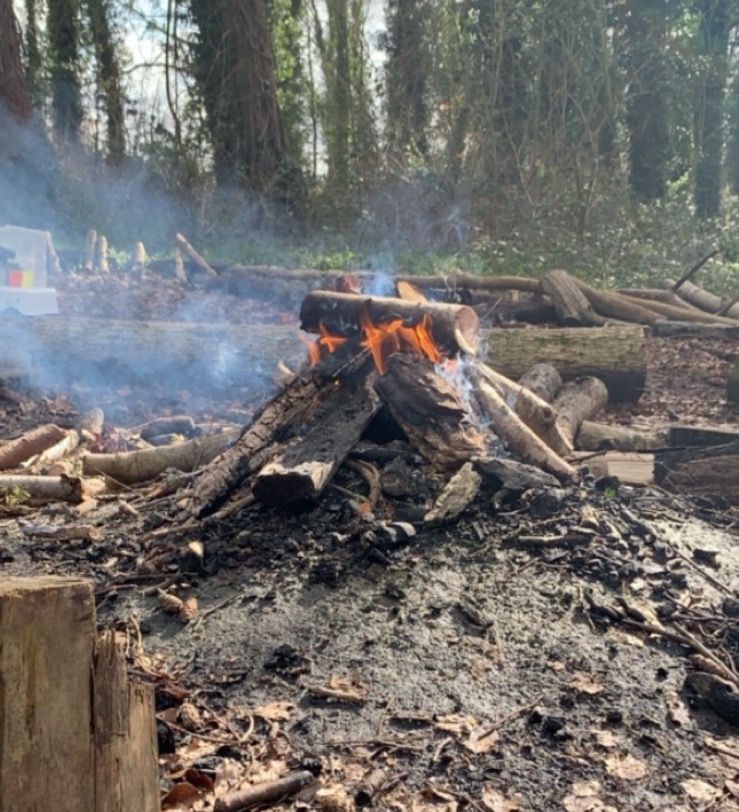
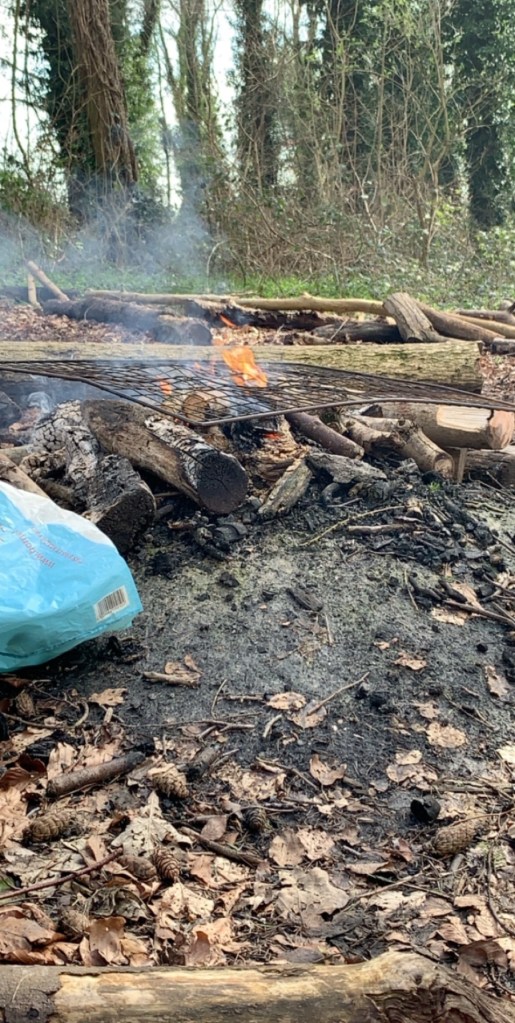
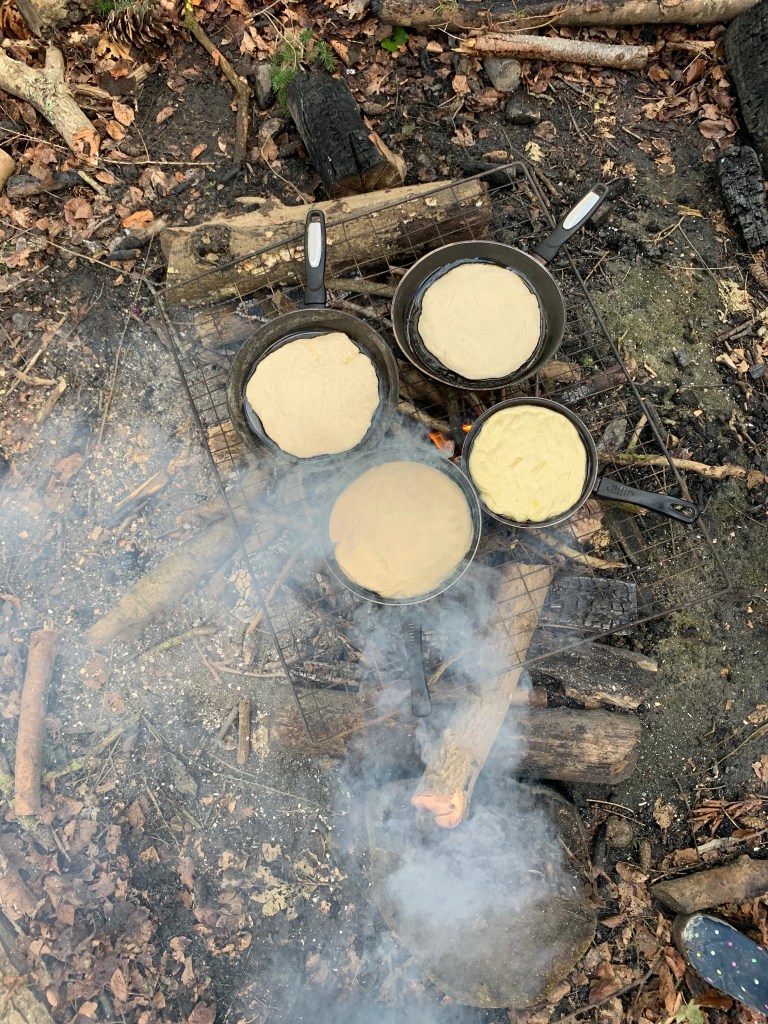
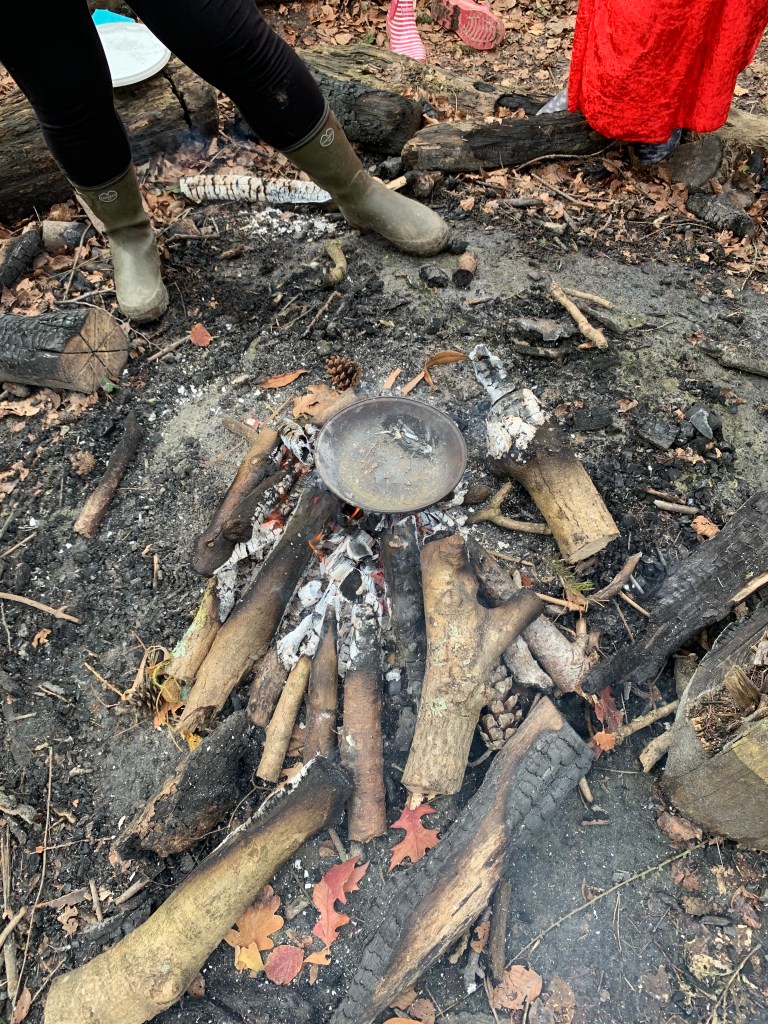
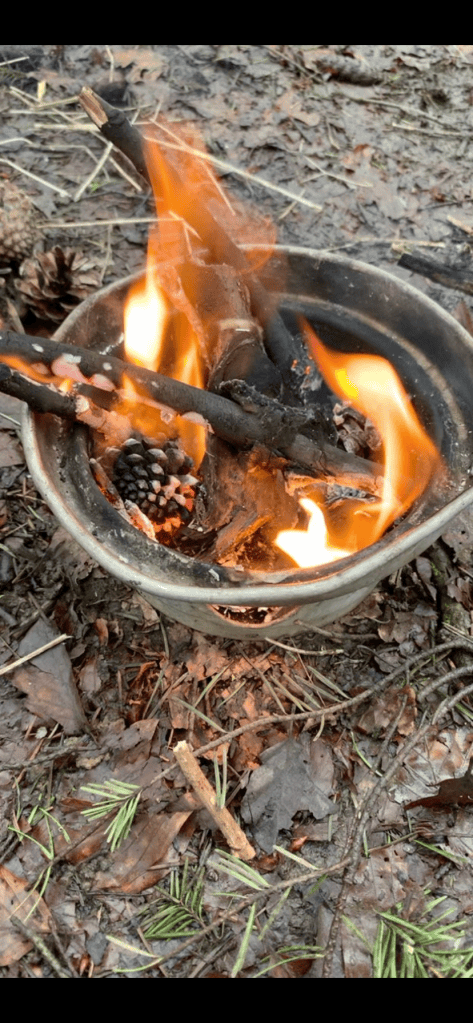
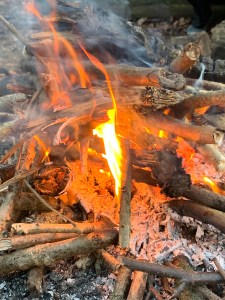
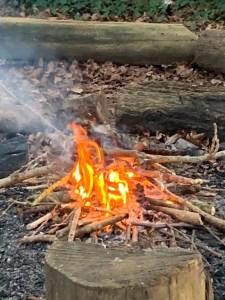
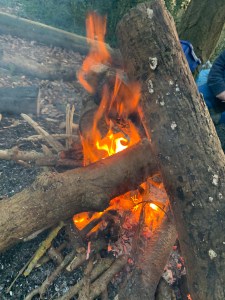
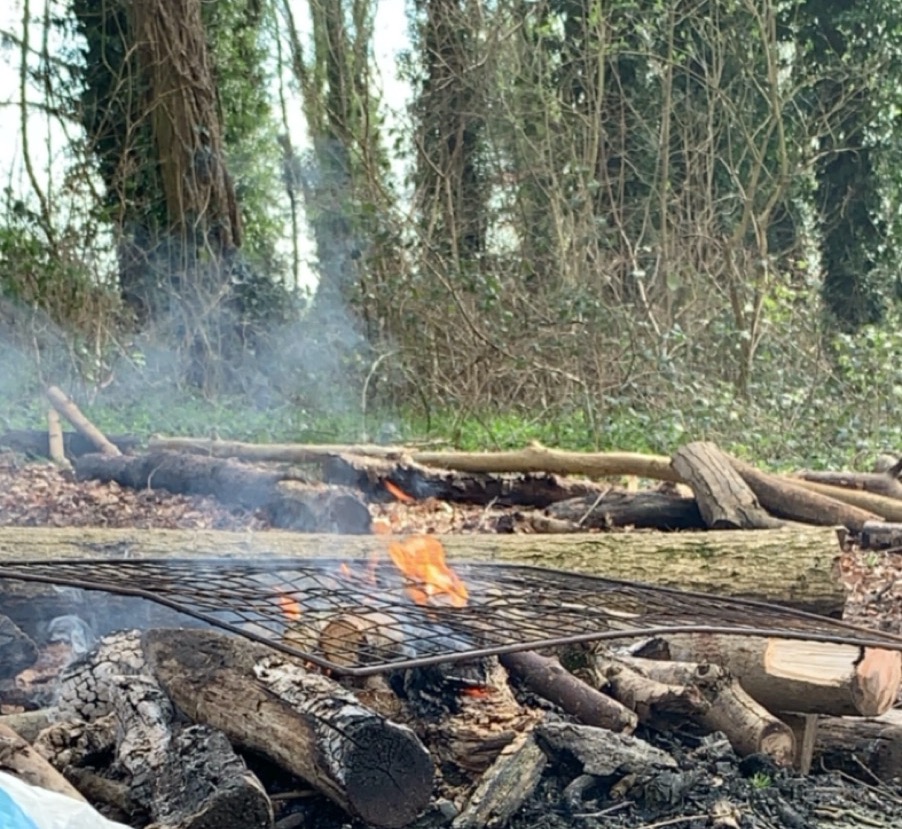
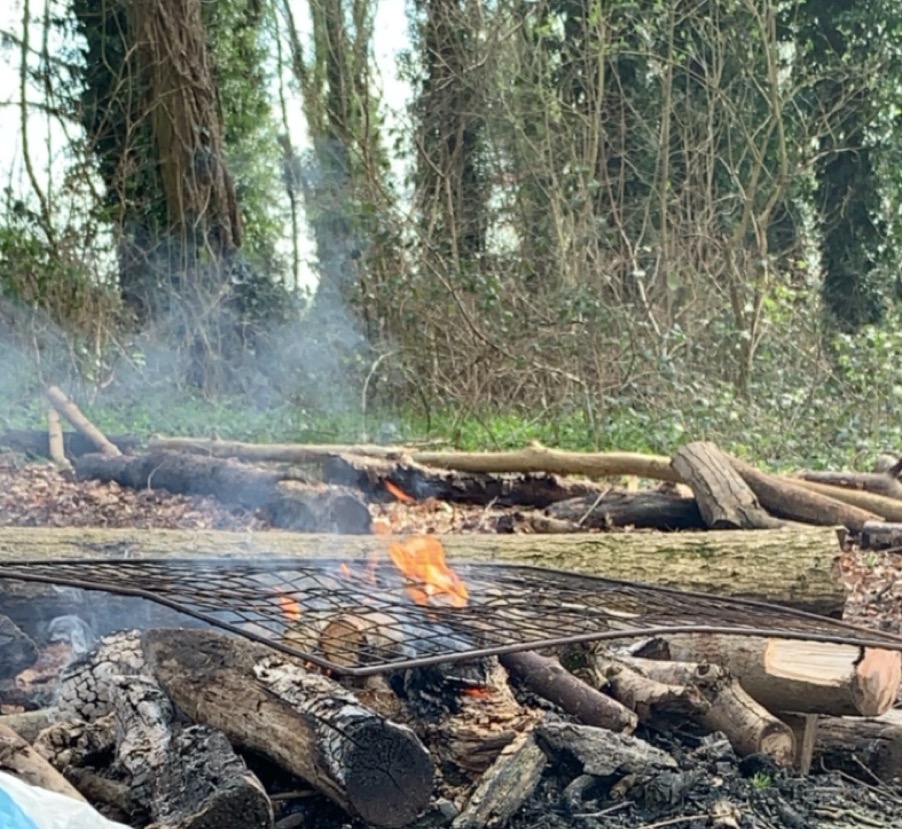
Here are a few recipes that are easy to use with children. All you need to do them is a flatted fire, a wire rack and some pans

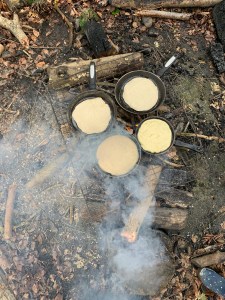
Campfire pizzas

What do you need: 15 tbsp (225g) self raising flour, 1 sachet of dried yeast (you can get these in any large supermarket (unless its during a pandemic)), 1 cup of lukewarm water, any toppings you want, sauce, frying pan, oil, mixing bowl, any toppings you would like, tin foil and a tea towel or plastic bag to cover the bowl with when proving the dough. Method:

  1. Put the 15 table spoons of flour into a mixing bowl and use your hands to make a well in the middle to put your yeast in.
  2. Slowly add the water into the well and start mixing it together (Don’t add all the water straight away you may not need all of it, but it is okay if you do or you need more (if you add too much don’t worry just add more flour)).
  3. Once all the water has been absorbed knead the dough for 5 to 10 minuets, until the ball is smooth and there are no lumps.
  4. Leave to prove (near the fire) for 15 minuets (it needs to be in a warm place but not too hot).
  5. Cut up the toppings whilst you let the dough prove.
  6. Put a small amount of oil in the pan (to stop the dough sticking to the pan when it cooks).
  7. Portion your dough and put it into the pan, then flatten the dough until it covers the base of the pan.
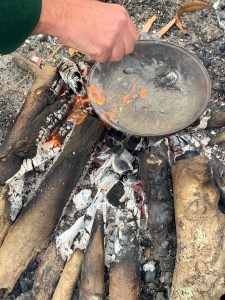
  8. Place the pan of dough on the fire and flip after 5-10 minuets (keep checking it to make sure it doesn’t burn (cooking time depends on how hot your fire is)) then take off the fire.
  9. On the cooked side of the pizza add your base sauce and any toppings you have prepared and want.
  10. Carefully place tinfoil over the top of your pan (to cover it and trap heat), then carefully put the pan back on the fire.
  11. Cook for a further 5-10 minuets until the toppings and base underneath are cooked.
  12. Take the pizzas off the fire once cooked, then carefully cut the pizza up and enjoy your campfire pizza.

Campfire jacket potatoes

What you need: potatoes, toppings, butter, tin foil, heatproof gloves, knife, fork, tongs Method:

  1. Stab the potatoes with a fork to pierce the skin and help the heat conduction.
  2. Wrap the potatoes up in tin foil and place the potatoes into the fire (try and put it in the hottest place but be careful). Leave them in the fire for 20-30 minuets (until soft).
  3. Prepare any toppings for your potato whilst you wait for it to cook.
  4. Once the potato is soft, remove tin foil, cut in half and place butter then any additional toppings on the potato whilst it is still hot.
  5. Enjoy!

Campfire scones

What you need: 1/4 (50g) of a block butter, 17tbsp (250g) self raising flour, 1/2 tsp salt, 200ml milk, mixing bowl, oil, frying pan, tin foil. Method:

  1. Put the flour, salt and butter into the mixing bowl and rub with your fingertips to create a texture similar to breadcrumbs.
  2. Add milk slowly until the dough has combined together and the bowl looks clean. (add more milk if it is too dry or more flour if it is too wet)
  3. Knead the dough in the bowl for no longer than 5 minuets (just to make sure everything is combined)
  4. Oil the bottom of the pan to ensure they don’t stick.
  5. Portion the dough and use your hands to form them into balls, then flatten them to make them thick disks.
  6. Put the disks into the pan and cook for 5-7 minuets (Keep checking to make sure they don’t burn)
  7. Flip once one side is crispy, cook other side for same time, whilst cooking set up any toppings (jam and cream, honey and yogurt, butter)
  8. Take pan off fire, cut scones in halves, let cool then enjoy!
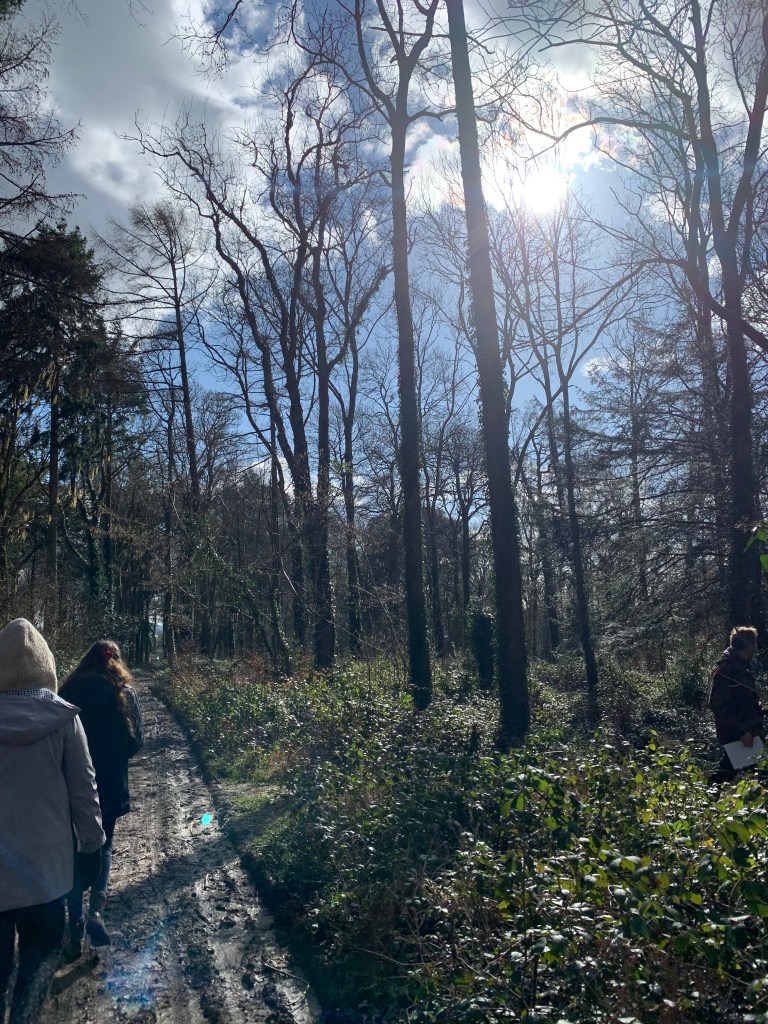
Creating resources from things you can find in Seeley Copse and different activities you can do with said resources.

Here are some of the things we have made during our time in Seeley Copse, that can easily be done with children.

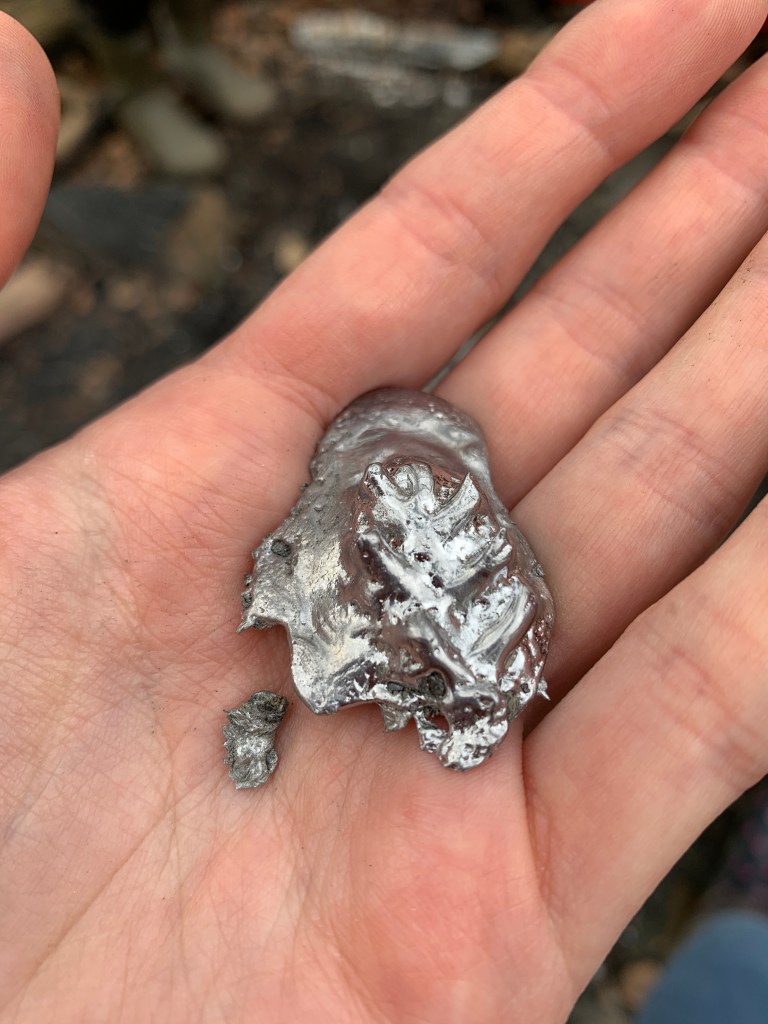
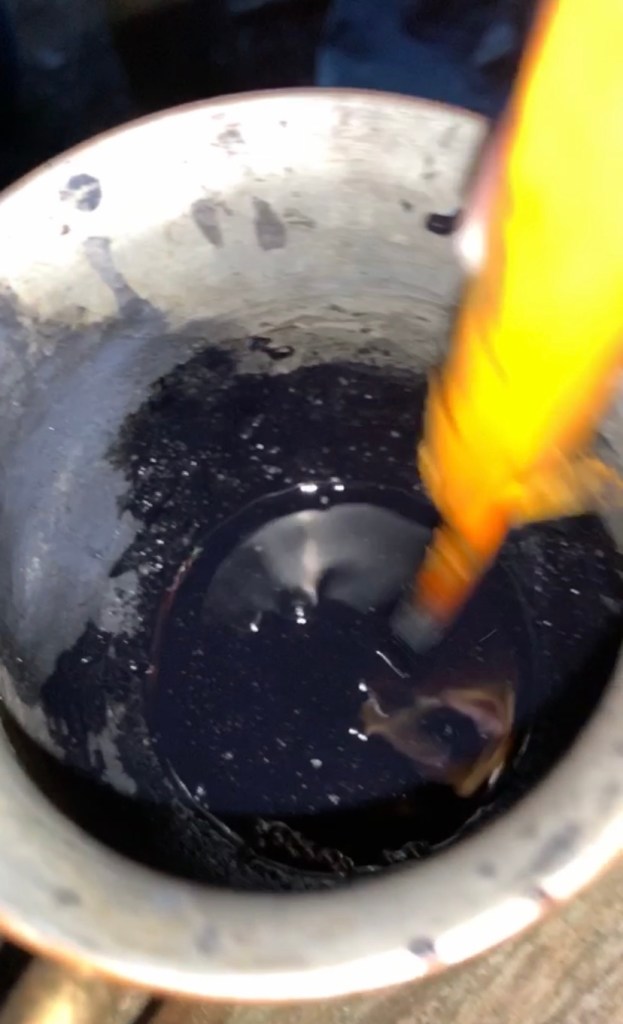
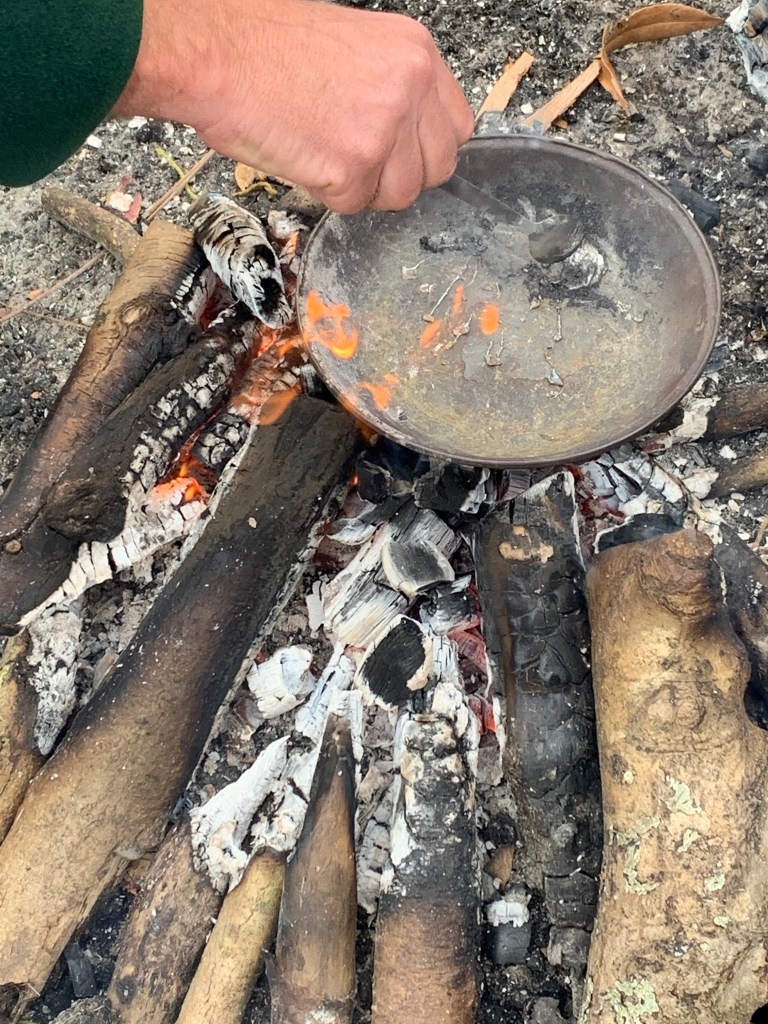
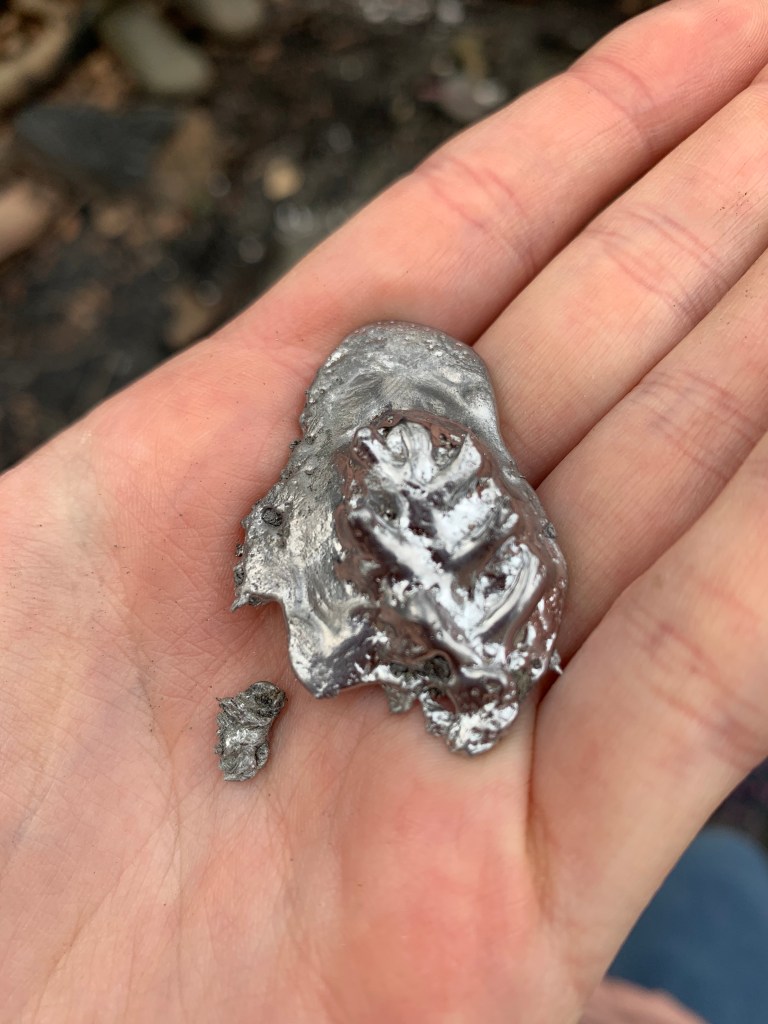
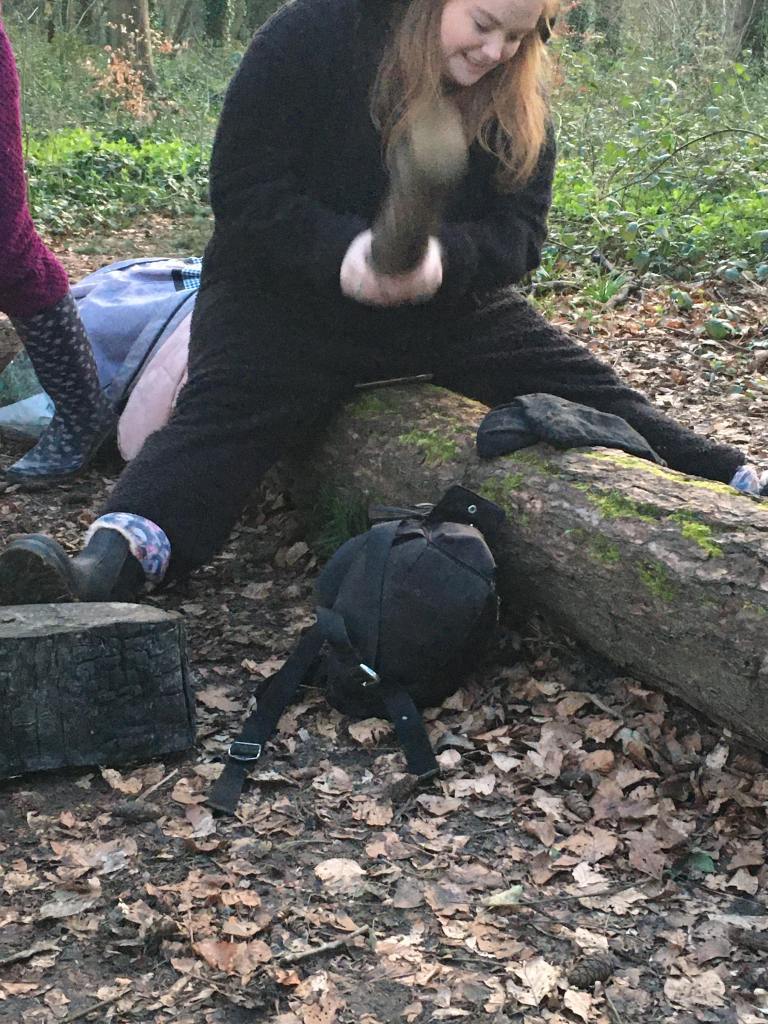
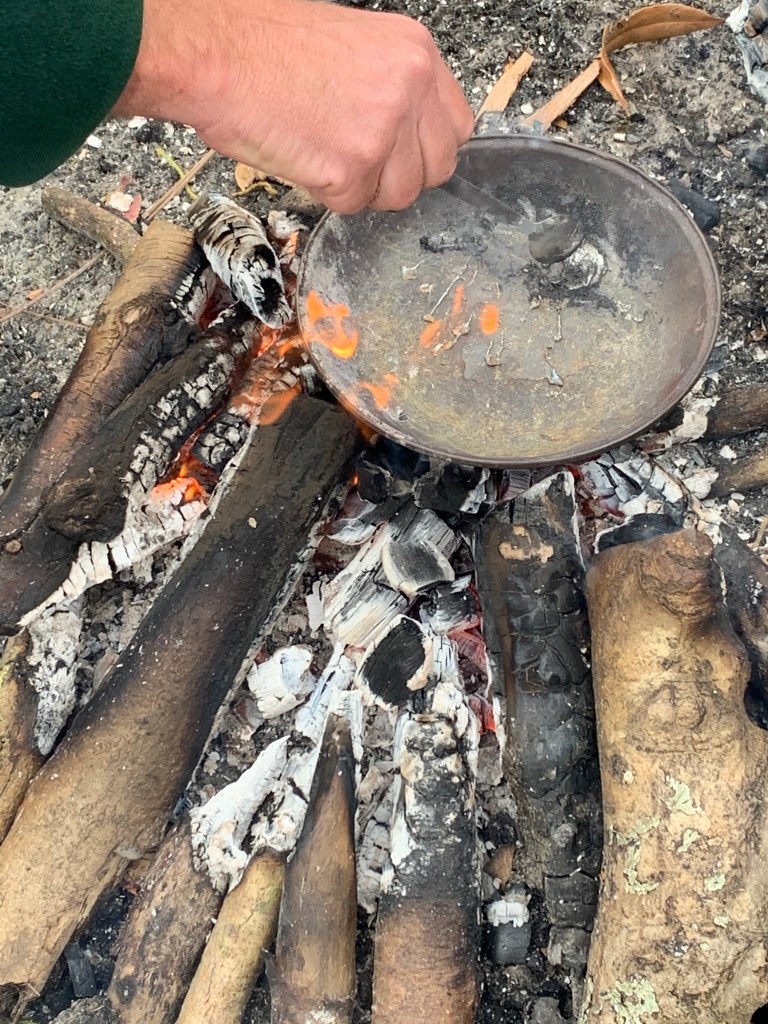
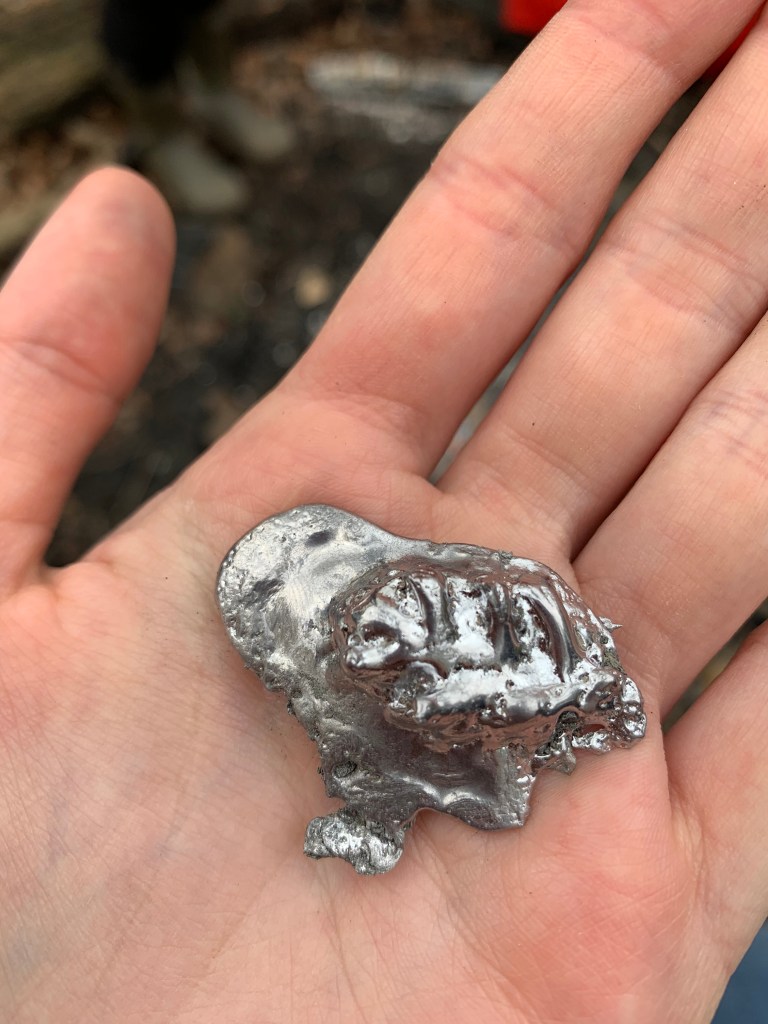
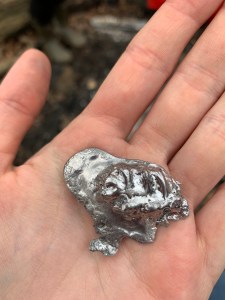
This is our metal alloy we made, we mixed lead carbon powder and .. here is us using a pan over the fire to melt the lead and then mixed the carbon powder and … then you can see the metal alloy that we poured into a mould we made by pushing a pinecone into modelling clay and letting it cool and harden in that mould. This can teach the children the science of metals and the temperatures needed to melt different metals, it is also a creative experience for the children, they could use this in school to inspire writing or to be used in the Art and Design lessons.

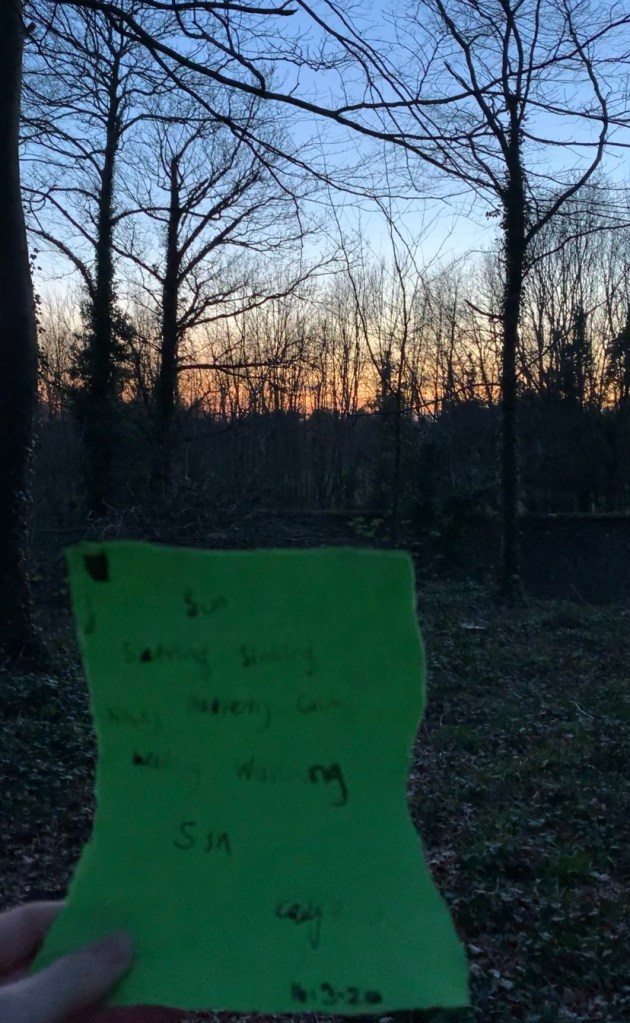
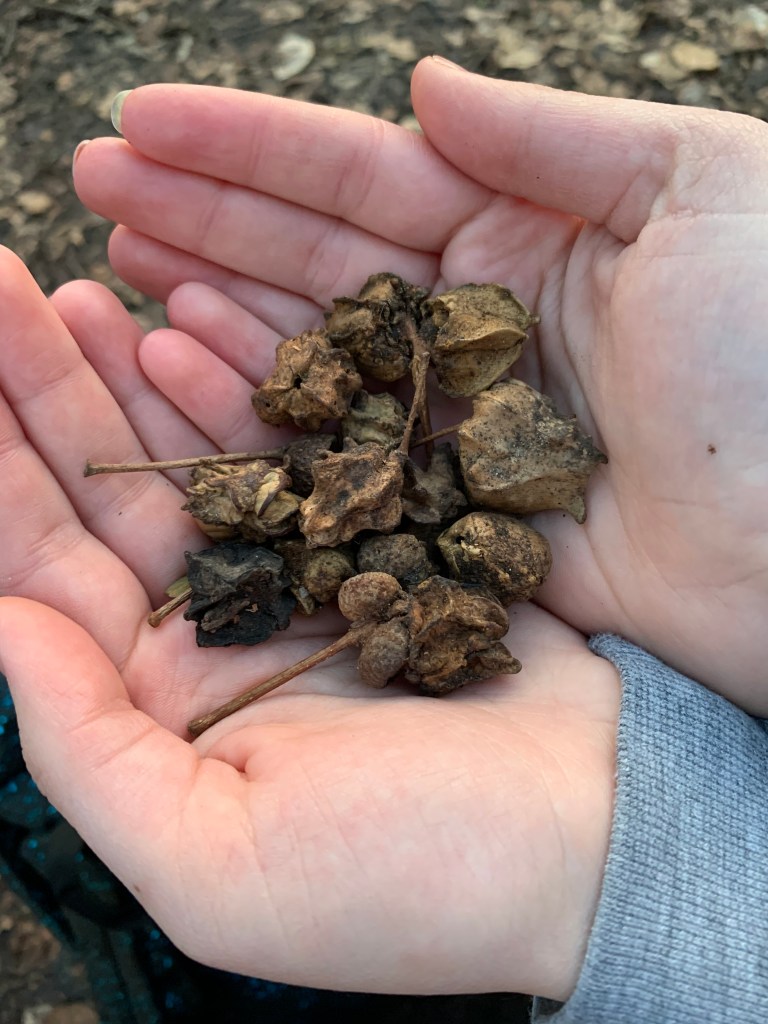
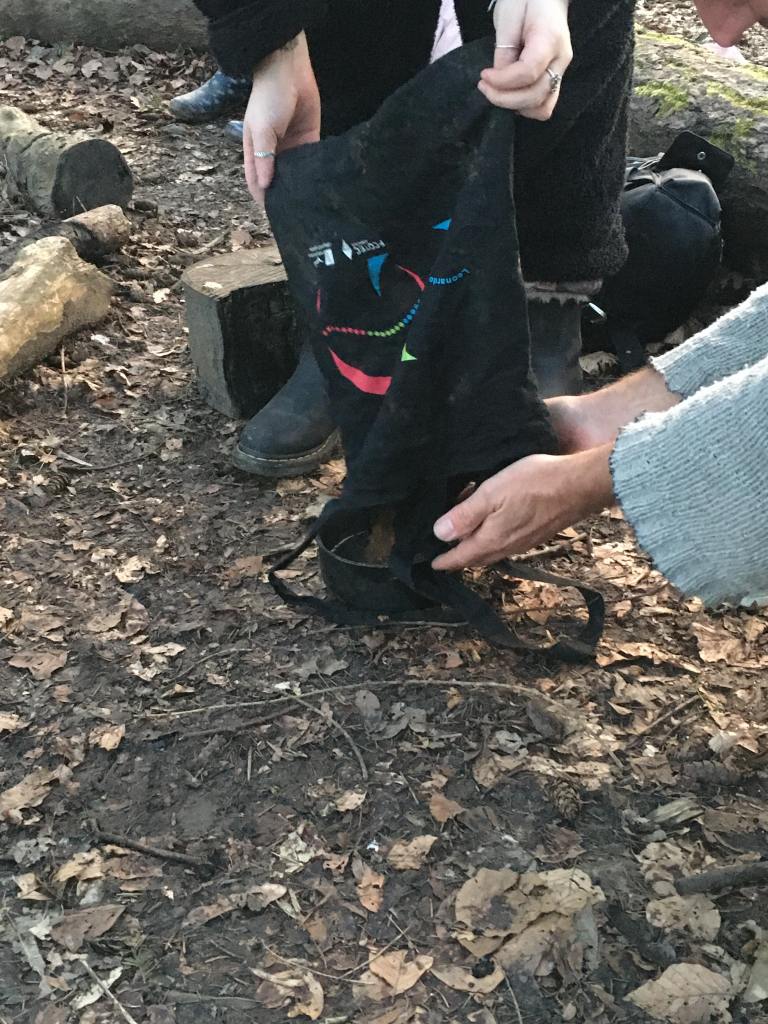
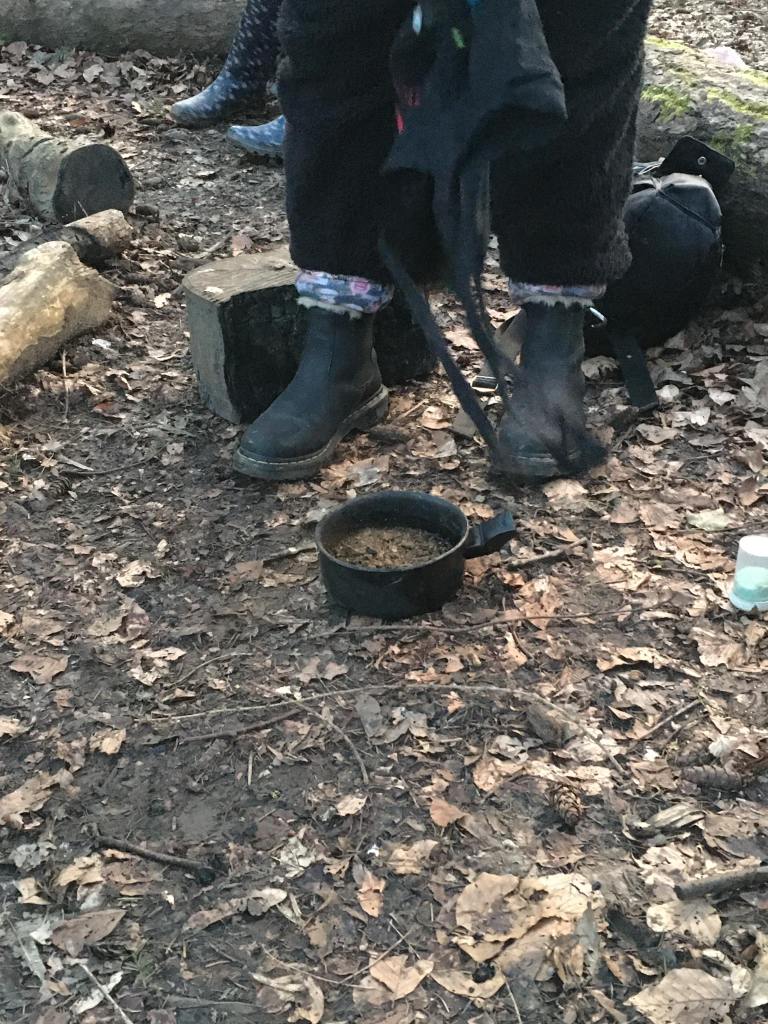
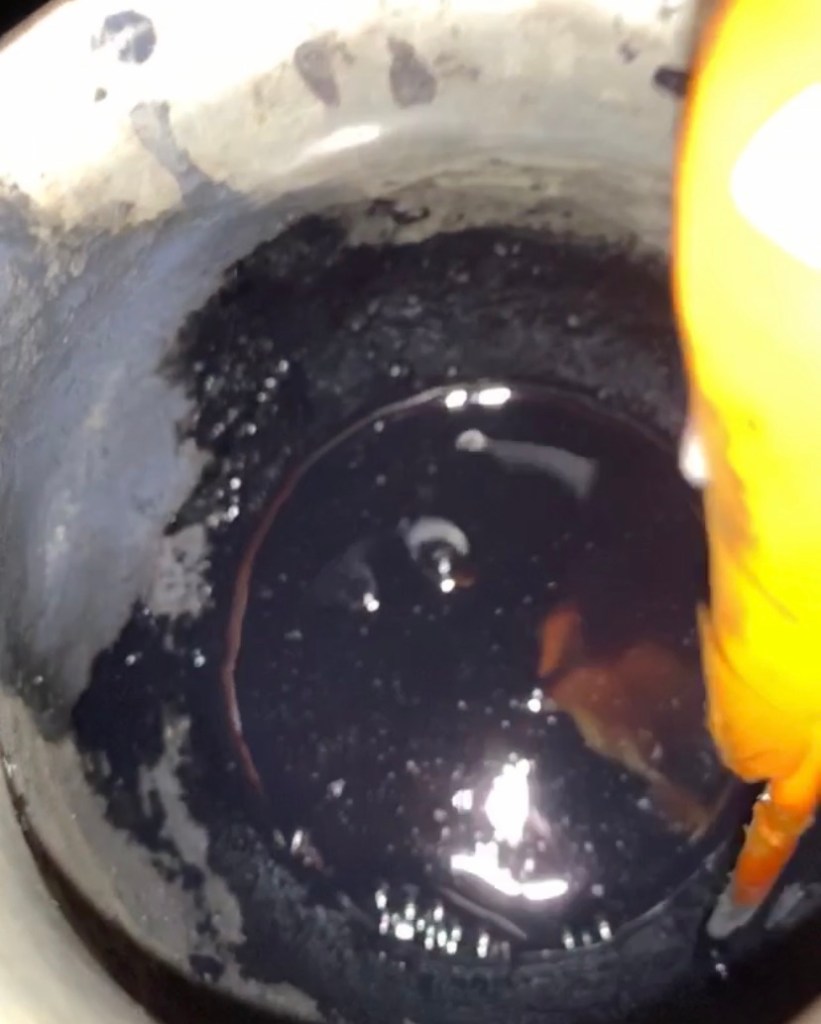
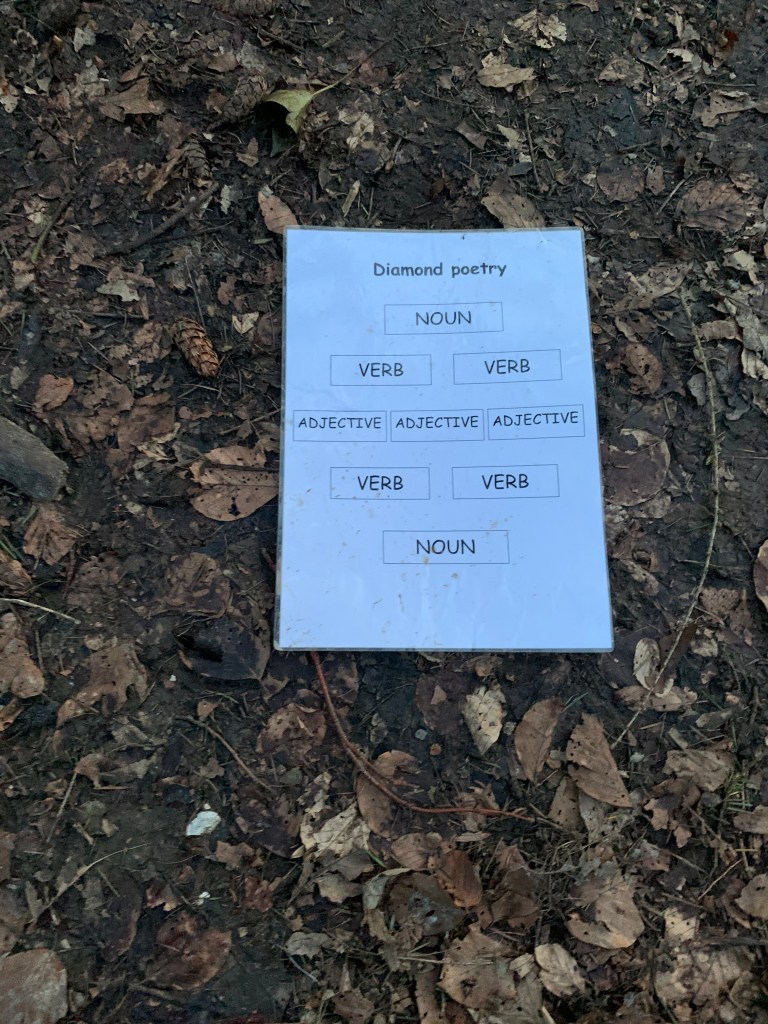
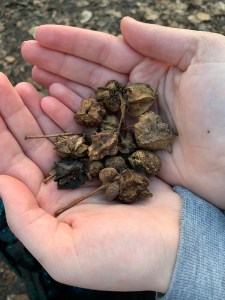
The next thing we were able to make was ink. We used Galls, which are parts of an Oak tree that when they fall lots of different micro-bugs hatch their eggs in them. Once the bugs have gone the Galls can be crushed and then added to a pan with water and zinc then boiled, strained and cooled to then make the ink. We then used the ink we made and went off on our own to do some forest bathing (soaking up the environment) and then wrote poems about something we were inspired by using a structure that was given to us and the ink we made. This is an enjoyable experience as we got to truly connect to the environment and express that beauty in words with ink and a feather which is not a normal tool. This would be good for children as it gets them to be inspired by the natural environment they are in, this can be then taken into the classroom or a good way to bring the classroom into the forest.

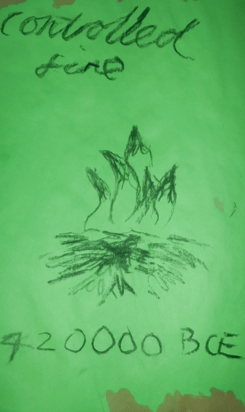
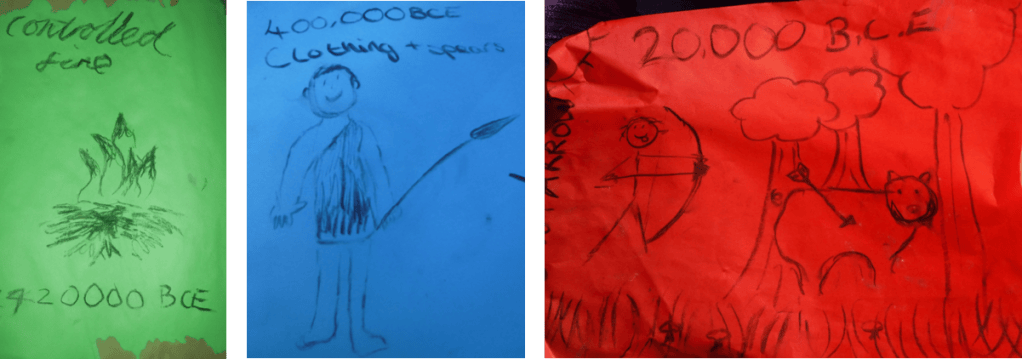
We also used the flesh of the Hazel tree to make charcoal pencils for us to write with. This was done by getting twigs off of a Hazel tree, then stripping the bark off the twigs, then putting those bare twigs into an air tight container and baking them over the fire. We put them in a container to make sure they do not set on fire and just add fuel to the fire because we need the stuff that will burn as fuel all we are doing is dehydrating the twigs. Once they have been baking on the fire for about 10-15 minuets the tin should be taken off of the fire and left to cool. Once cooled the charcoal is easy to use, below is an example of using the charcoal to produce an image and date of different natural inventions we can recreate in the forest, this is bringing history out of the classroom into the forest and using knowledge as a hook for the children.

3 different dates and inventions we studied and then presented to our peers, using charcoal pencils.

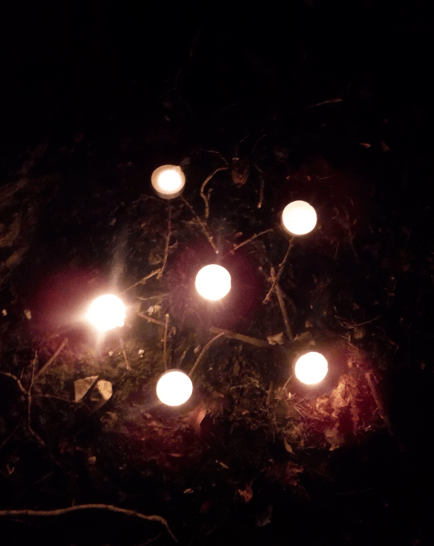
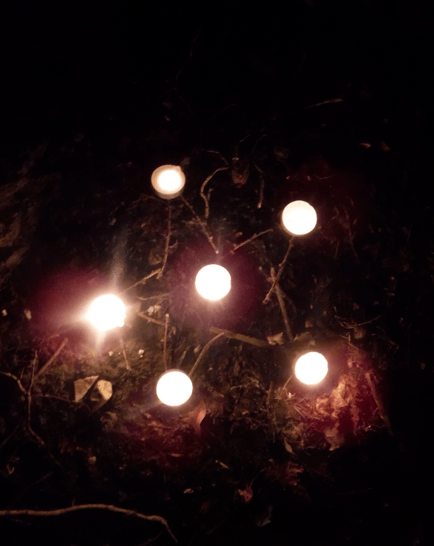
Finally on our last trip to the forest we did it in the evening to be able to explore the space in a very different way to what we were used to. We wanted to make something pretty and recognise how easy it is to create something with the stuff we could find at arms length so we were given a tea light and had to stay in one spot and use the materials we could find at arms distance to design a holder for the tea lights. This is a good activity to do with the children because it requires them to use their imagination and what they would think is a limitation to what materials they could use but recognise they were not at all limited despite the fact they could not get materials from anywhere past where they already were.

This is one of the holders made using mainly short sticks found on the ground and some leaves to have under the tea light itself

How to interact with nature when you can’t be in nature.

This was developed due to the pandemic of Covid-19 but can also be used when weather does not permit a trip to the beautiful forest.

It is heartbreaking when you are all prepared to spend time in the forest but something gets in your way. However, do not fear as there are still many ways you can get the children to interact with the forest or perhaps another natural space.

Listening to nature – one does not need to be in the forest to hear the music of nature, this could easily be done inside the classroom using sound clips, going outside to the field or playground or getting children to do it in their own back gardens or even just opening the windows of any room and letting the sound infect the room. To get the children to really engage with the sounds getting them to either wear blindfolds or simply close their eyes and let their imaginations envision their surroundings just from the sounds will allow them to see their environment and feel as if they are really in that environment. This could be a very enlightening and relaxing experience for the children helping them stay calm, stay focused or even become creative and inspired.

Drawing nature – when in the outdoor environment it would be beneficial for the children to look at their surroundings and then draw them to recognise and truly notice where they are, this can also be done in a classroom utilising the children’s imagination and getting them to close their eyes and imagining they were in a natural space and get them to then draw their own forest, this could then spur many other creative activities like; art, writing, designing and music.

A teacher could also make some recordings of the sounds and sights of the forest that the children are in, this can be used for anything the teacher would like. One idea could be to hide objects that are out of place and the children have to watch the video and try spot what is missing, they could get clues, as if it is a character hiding and have 3 tries to spot them hiding in the scene.

Do not fear, just because you physically cannot be in the forest, your mind can still explore nature and the beauty of the outside.

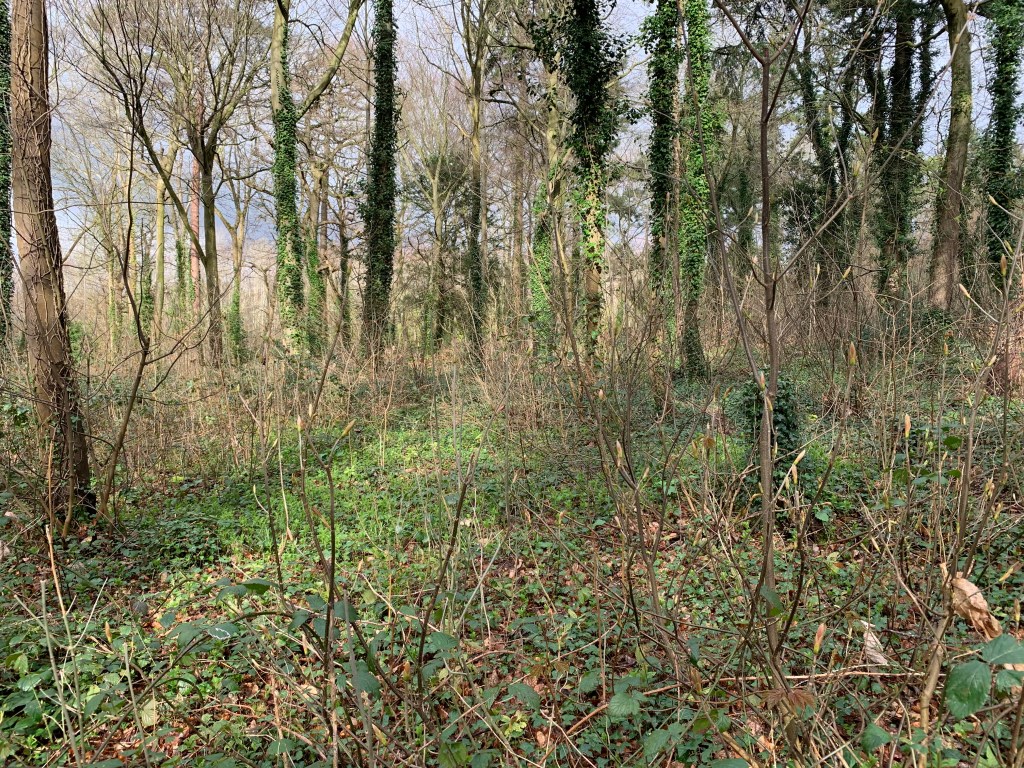
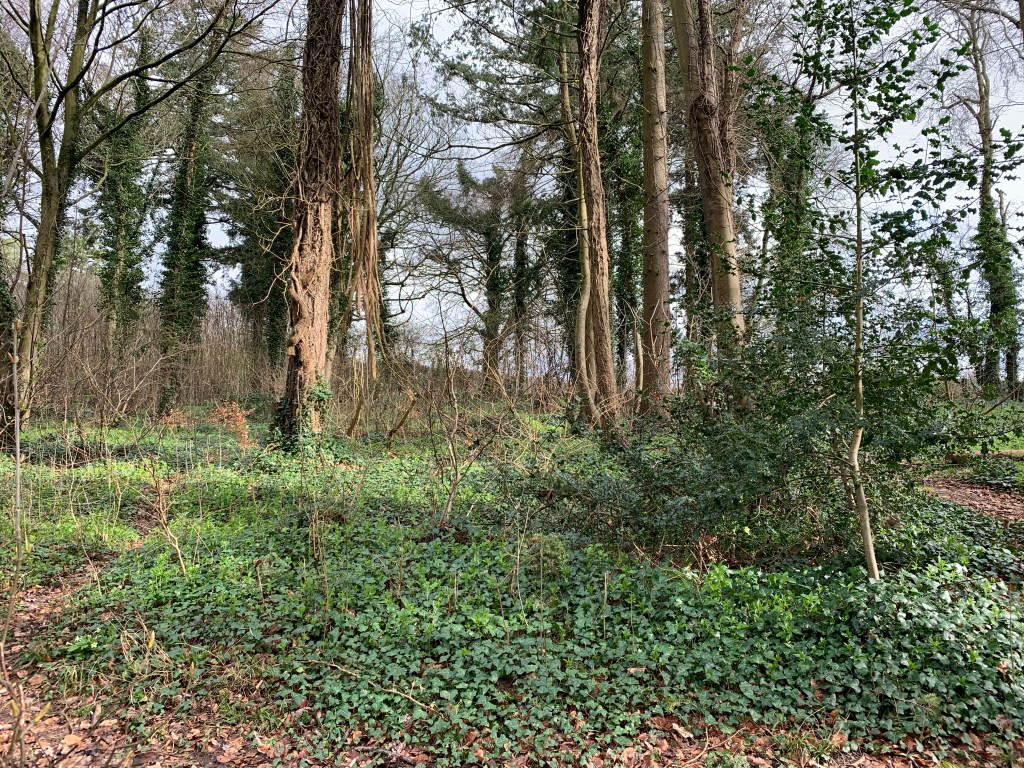
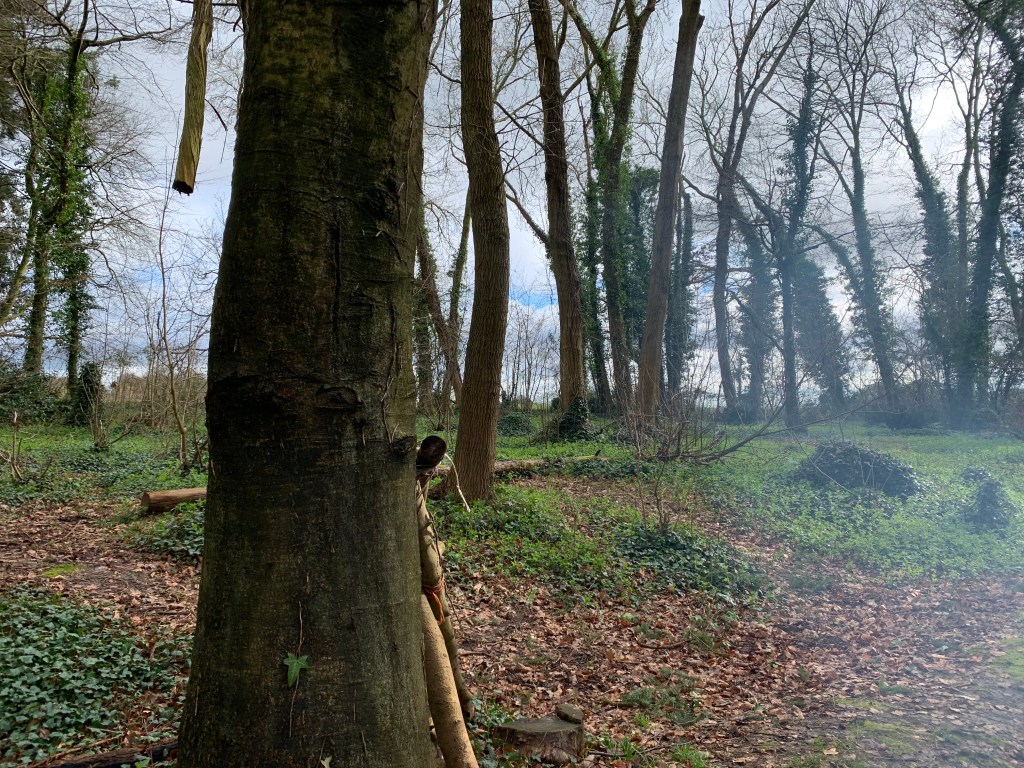
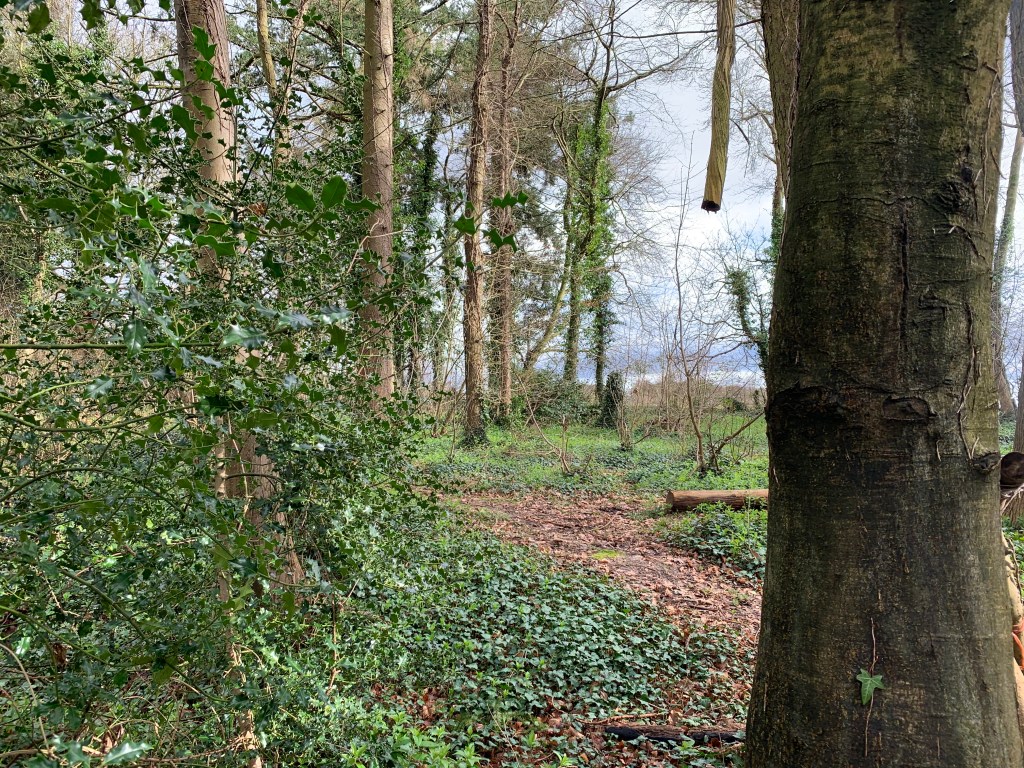
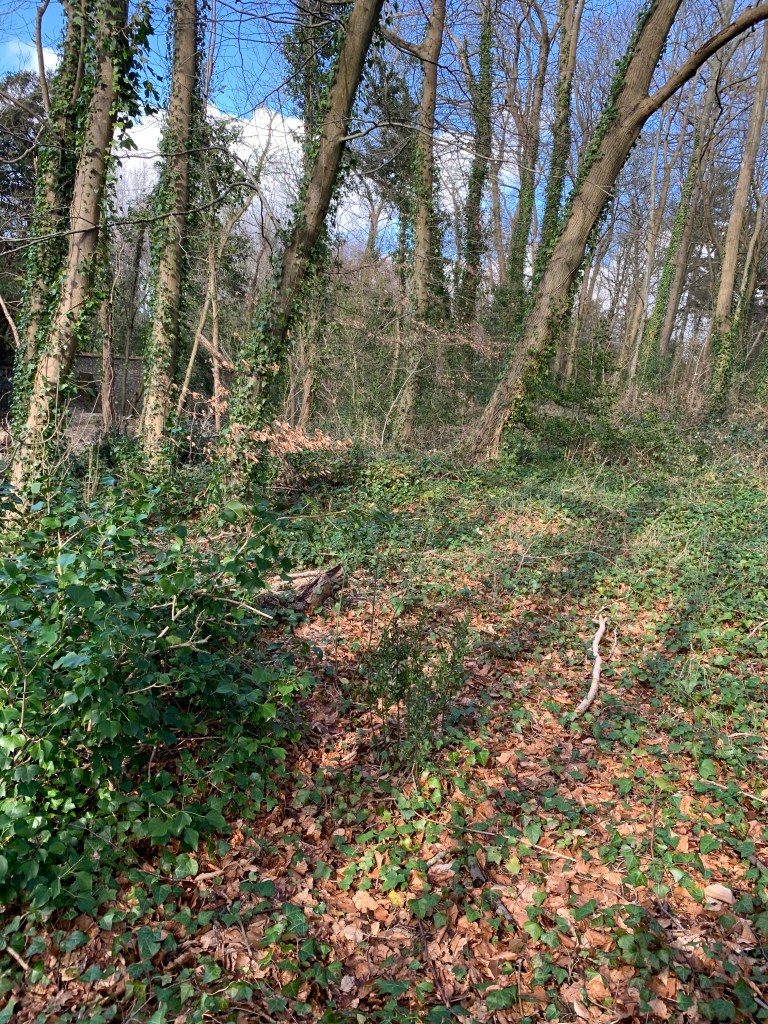
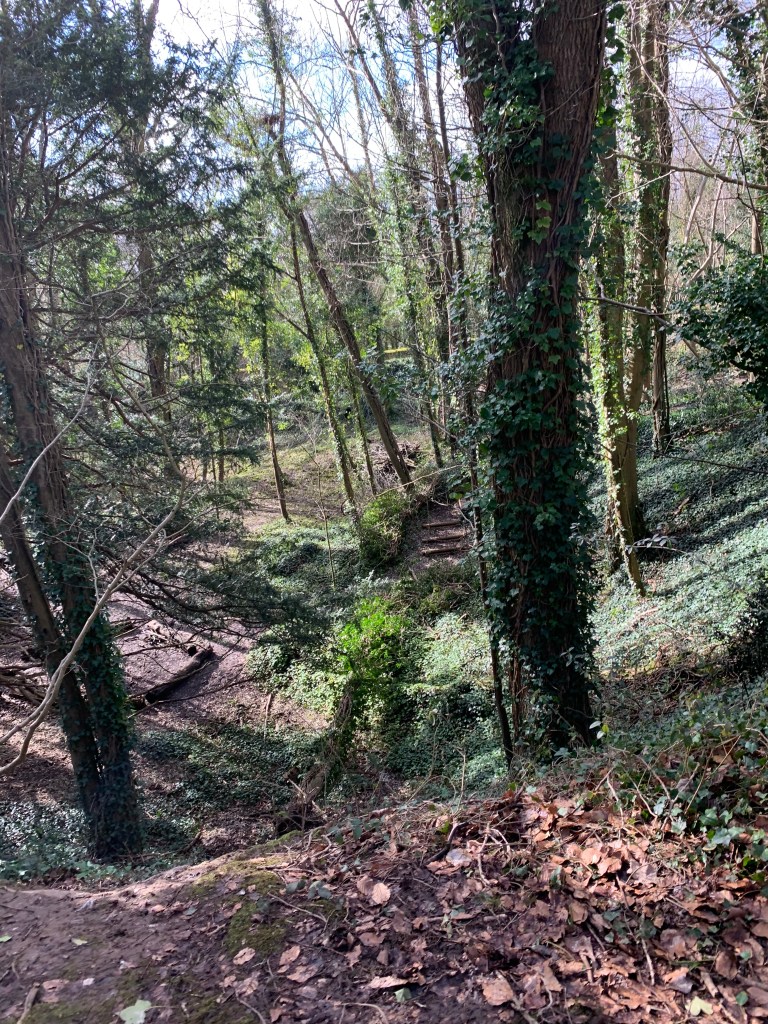
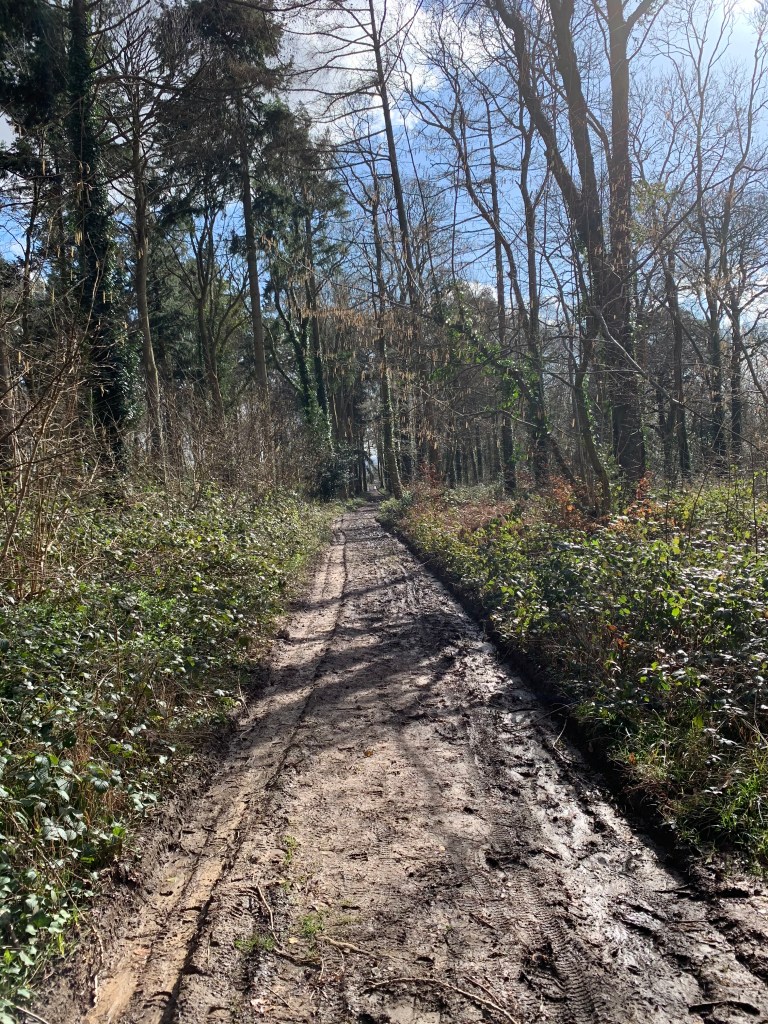
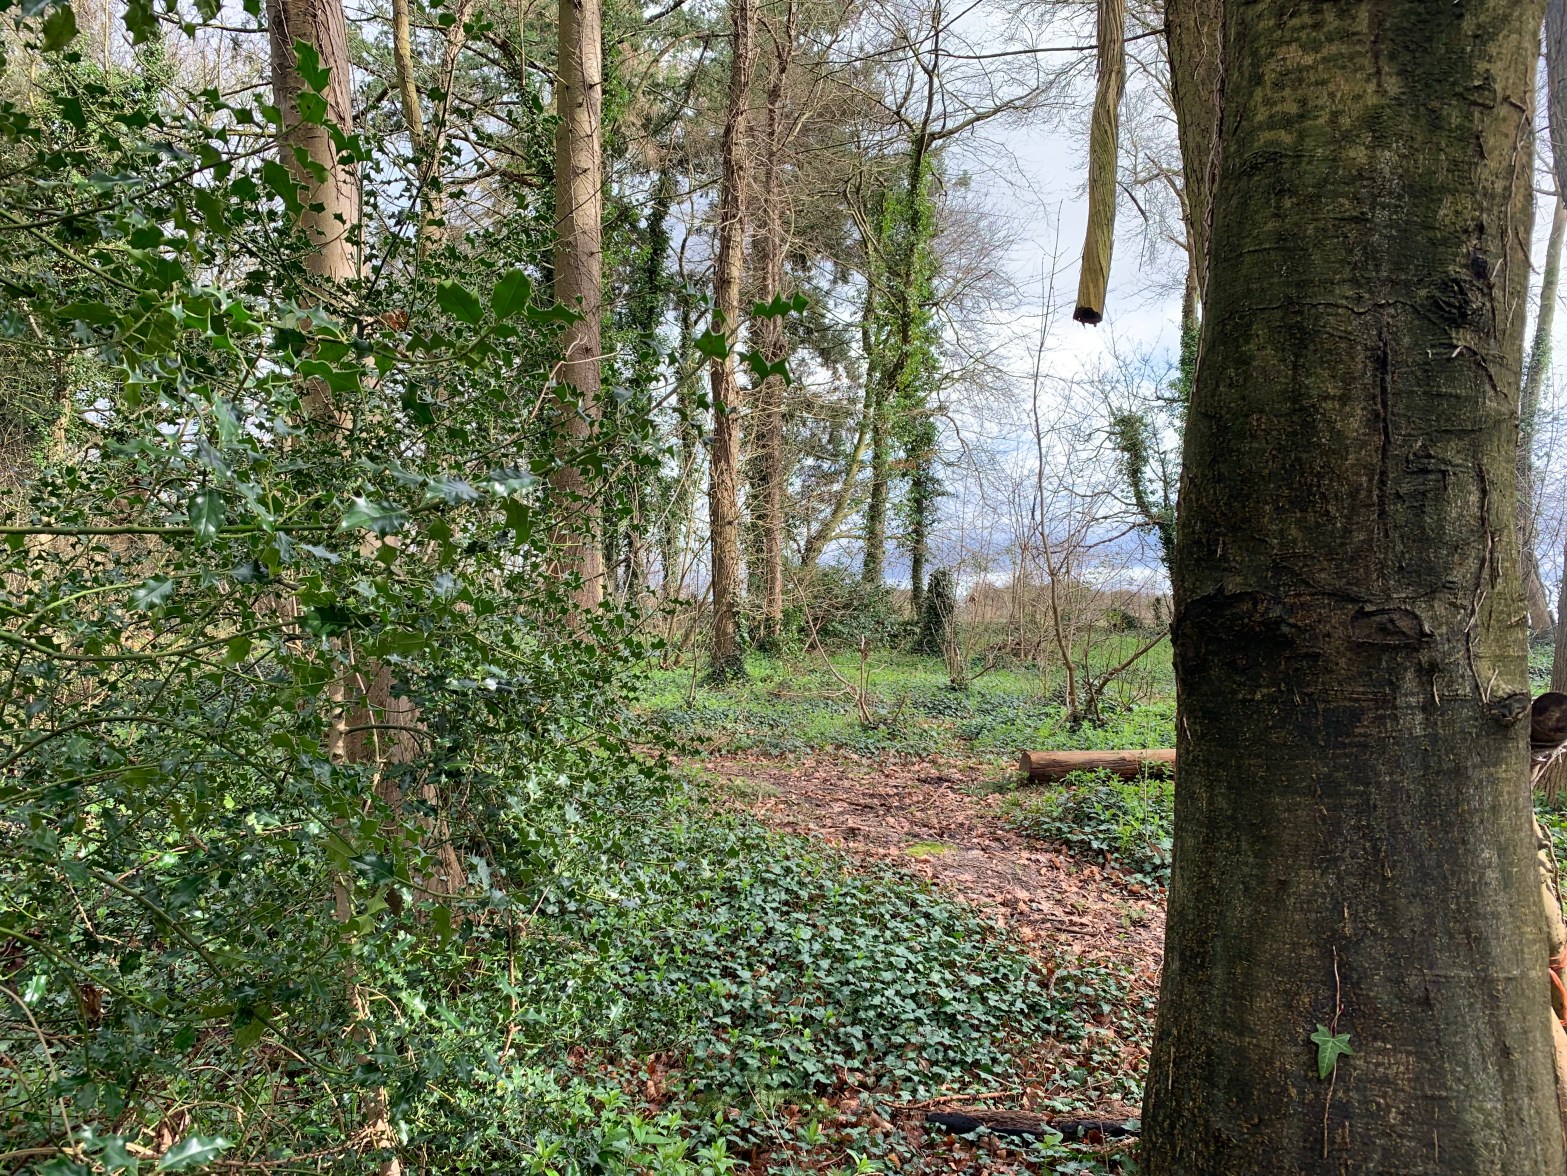
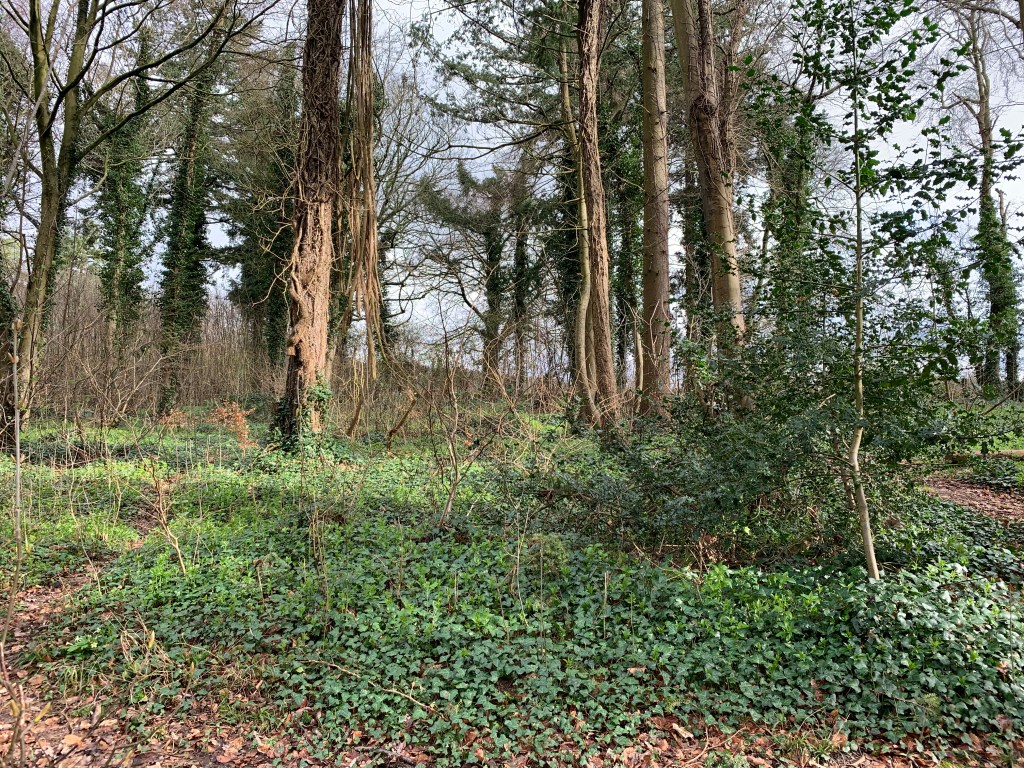
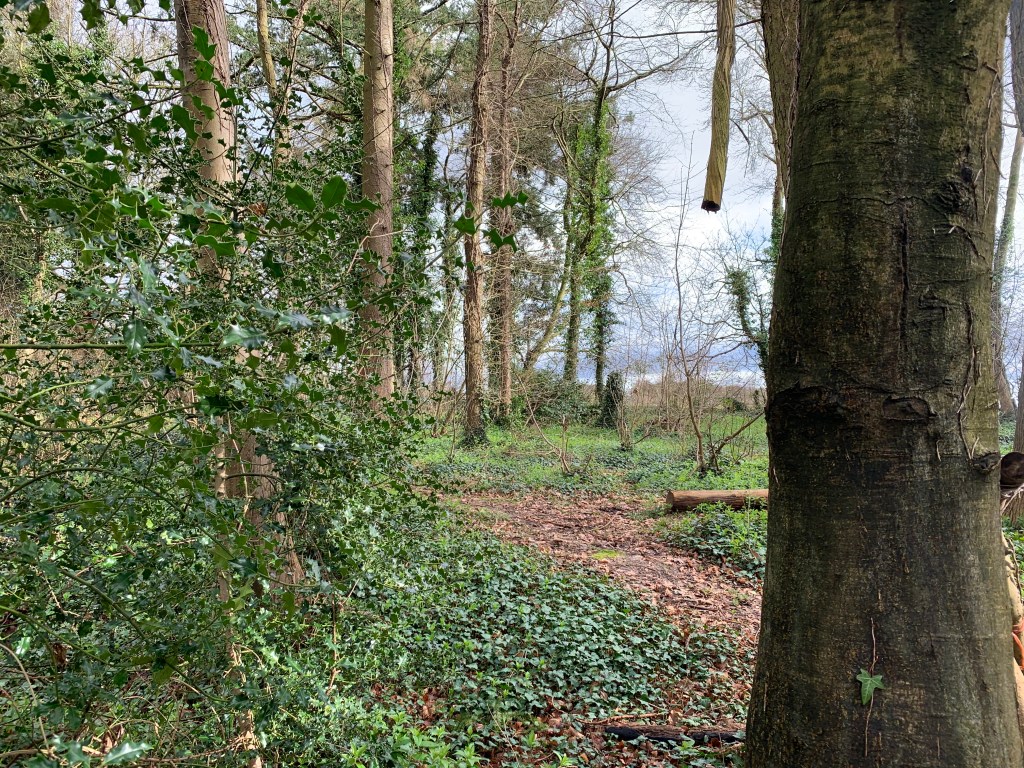
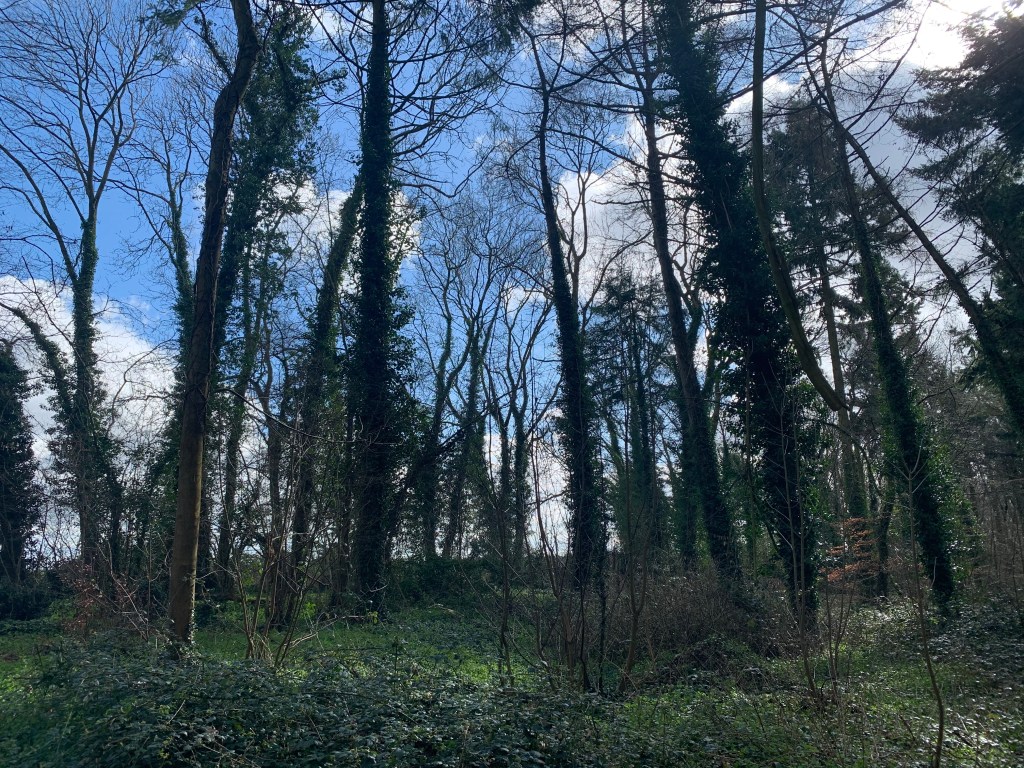
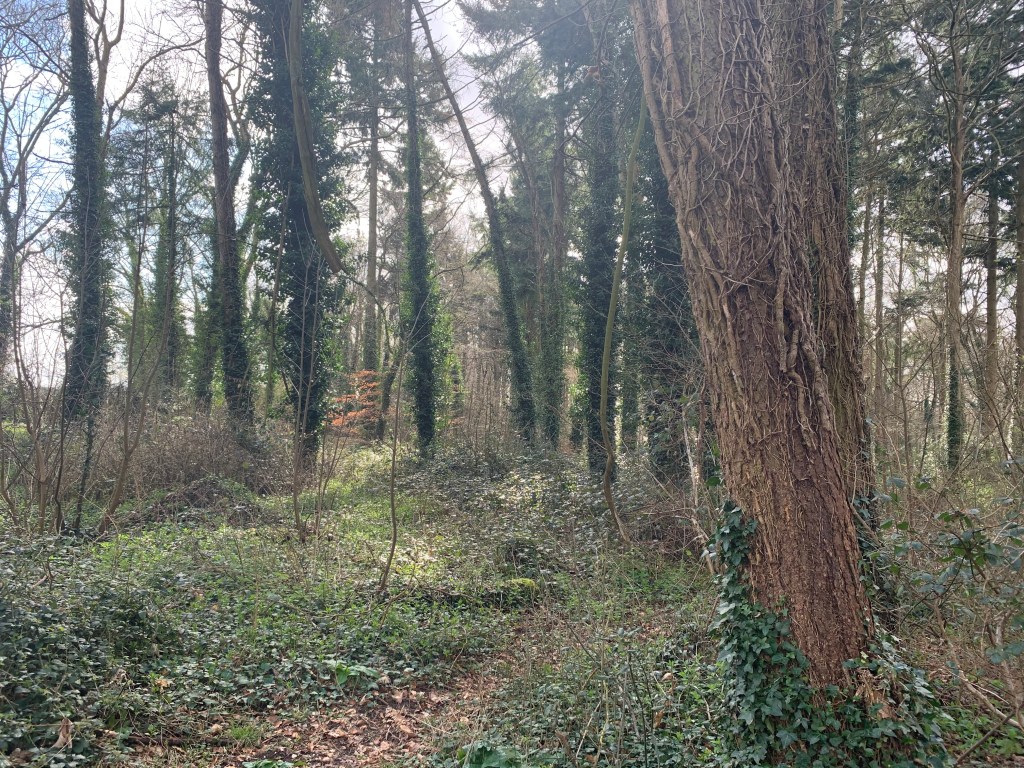
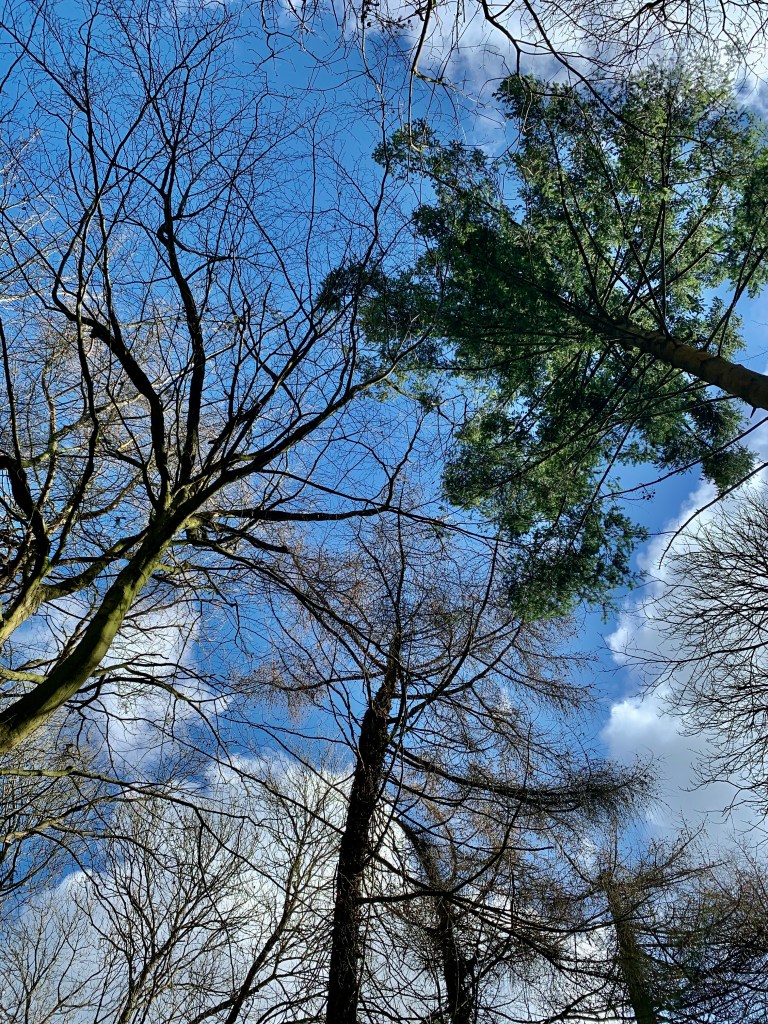
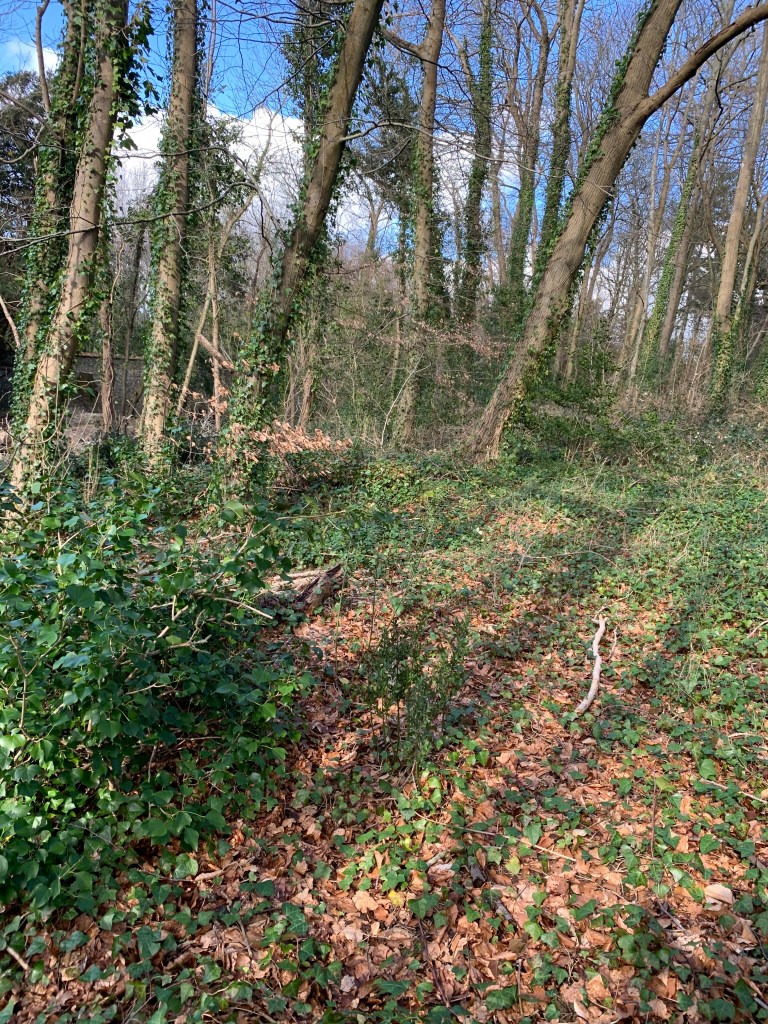
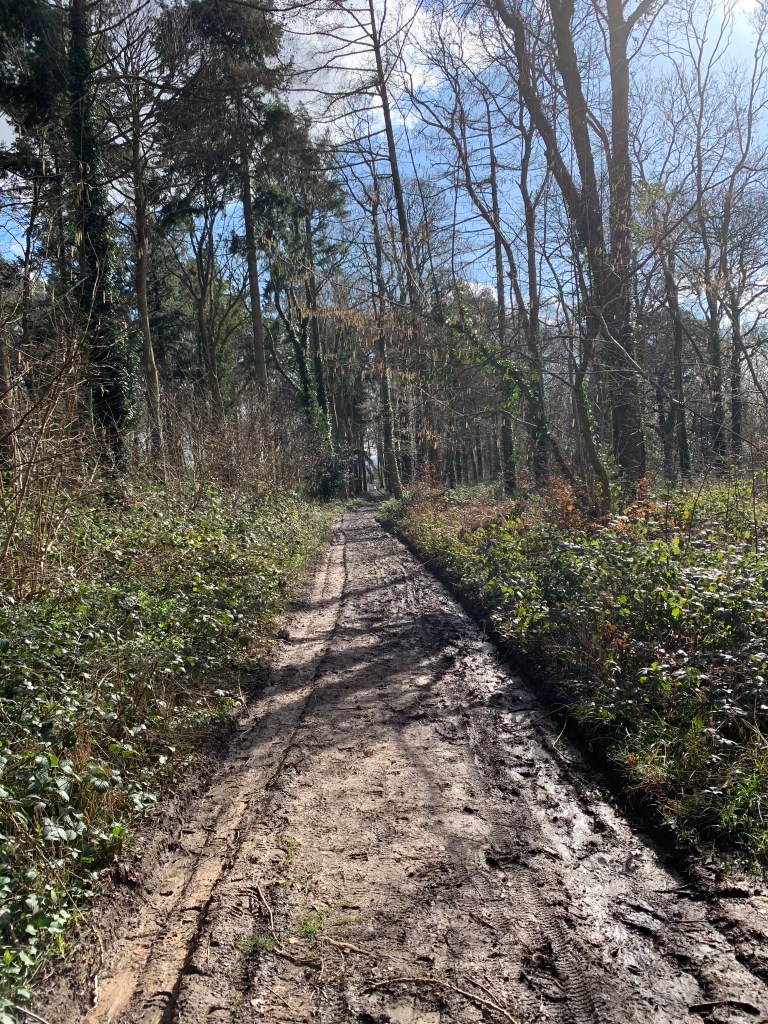
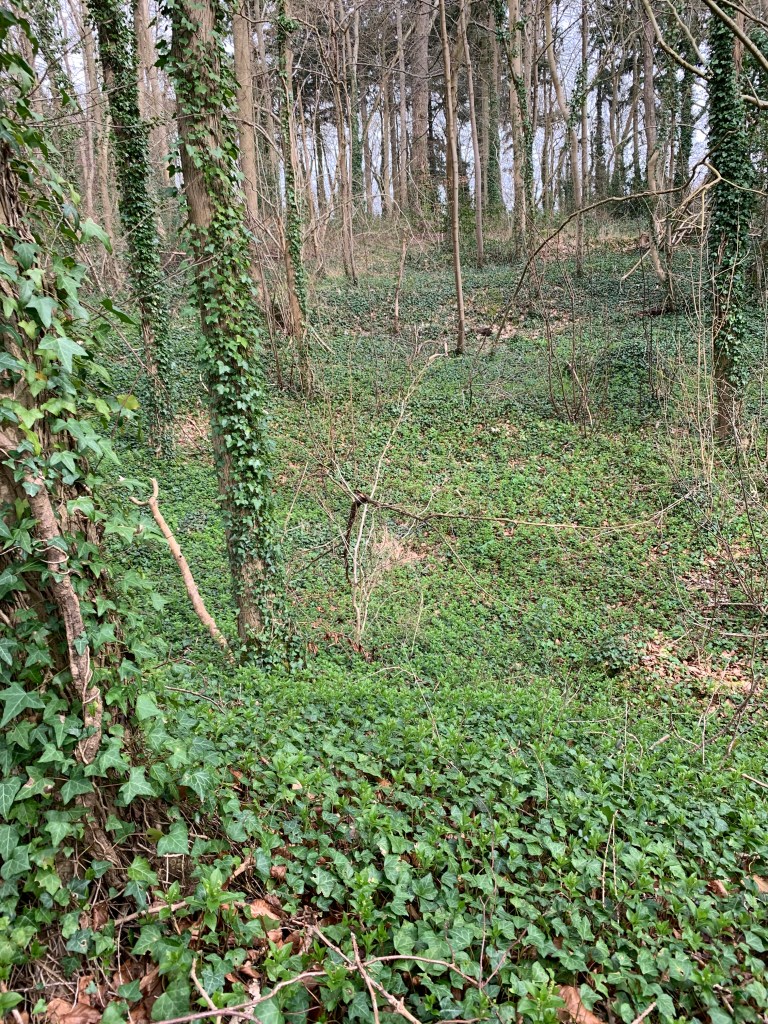
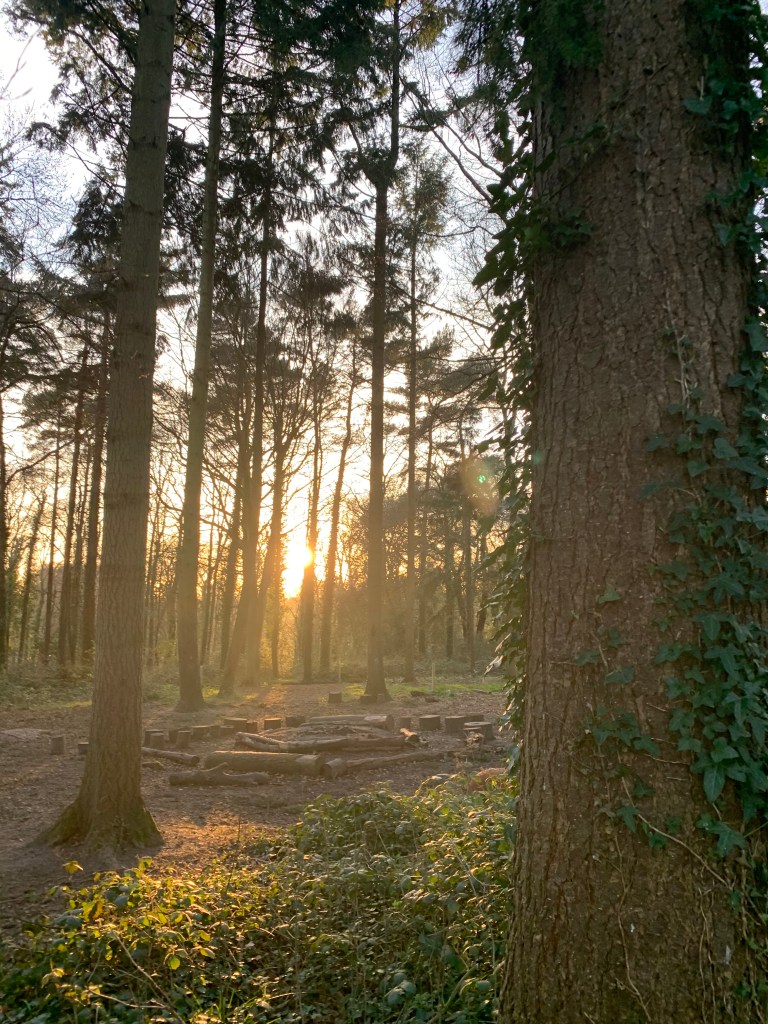
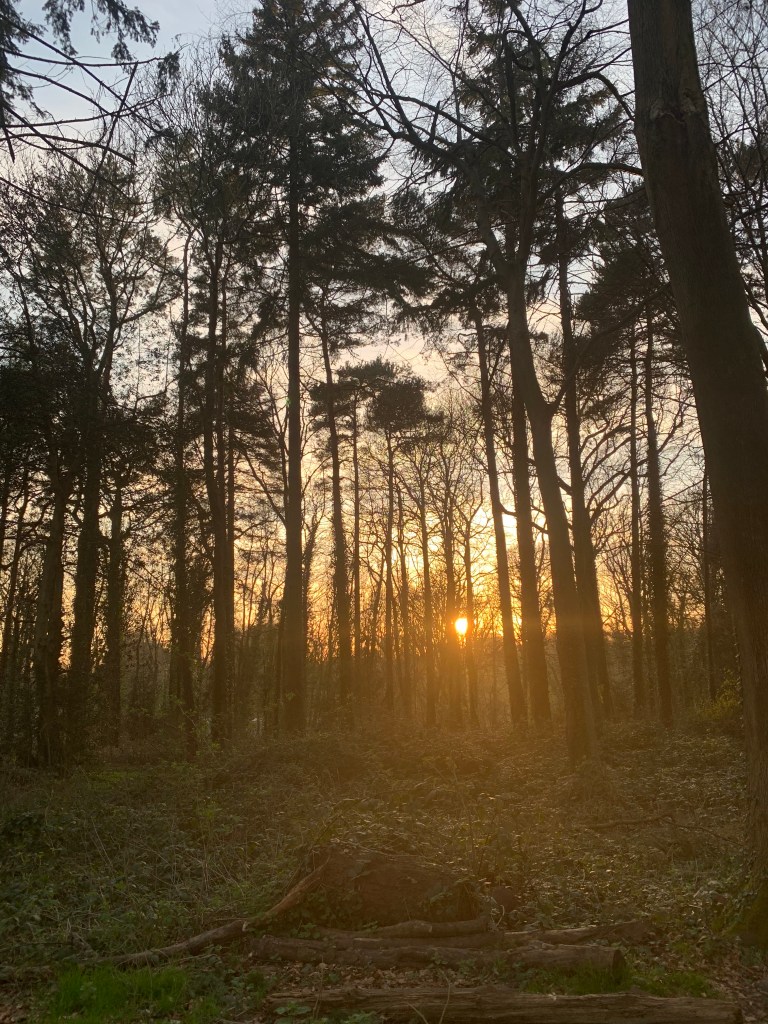
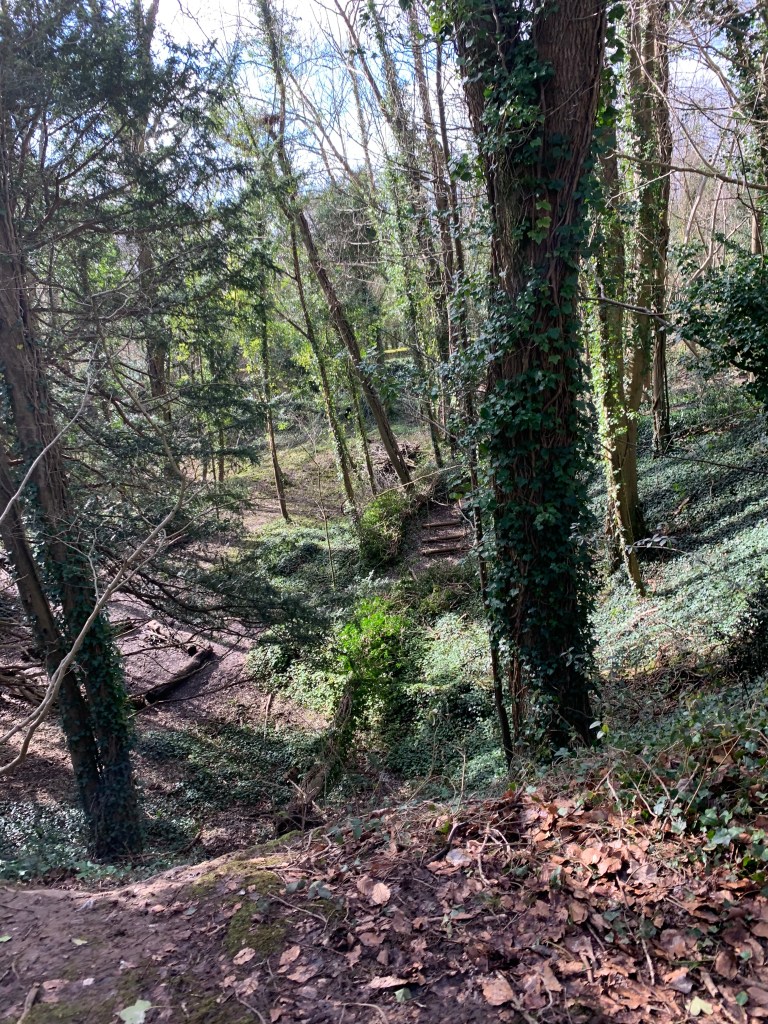
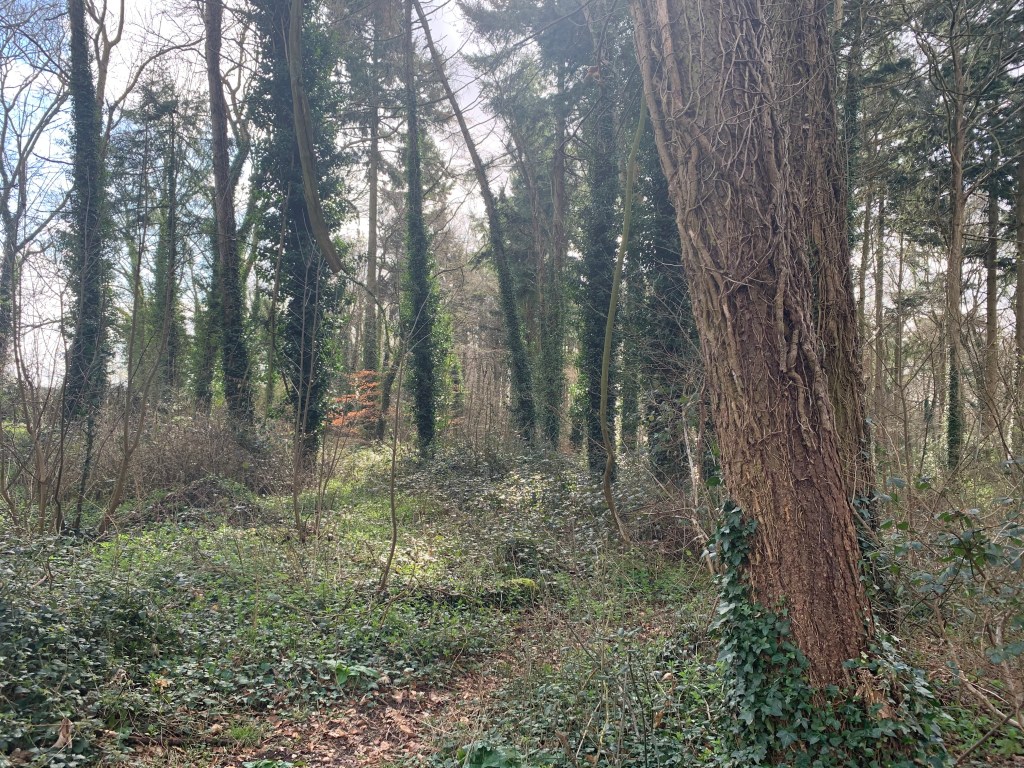
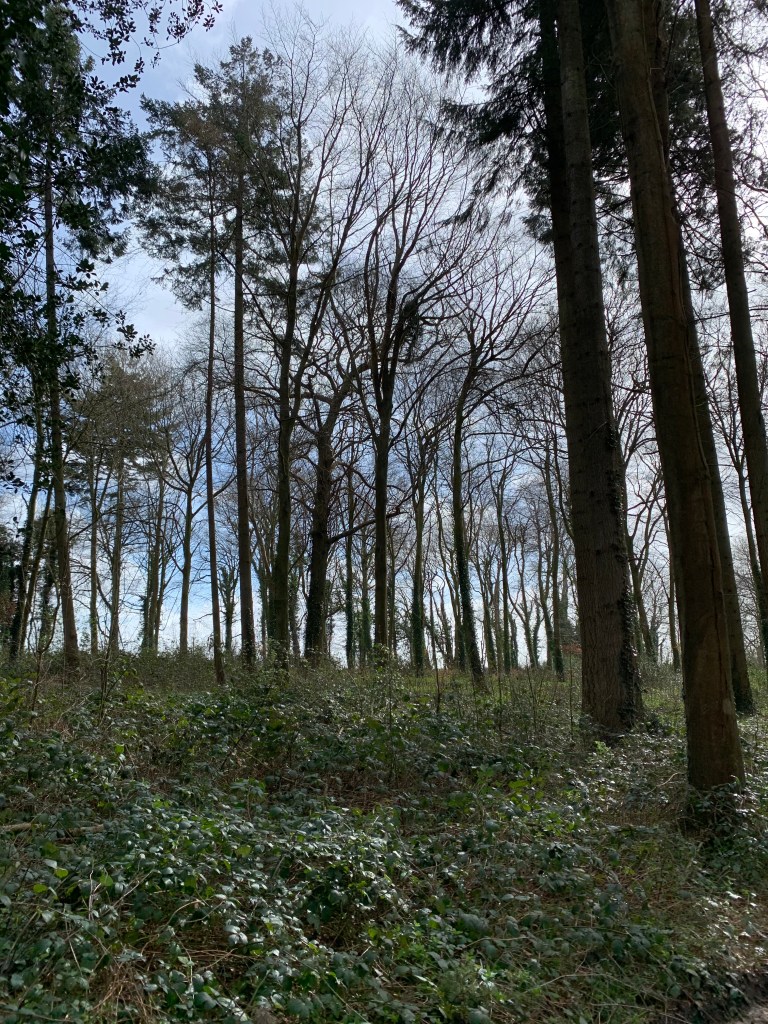
Below are some images of Seeley Copse that can be used to show the children when they cannot be there.

Marshmallows

Why does the outer layer of a marshmallow toast differently to the lower layers? And other facts you may not have noticed about your marshmallow.

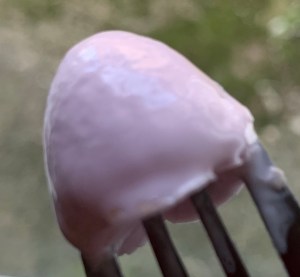
This is what the Marshmallow looks like straight from the bag.

As you can see the surface of the marshmallow is cracked and dry, this is due to it being coated in cornstarch. Not all marshmallows are coated in this but it is to preserve the marshmallow and make it easier to handle because if it did not have the protective layer it would be sticky and tacky, causing a lot of mess. According to both ‘The Chemical book’ and ‘Heavenly Bath’ the melting point of cornstarch is approximately 255 degrees centigrade and has a boiling temperature of 205 degrees centigrade.

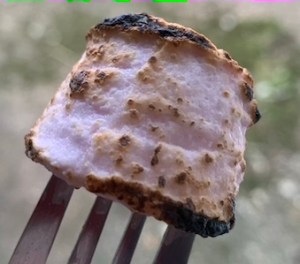
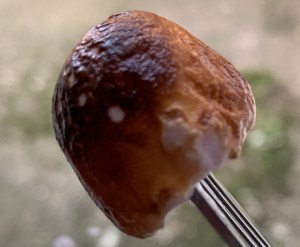
This is an image of the first layer after being toasted/ exposed to the flame this layer chars and catches fire easily and bubbles when burning.

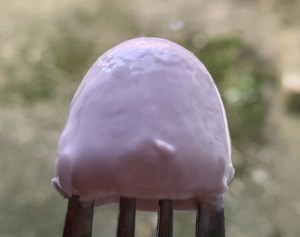
After peeling that first layer of the marshmallow off (once toasted) the marshmallow looks like this… its surface is smoother and softer than the first outer layer. This is the sugar and gelatine surface which is what the marshmallow is typically made of. It is smoother because it doesn’t have the dried cornstarch exterior unlike the first layer. This is the image is what the marshmallow would look like if it didn’t have the cornstarch coating to begin with.

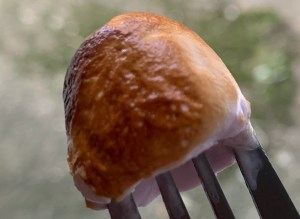
These two images are showing what the second layer looks like once toasted/ exposed to heat. This looks very different to the starch layer and that is because sugar has a very different melting/boiling temperature to cornstarch. The reason the colour changes is because the sugar is turning from ‘crystalline’ to ‘molten’ Fine Cooking Editors 2020. which is the process of caramelisation. It is a smoother more even colour due to the texture of the surface and the difference in moisture from the dry cornstarch and the sticky sugar. The temperature that sugar caramelises is 160 degrees centigrade (320 degrees Fahrenheit).

This photo is similar to the one above however is the layer under the caramelised layer, this is to show that it is only the first outer layer that has the cracked and dry texture and burns unevenly and bobbly, and the rest are smooth and sticky.

This would be a very good and engaging way to teach children about different chemical compounds, melting and burning points and also information about food production and why some foods are the way they are. Although the children are most likely to have had a marshmallow before it is such a mundane object they would not have thought about the science and how interesting they really can be making this a very enriching learning experience for them. It is also a very accessible experiment for them to re-create at home (with parent supervision around a flame obviously). This is also a form of teaching that children will not reject as they will be too engrossed in the practicality of it to recognise how deep their learning it actually going, making it more accessible to the different learning needs of the pupils you will face as a teacher, due to the practicality of this learning episode it will allow the children who struggle with the abstracts of science to understand it as it is in a much more physical form. Finally, the information and experiment with marshmallows can be done in a forest school with a fire or can be completed in a classroom with Bunsen burners or at home with a gas hob and in very desperate times can be done with any disposable lighter (although it is not recommended).

The ways different plants have adapted to protect themselves.

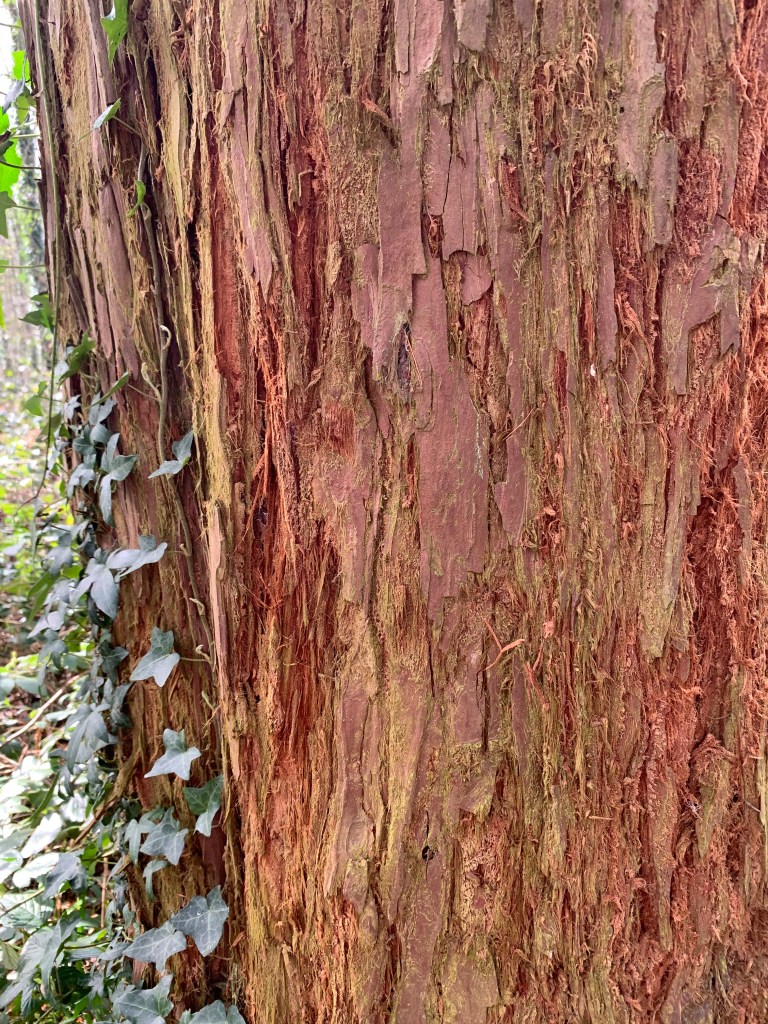
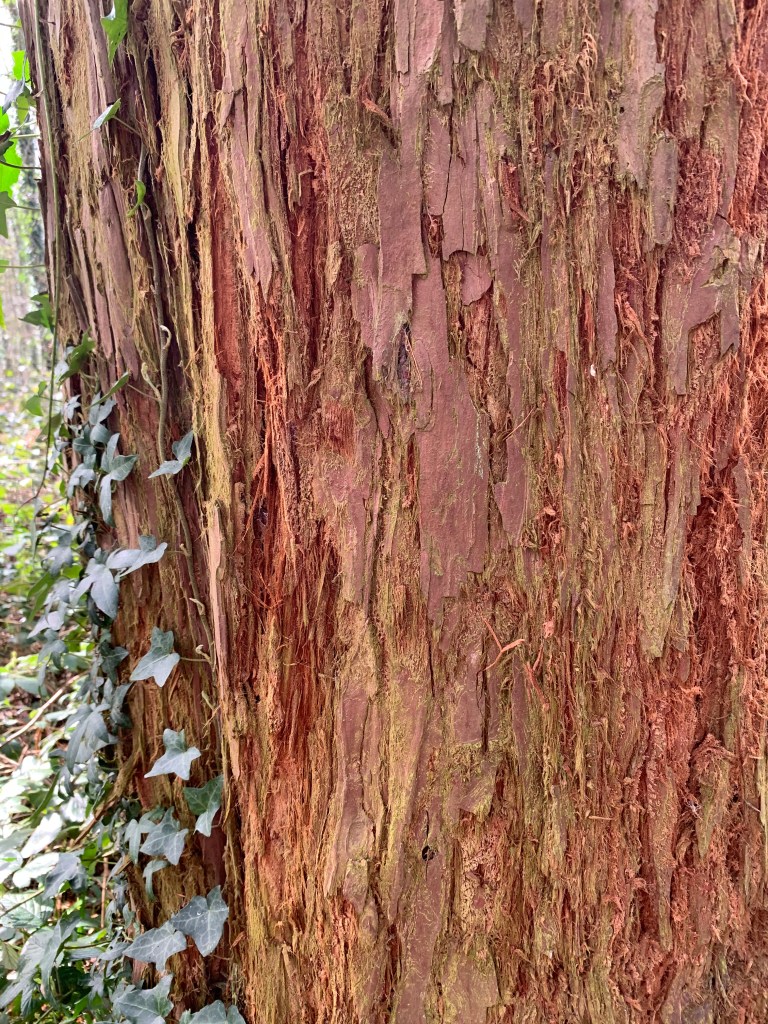
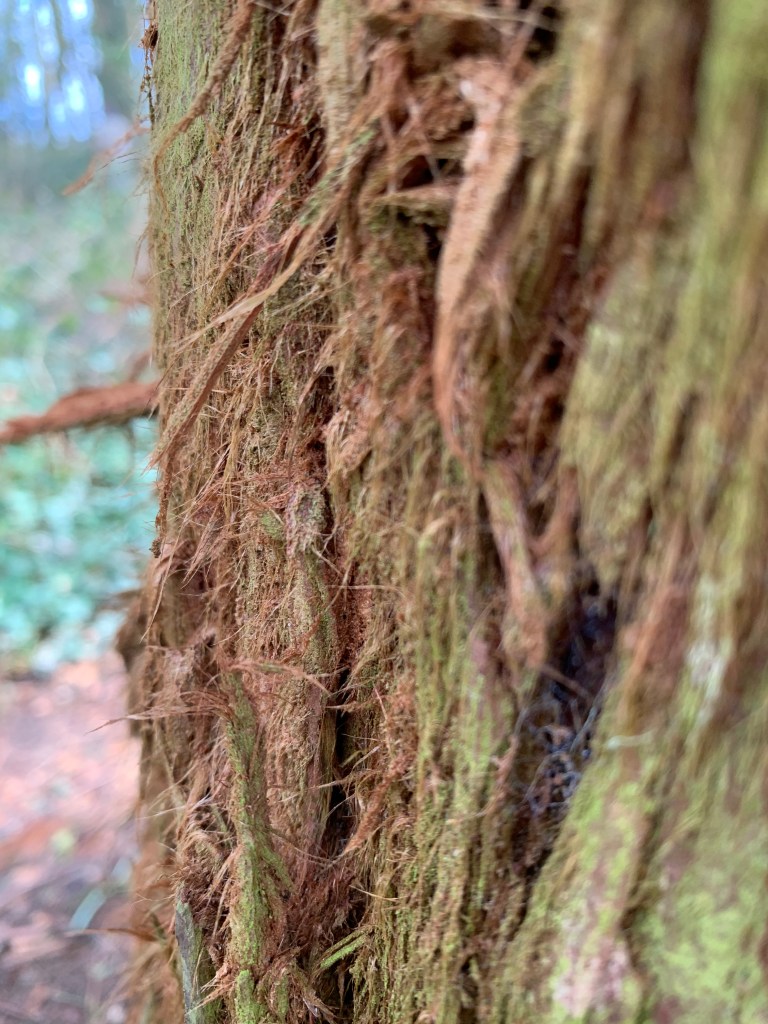
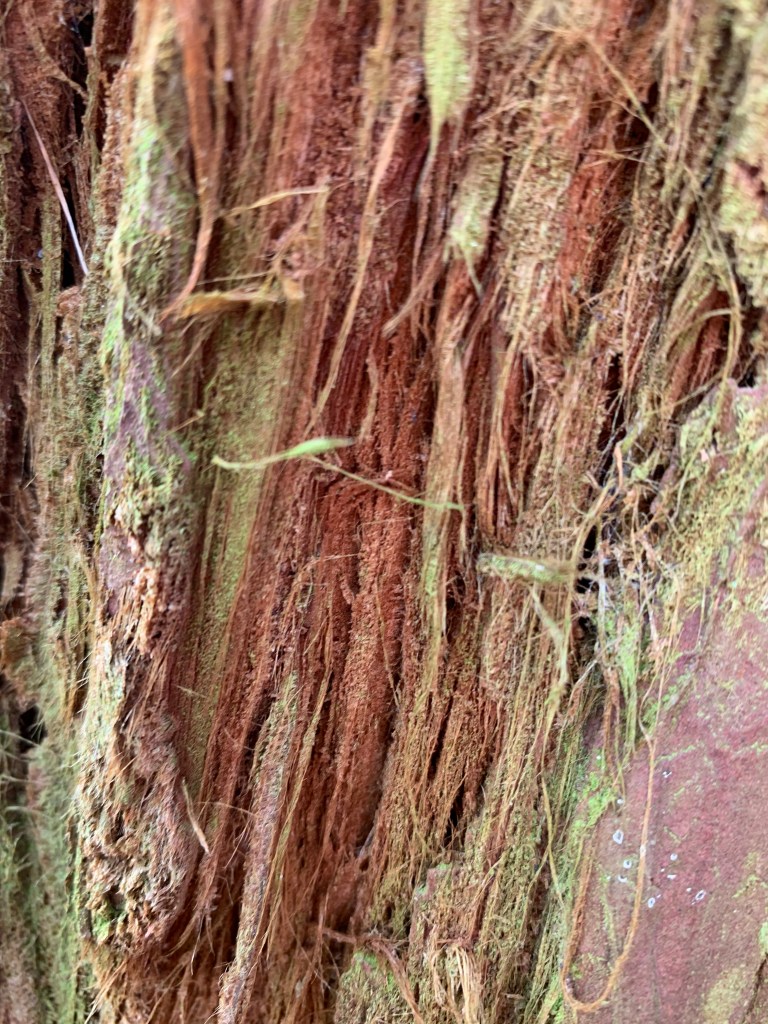
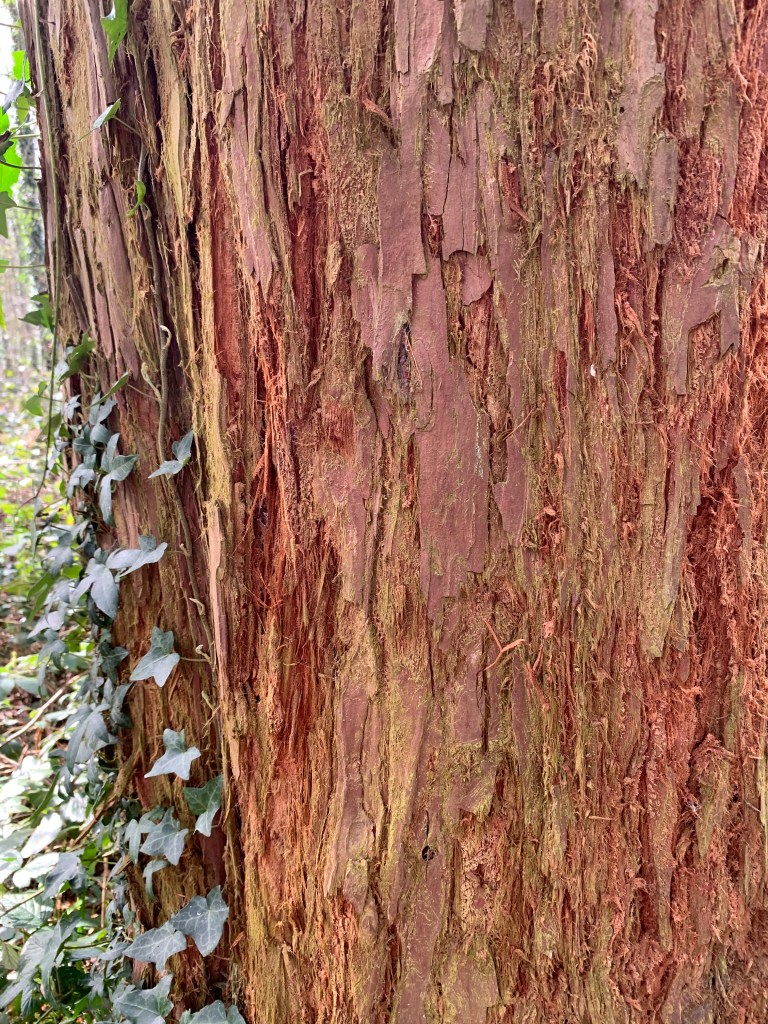
The American Redwood is native to California which is prone to wildfires, therefore in order to survive, this tree has adapted. Getting its water from the rain and fog this tree has thick bark that soaks up the moisture from the air. If the fire does evaporate the moisture in the bark the tree has think layers of bark protecting what is called the heartwood (the centre of the tree). Below you can see that the bark looks fibrous because of how many layers there are. With both the high moisture levels and the thick bark this tree is “fireproof”/ able to survive a forest fire because by the time the fire has burnt through all the surrounding fuel/ flora the fire still has not been able to permeate the bark and once the fuel/flora around the base of the tree has been burnt through the fire dies because it has lost one of the components of the fire triangle (the fuel), therefore allowing this tree to survive. It is called a Redwood because of the redness of the bark, as you can see it does not look as brown/grey as trees you are used to seeing.

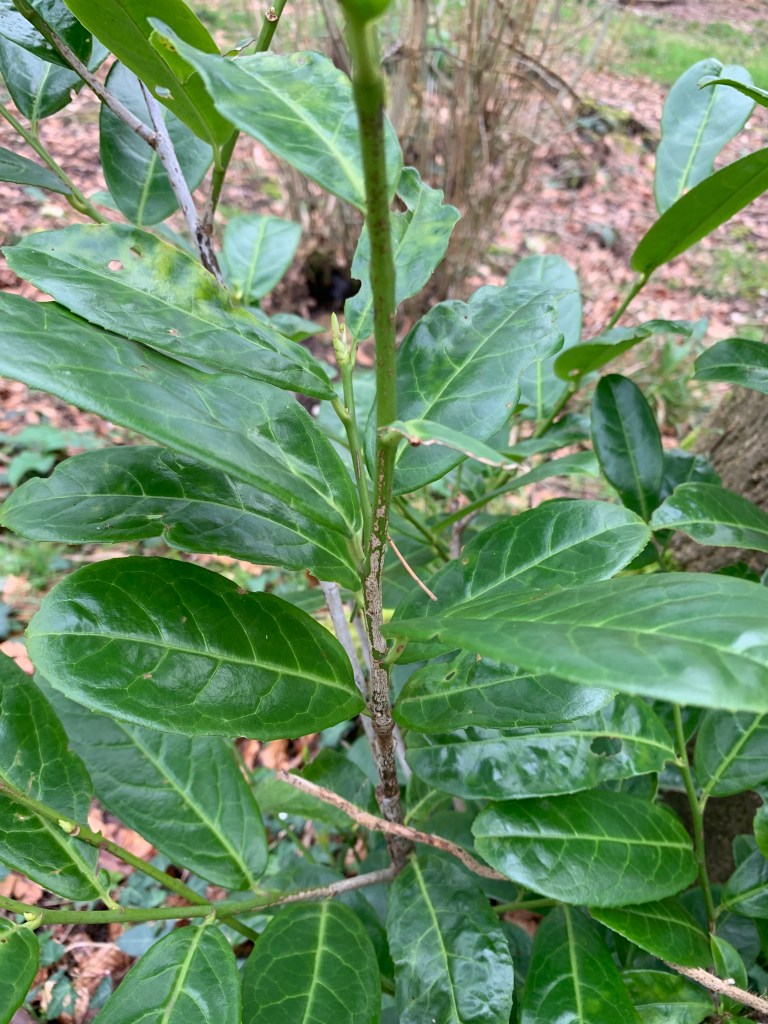
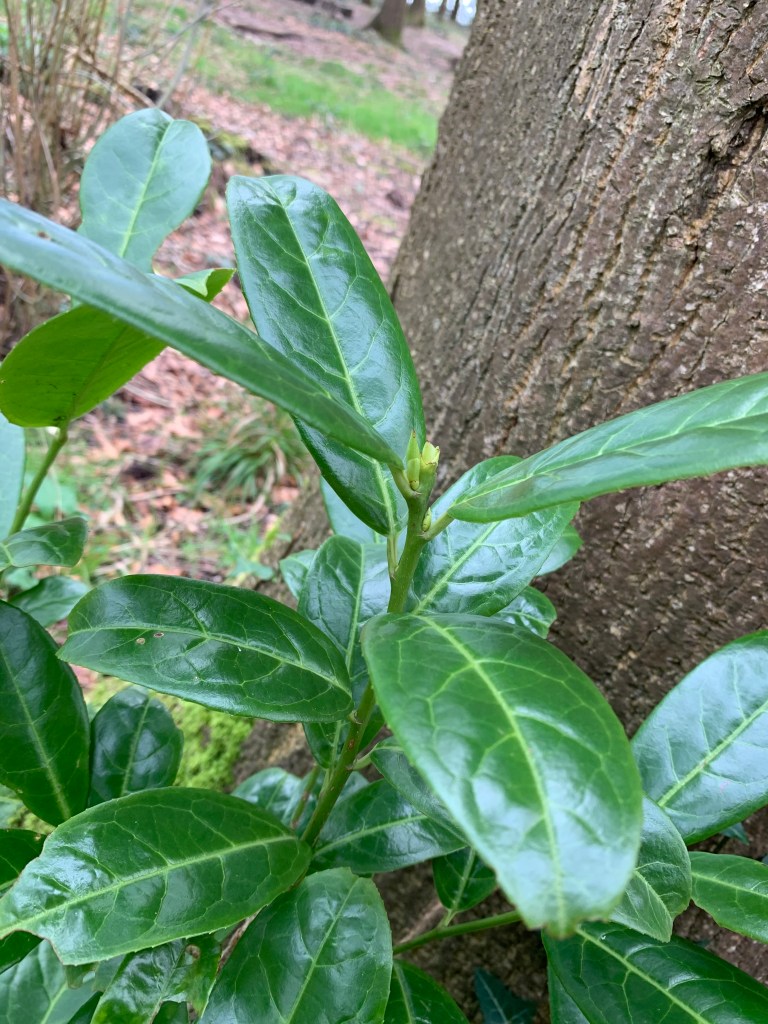
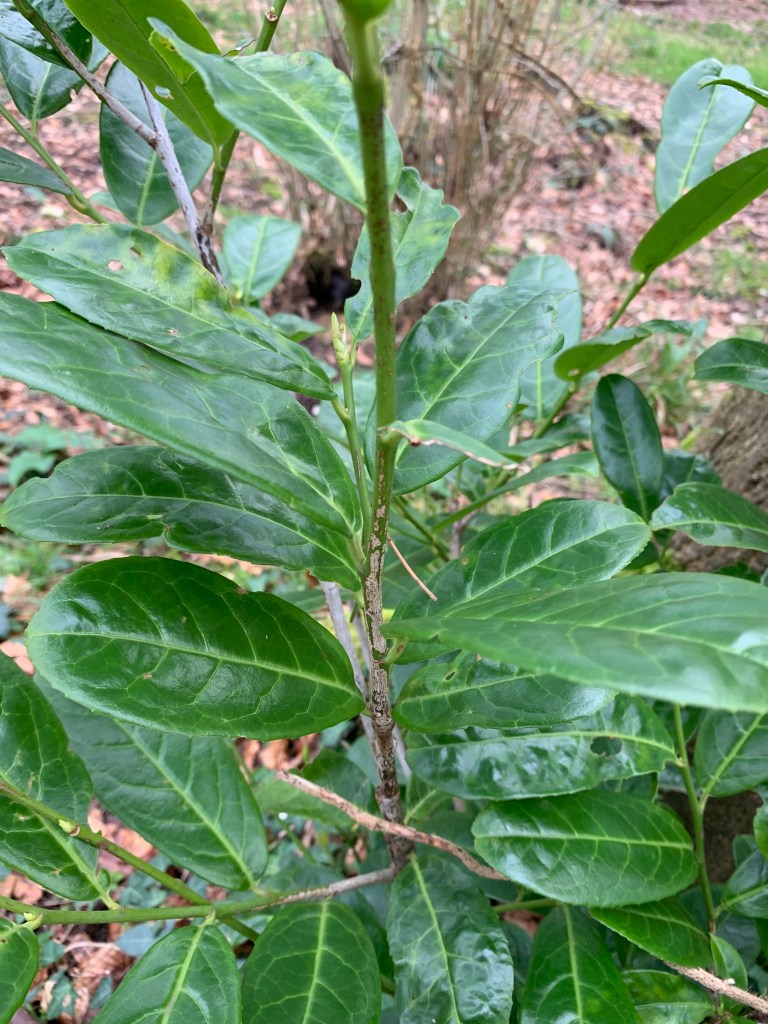
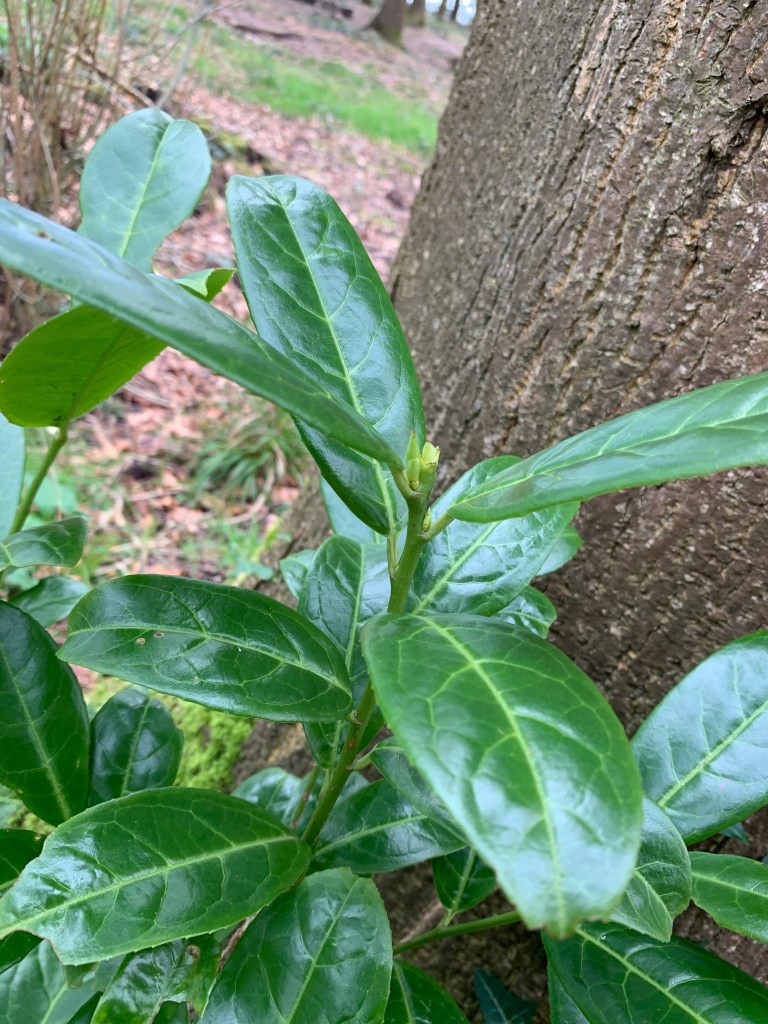
Cherry Laurel has adapted to stop animals eating any part of it by having cyanid in its leaves and seeds, poisoning the animals who consume it. If you snap the leaf and get the flesh exposed the cyanide is actually pungent enough to smell it and recognise the smell which is similar to marzipan/almonds. The cyanide in the Cherry Laurel was distilled and used as a source of prussic acid in the mid-to late 19th century according to “The Poison Garden”, because the prussic acid can be used for many things. According to Britannica (2018) in the common era prussic acid (also known as Hydrogen cyanide (meaning water and cyanide)) can be used for things such as; fumigation, electroplating and the case hardening of both iron and steel.

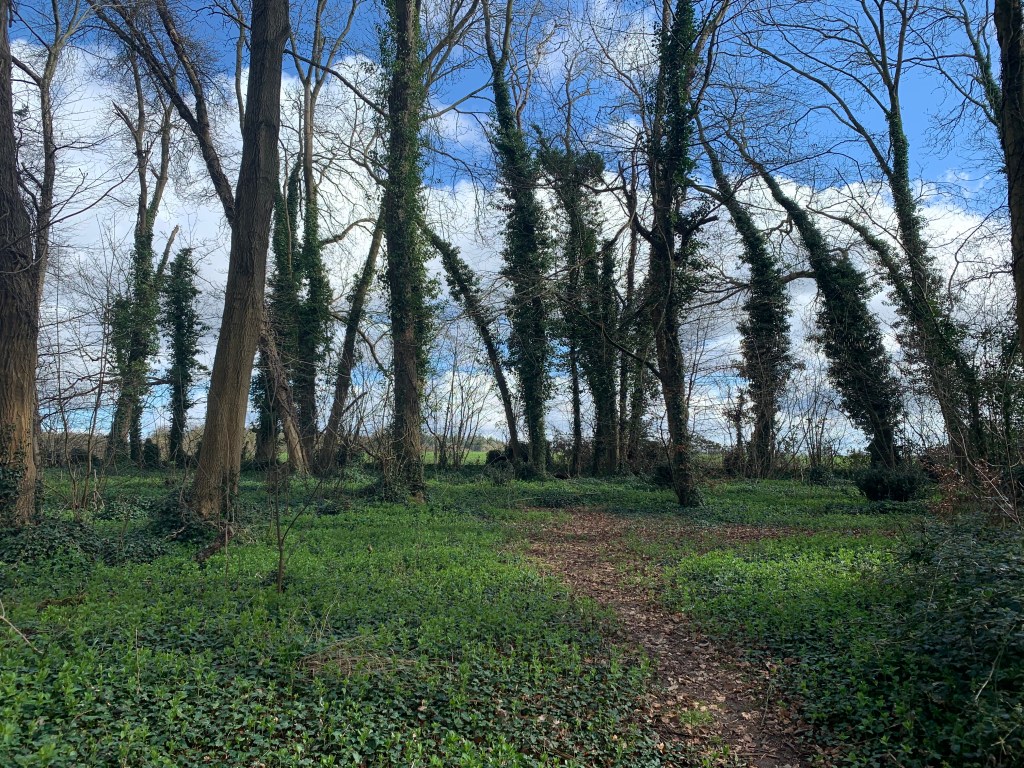
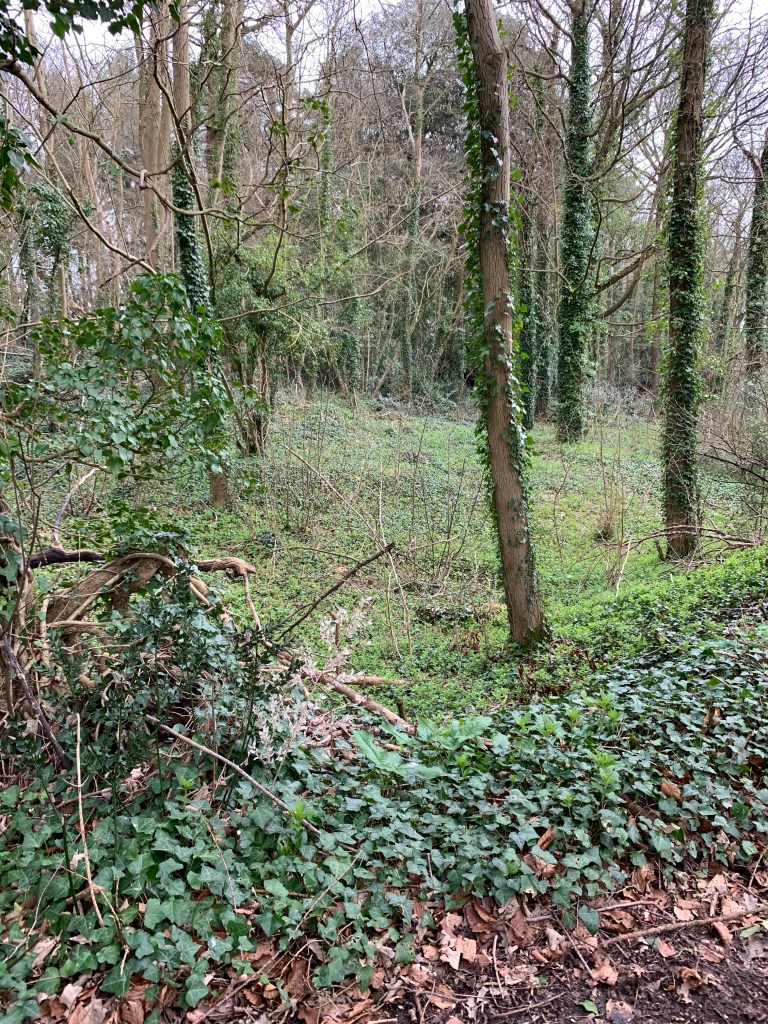
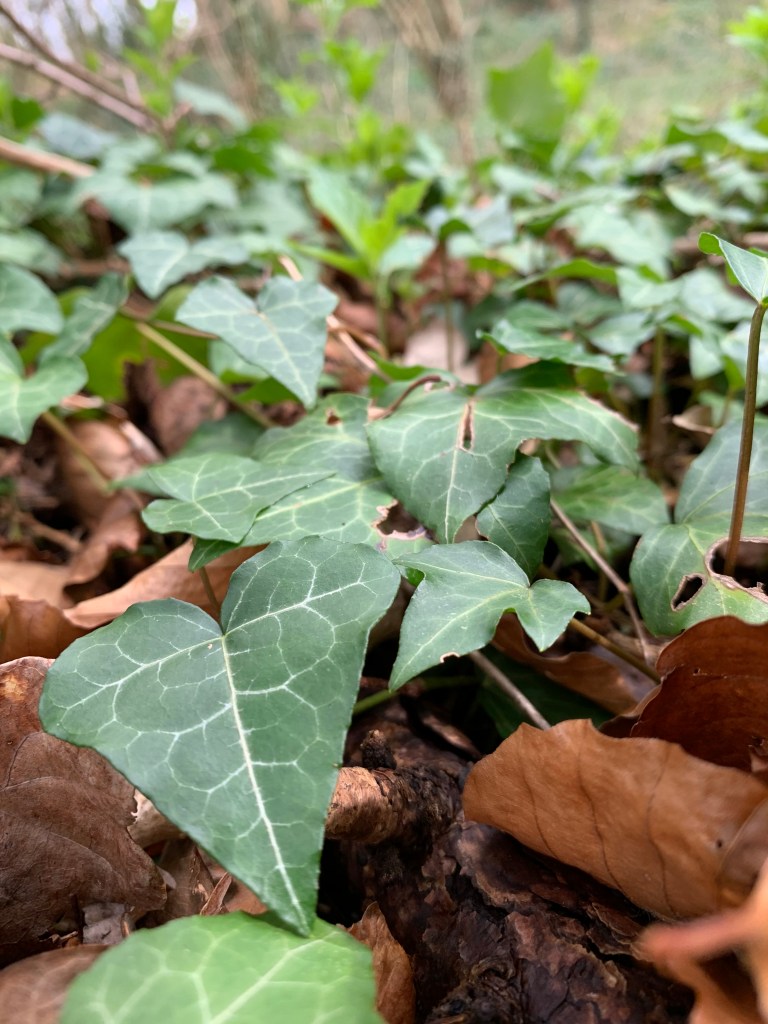
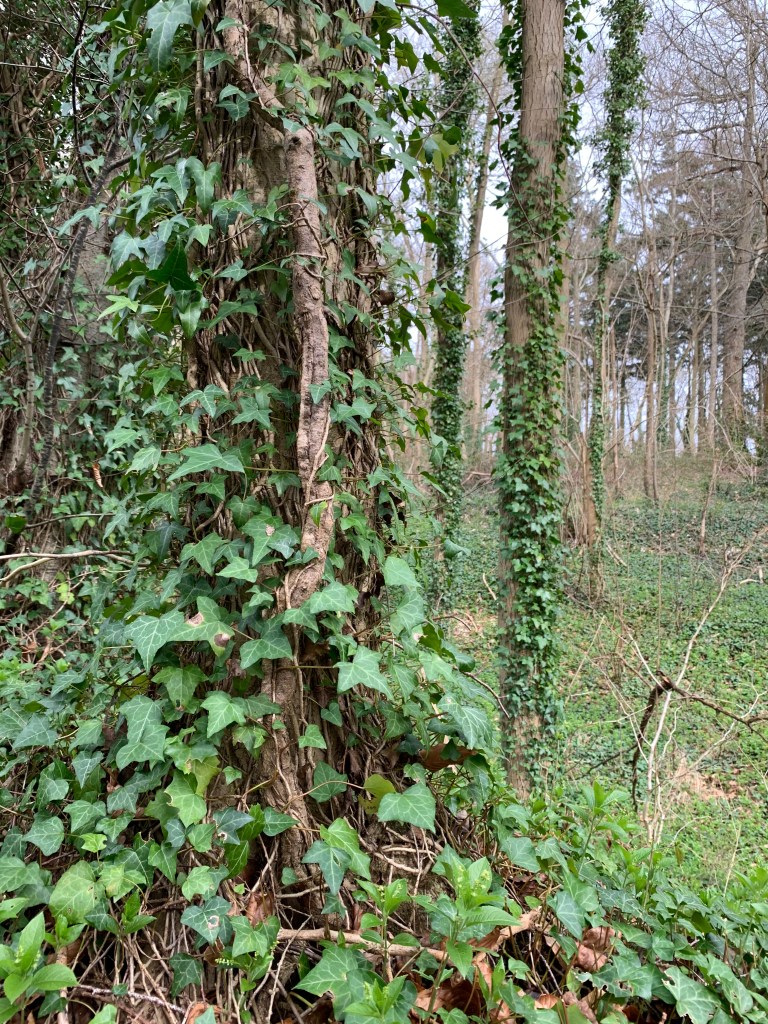
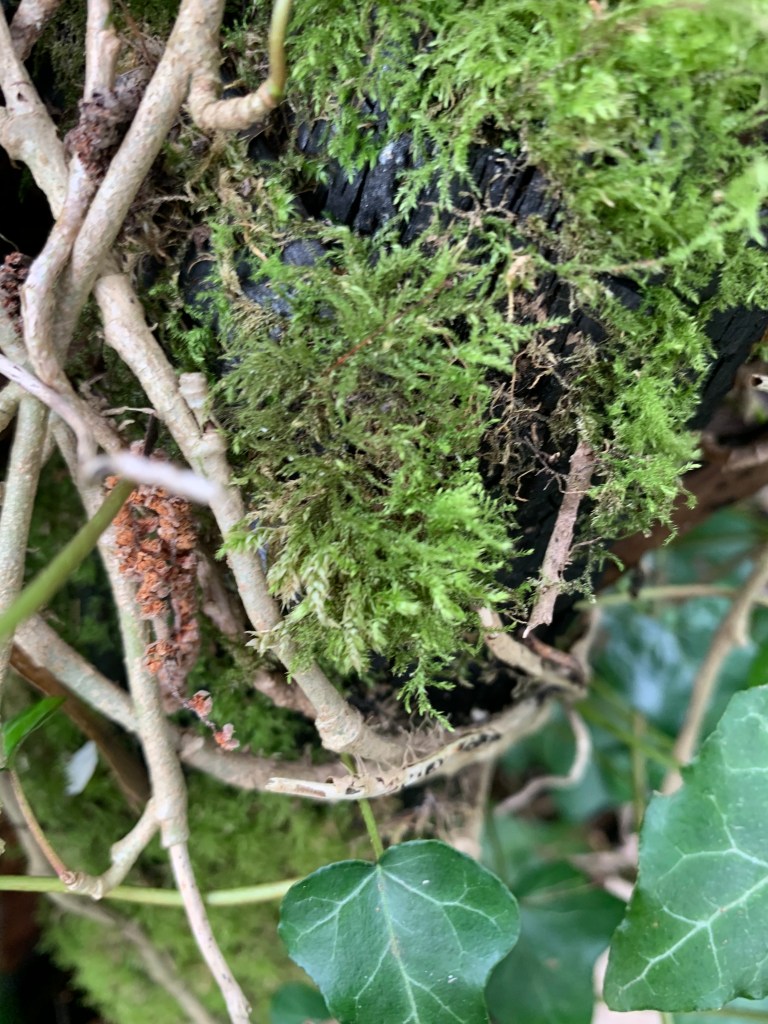
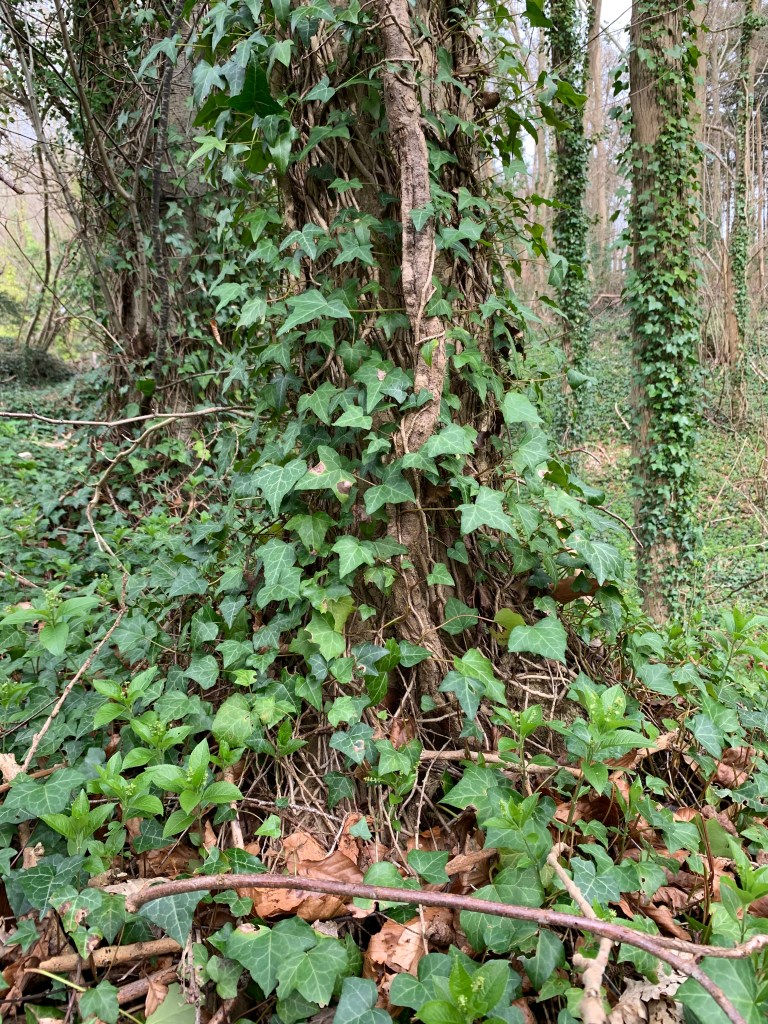
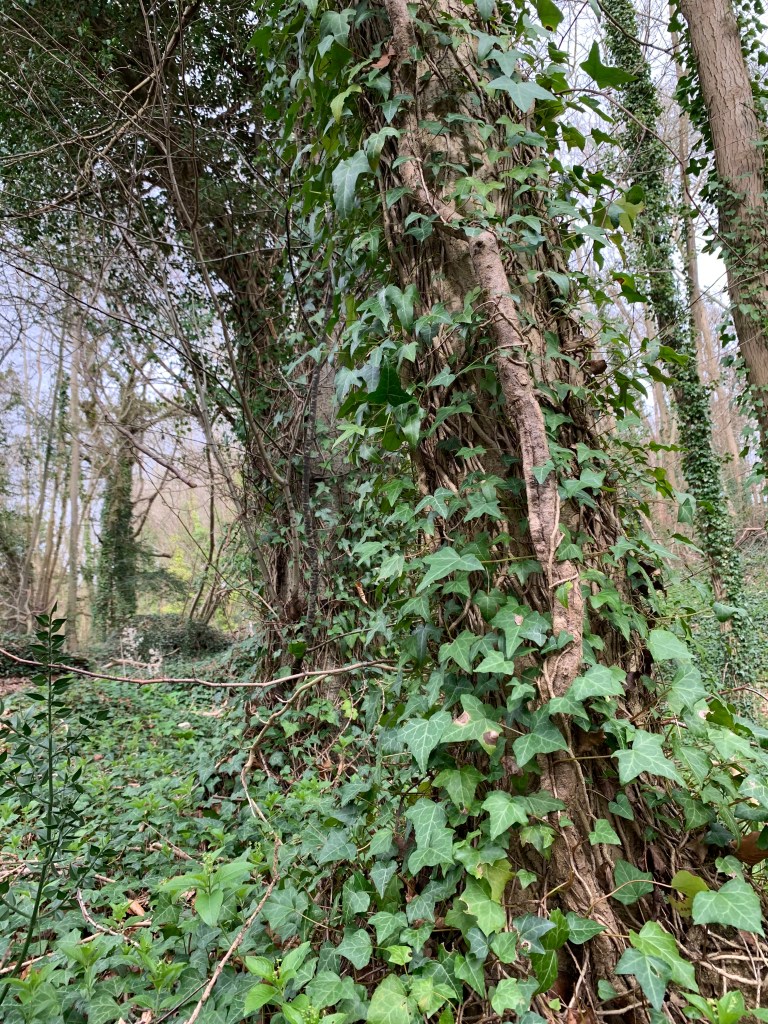
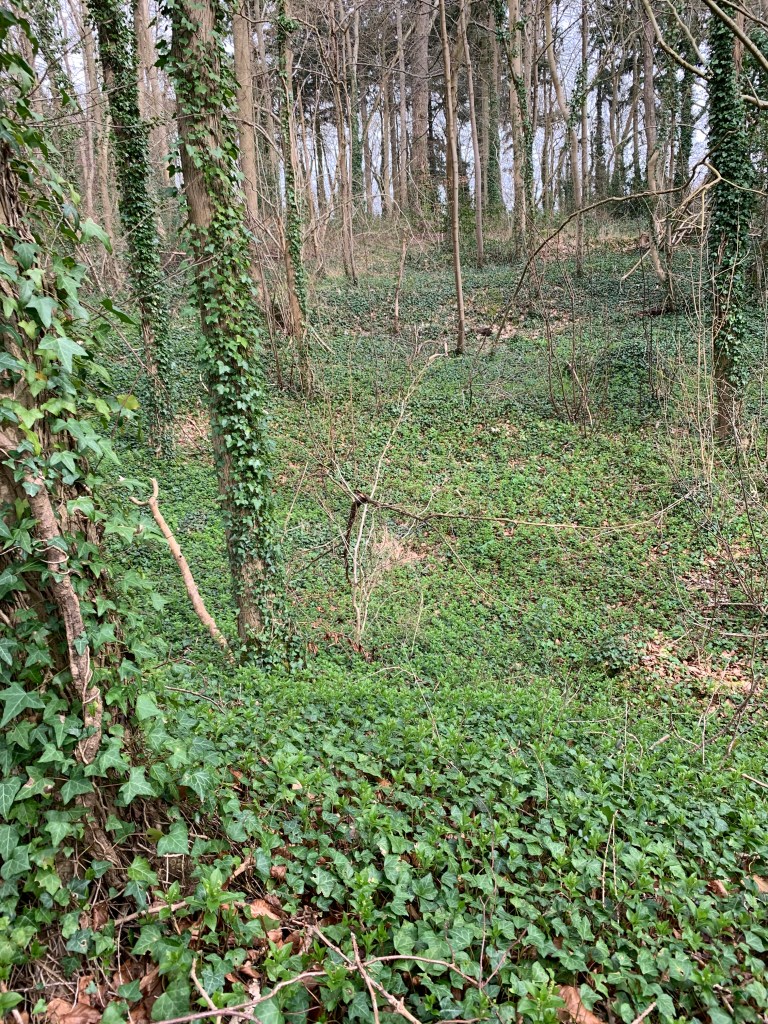
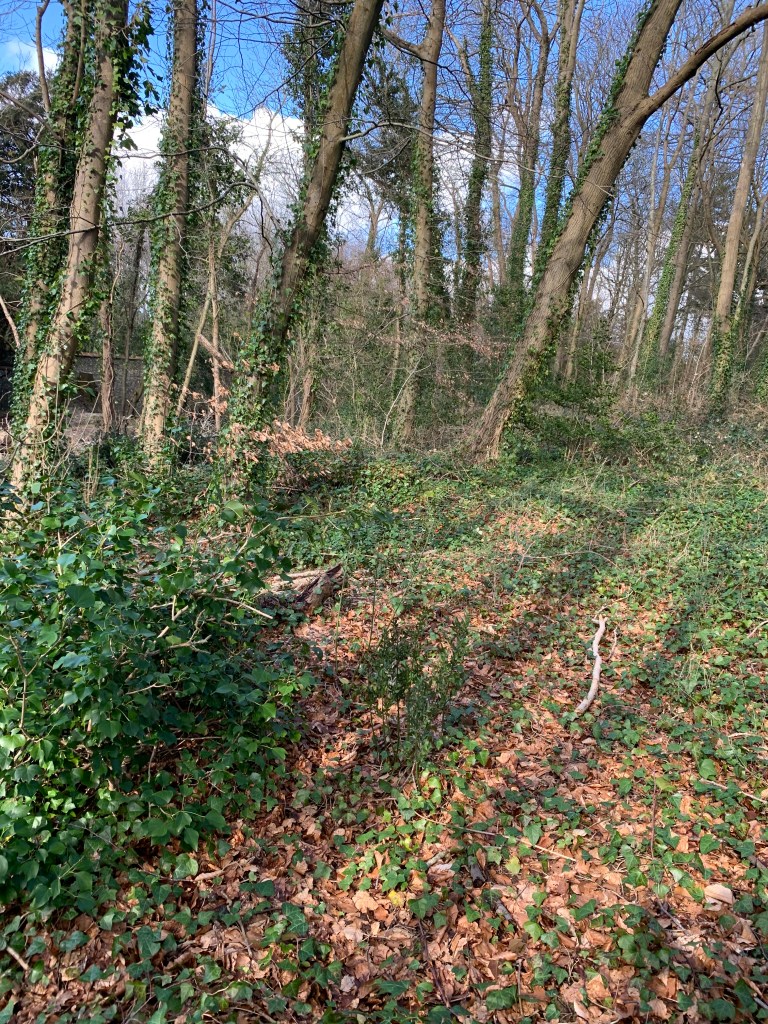
The climbing Ivy that is present in the forest of Seeley Copse has adapted and reached the very top of most of the trees in the forest, this is because they need the light of the sun for photosynthesis and they cannot get sun if they are under the canopy of the trees, therefore they climb above the canopy as much as they can on order to get all the nutrients they can. This is very beneficial for the Ivy however, at Seeley in the winter the Ivy causes issues for the trees as they make some trees too top heavy making them more vulnerable to being blown over and dying in the winter wether of the South of England meaning the forest rangers regularly have to cut the Ivy off of the trees in order to protect them, they are happy for the people using the forest to lend a helping hand in protecting the trees in the forest and taking the Ivy off the trees. The Ivy can either be cut off at the bottom to stop the flow of nutrients or they can simply be pulled off, so next time you are in the magical place of Seeley Copse give back to the forest and rid it of that beautiful but pesky Ivy.

Moss

What is Moss? Fun facts about Moss, and how it can be linked to the National Curriculum.

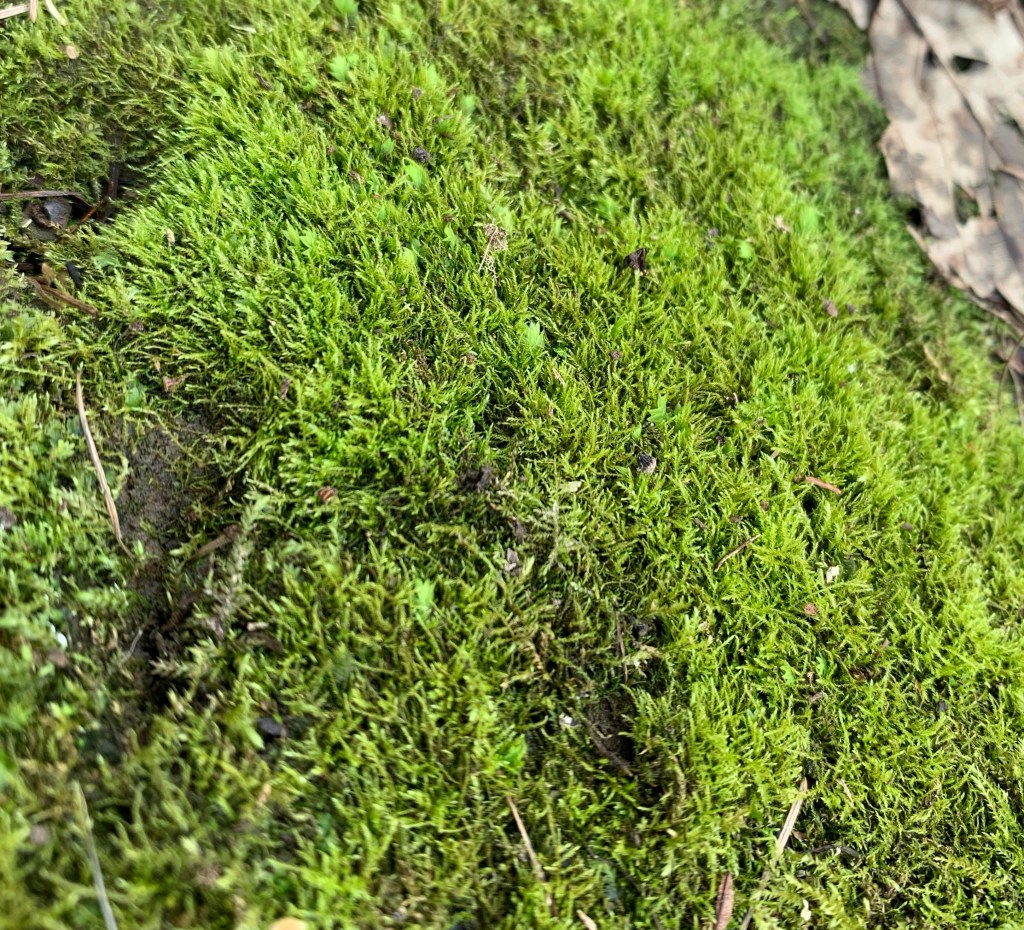
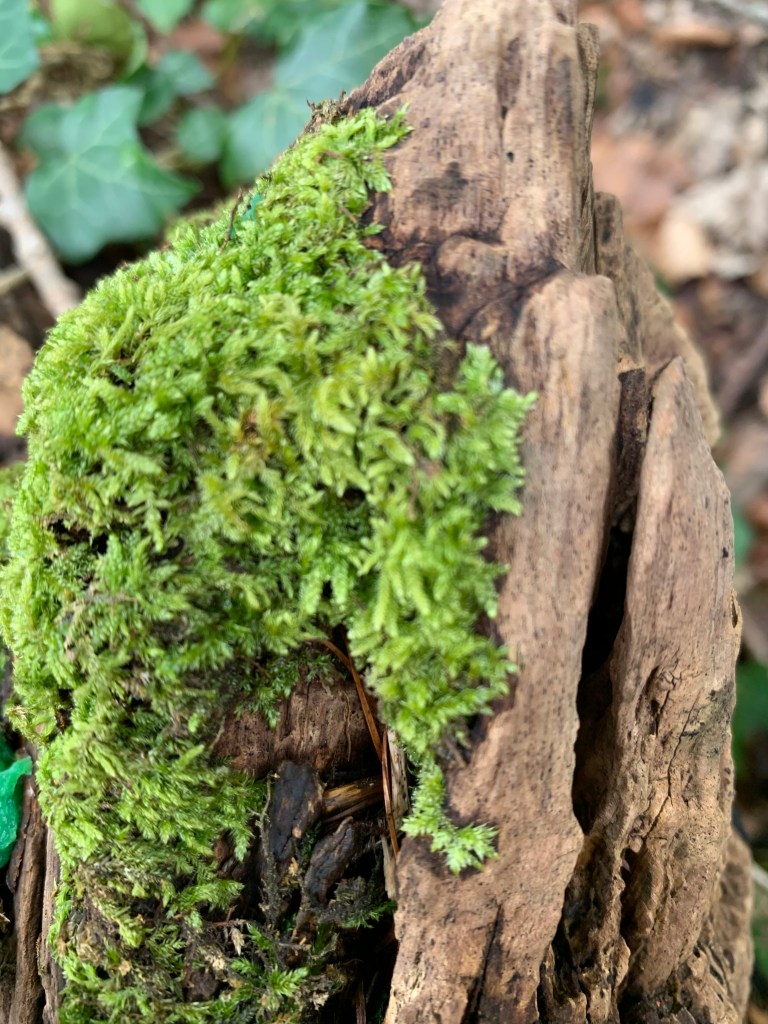
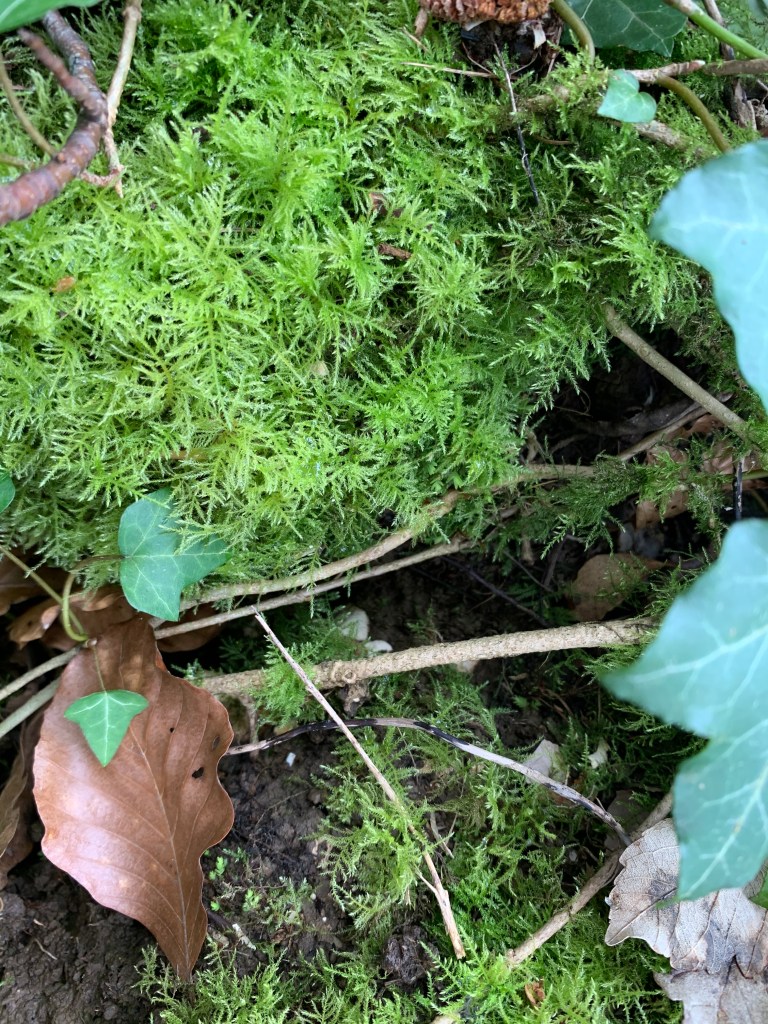
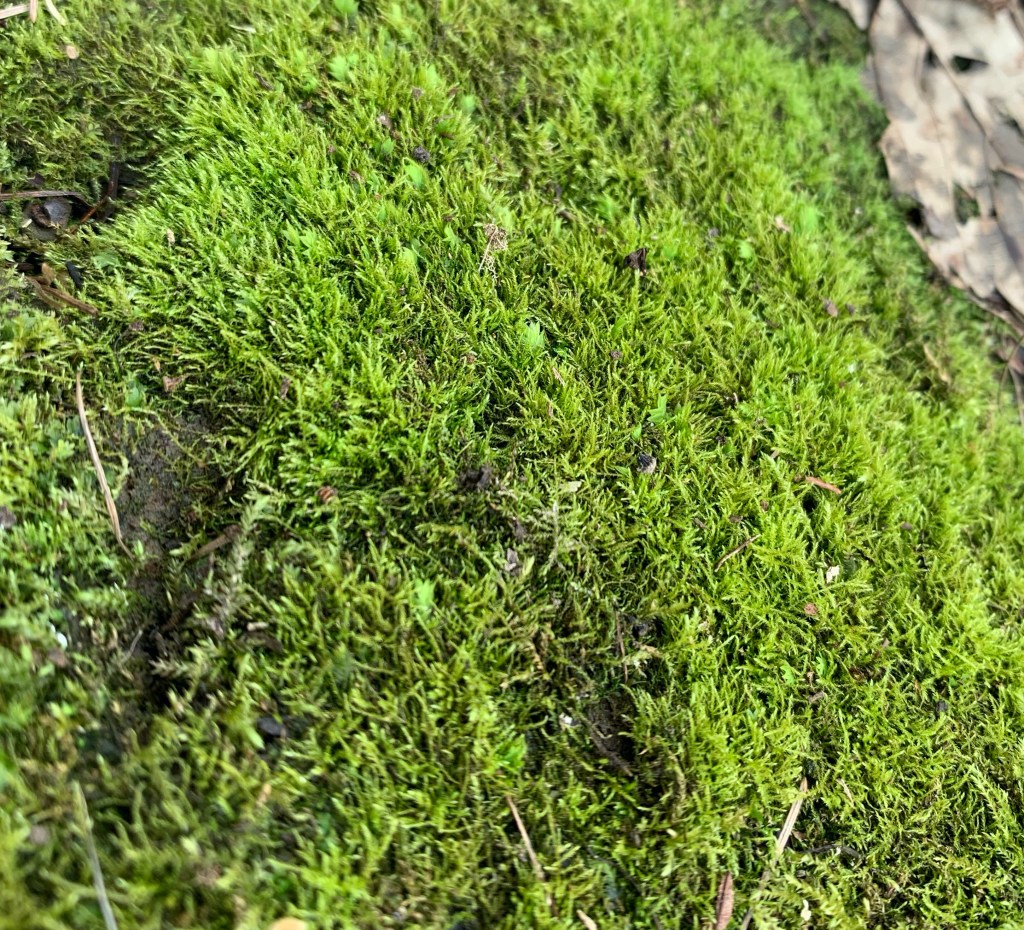
Moss can be used for many different activities and Seeley Copse has many varieties you can choose to focus on. You can use it as a identification task and get the children to identify different species of moss using a resource sheet, they could make different things with moss or they can investigate different physiological features of the different mosses then compare them with their peers. It is a common but interesting plant that children will also be able to find outside of Seeley Copse and can be an easy way to link the learning they did in the forest to some form of learning they can do in the classroom.

The National Curriculum (Department for Education, 2013) does not specifically comment on moss however some aspects of the Science program of study can be linked to Moss, for example Year 1 comments on plants and children being able to identify and name different wild and garden plants, it can also be linked to Year 2 in both living things and their habitats and plants sub-sections. There is also links in Year 3 and 4. None in Year 5 however.

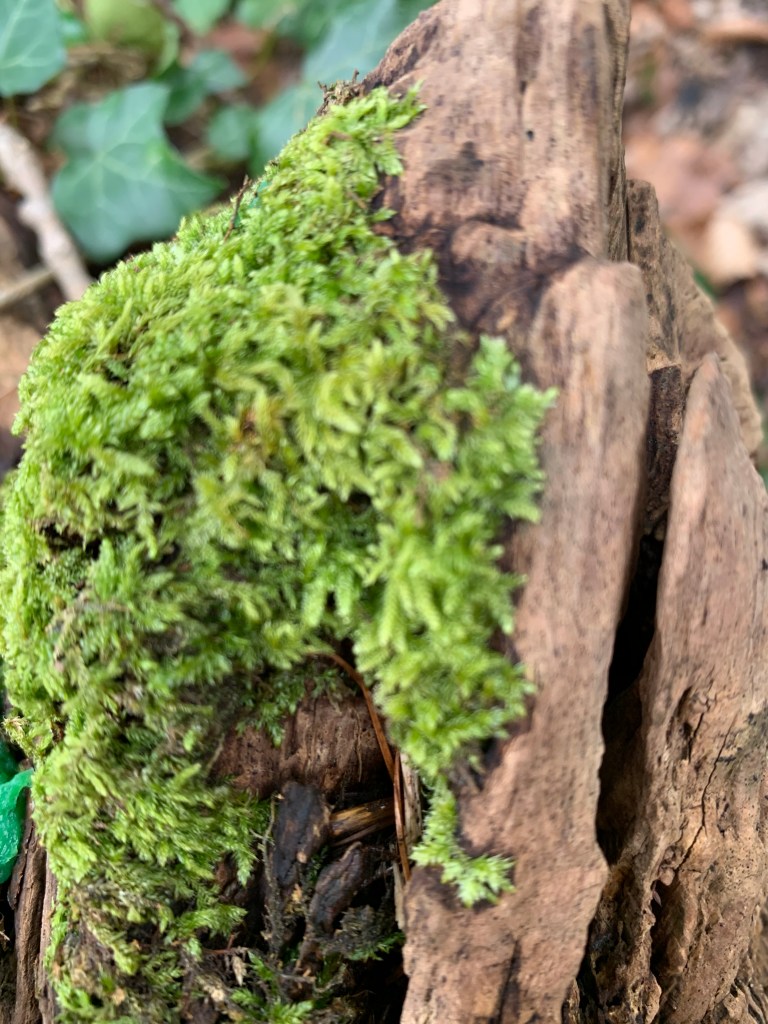
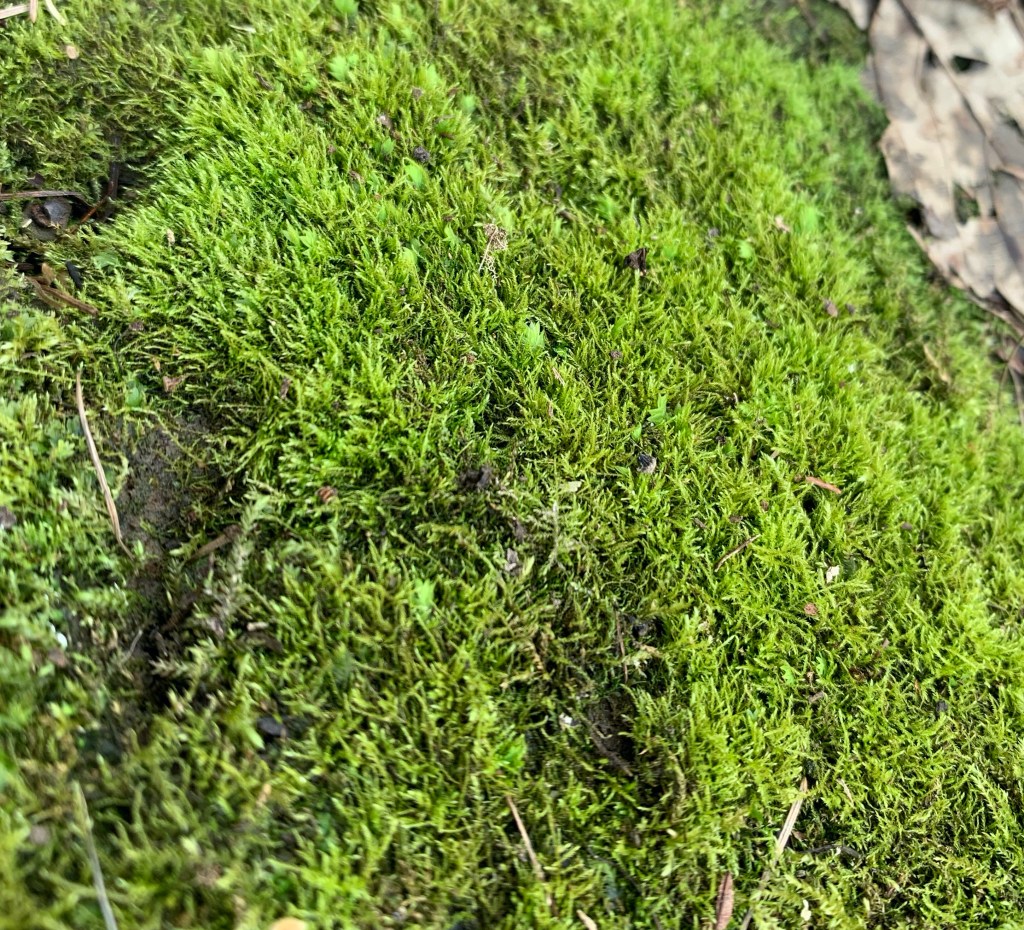
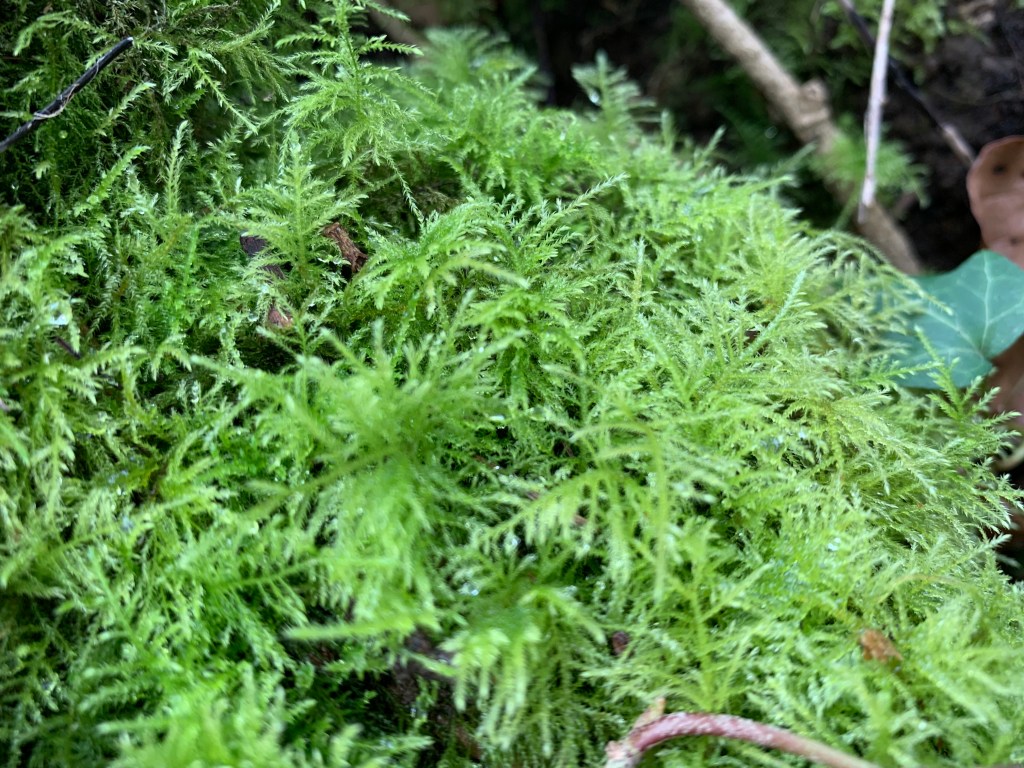
Here are some different facts about the Common tamarisk moss pictured above. – Its species name is Thuidium tamariscinum. – It can grow in mats spreading anywhere from 5 to 25cm across. – Common on damp ground, trees and rotting wood(Lewthwaite 2018)). – It forms yellowish-green or dark green thick mats or tufts (Lewthwaite 2018)).

These are some generic moss facts: – Mosses do not have roots, Lewthwaite(2018) explains that they have leaves and stems but no true roots! – Mosses reproduce with spores, not seeds. -Moss mainly gets its nutrients from rainwater, fog, the sun and dew, not from the roots like common plants (because it doesn’t have the typical root) (Nierlich 2011). – Mosses are able to absorb a huge amount of water and are able to prevent soil erosion. (Softschools.com 2020) –
References -Lewthwaite, K (July 2018) Types of moss in the UK: what they are and where to find them Available at: https://www.woodlandtrust.org.uk/blog/2018/07/types-of-moss-in-the-uk/ (Accessed on 03.04.2020) – Nierlich K (2011) In the beginning… There was Moss Available at: http://iheartmoss.com/2011/11/in-the-beginning-moss/ (Accessed on 05.04.2020) – Softschools (2005-2020) Moss Facts Available at: https://www.softschools.com/facts/plants/moss_facts/504/ (Accessed on 03.04.2020)

Ash Dieback and what it means for our Ash trees

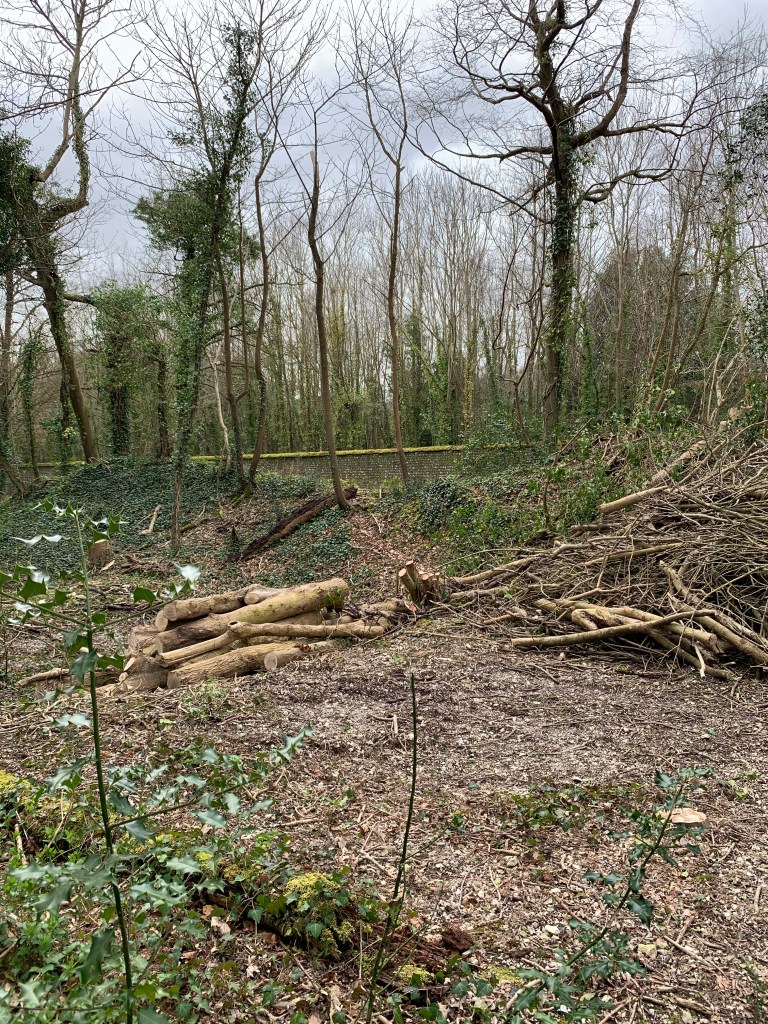
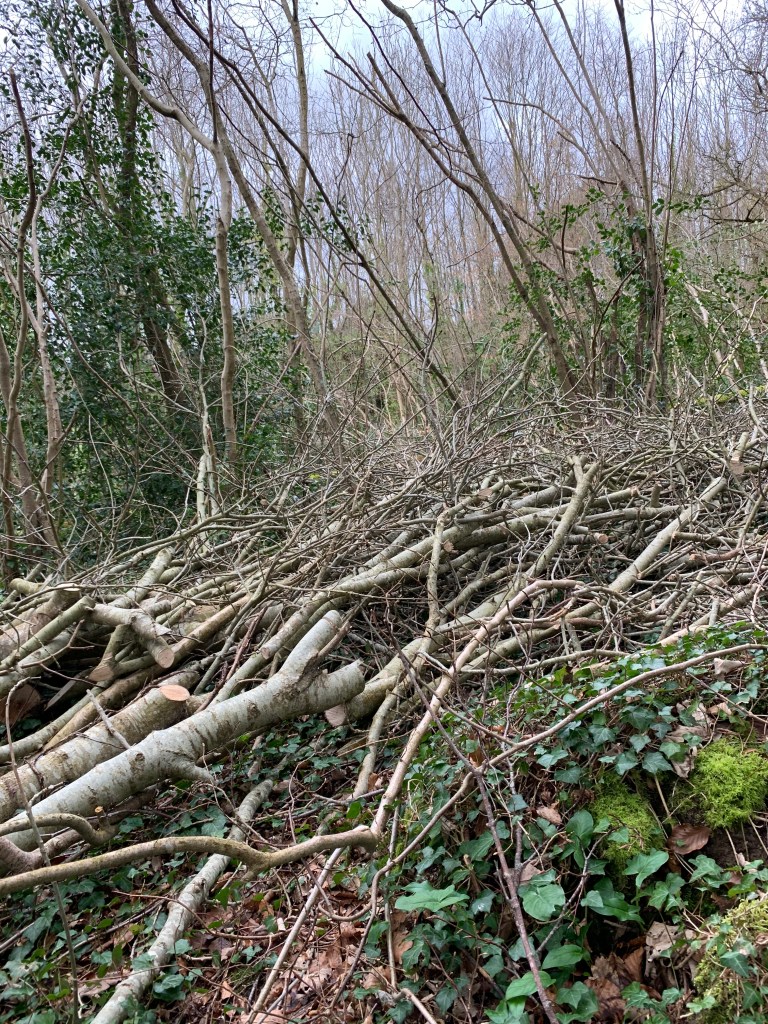
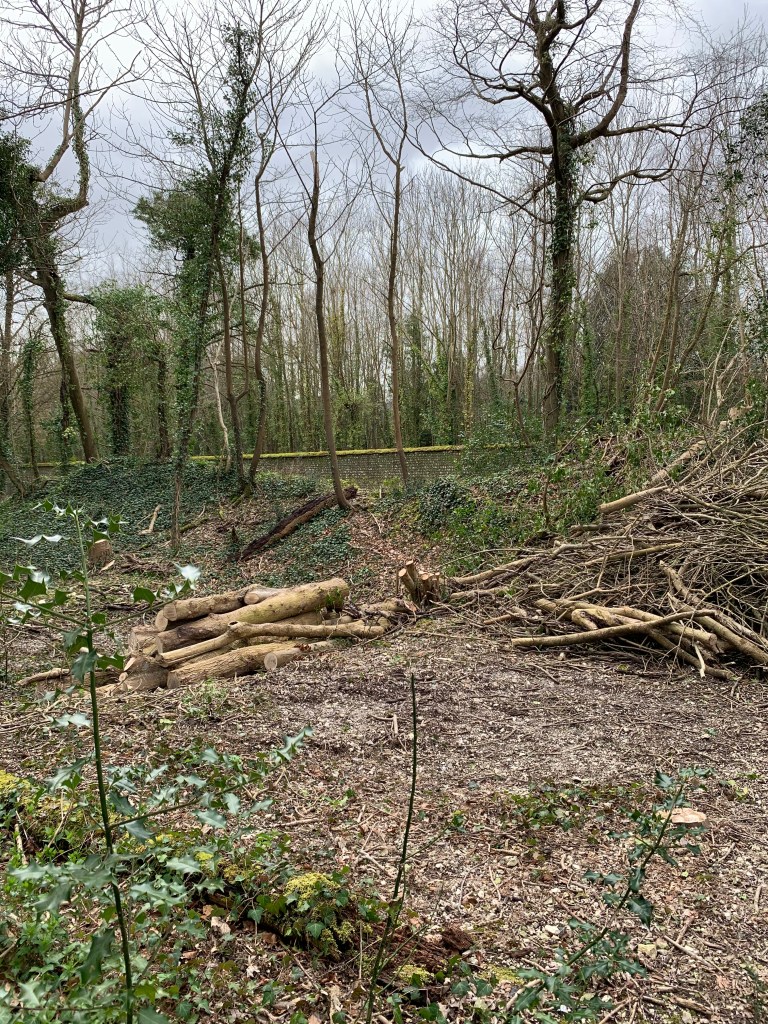
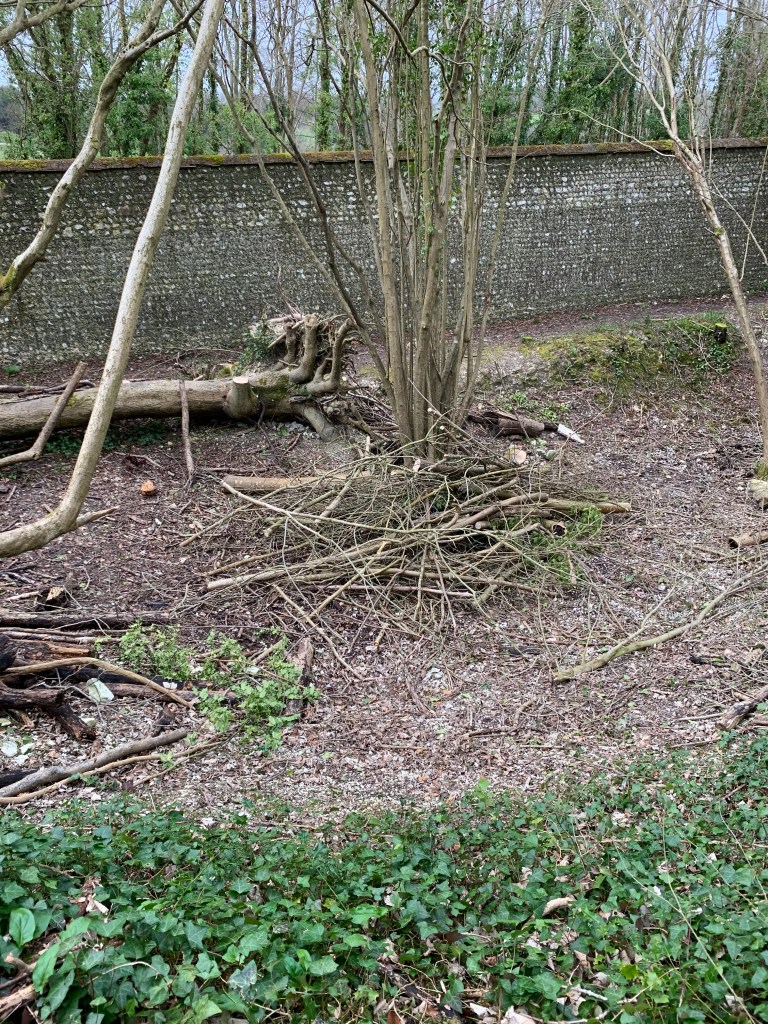
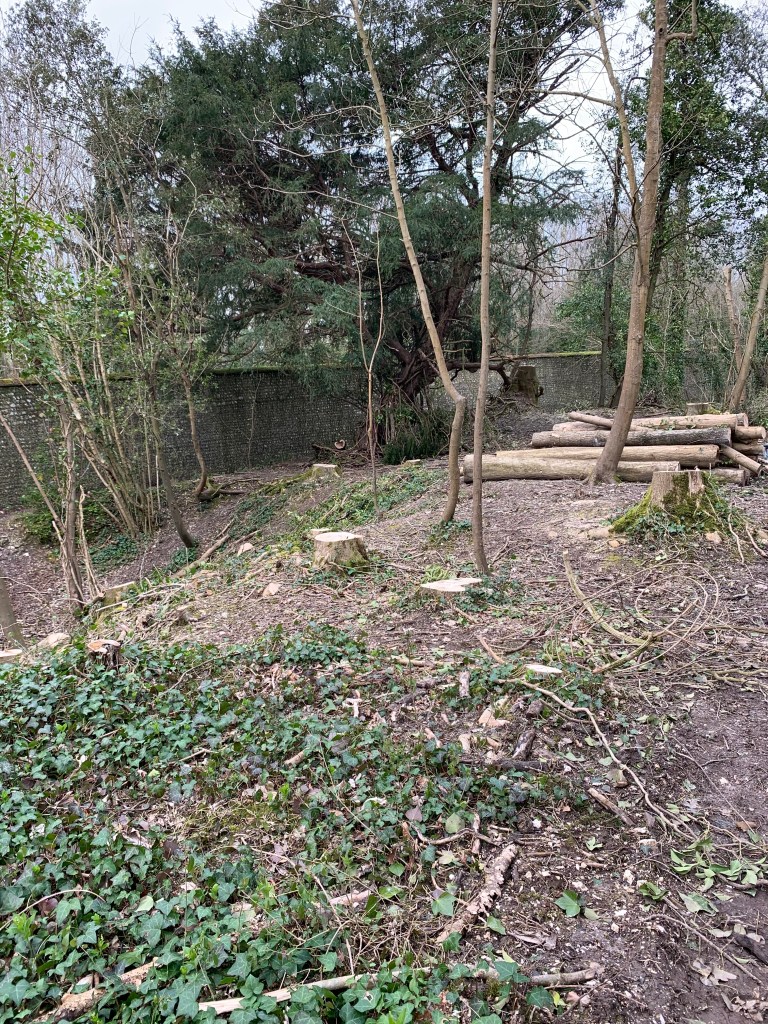
Seely Copse rangers have done what a lot of forest rangers are doing to protect the rest of the life systems in the forest.

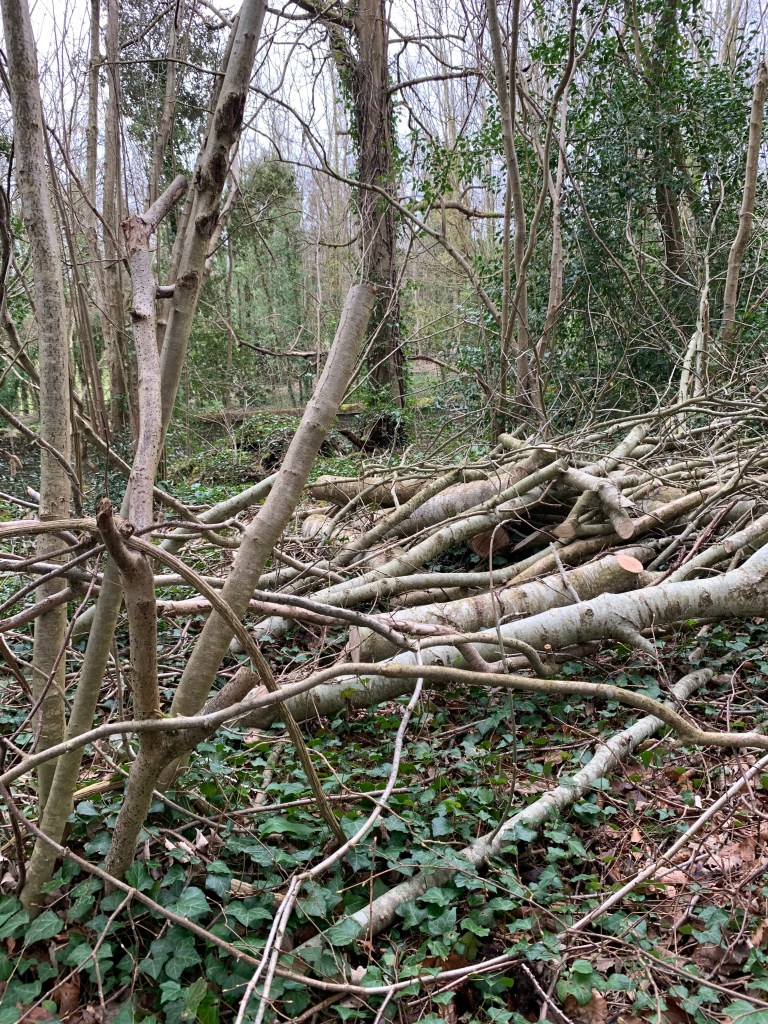
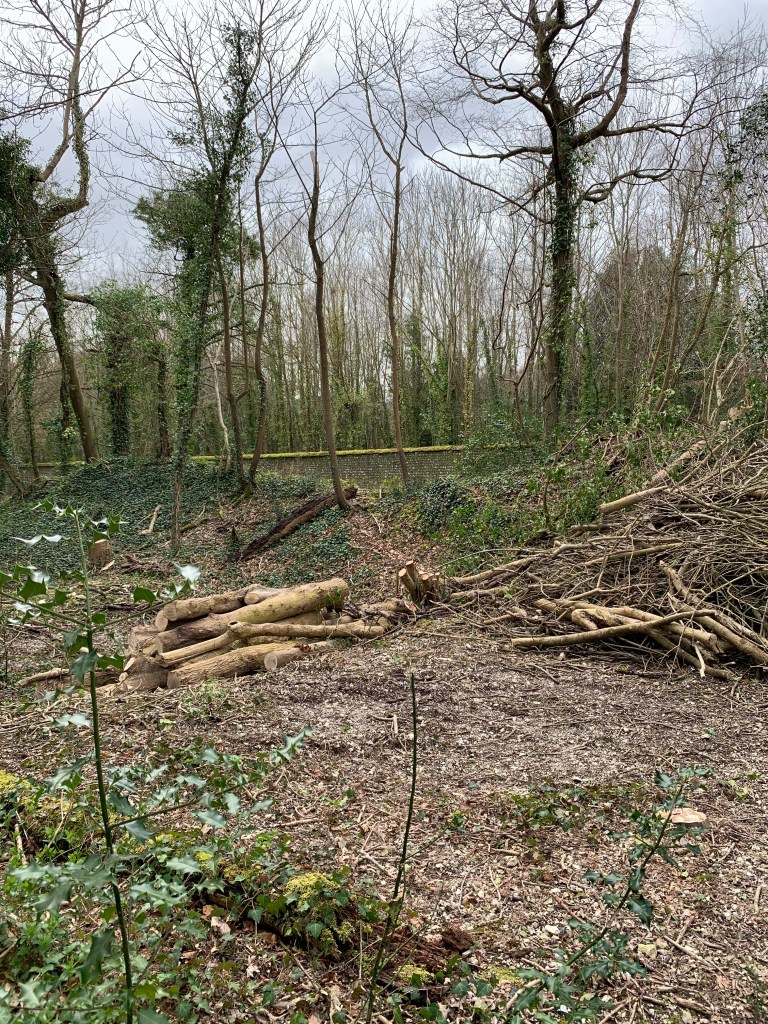
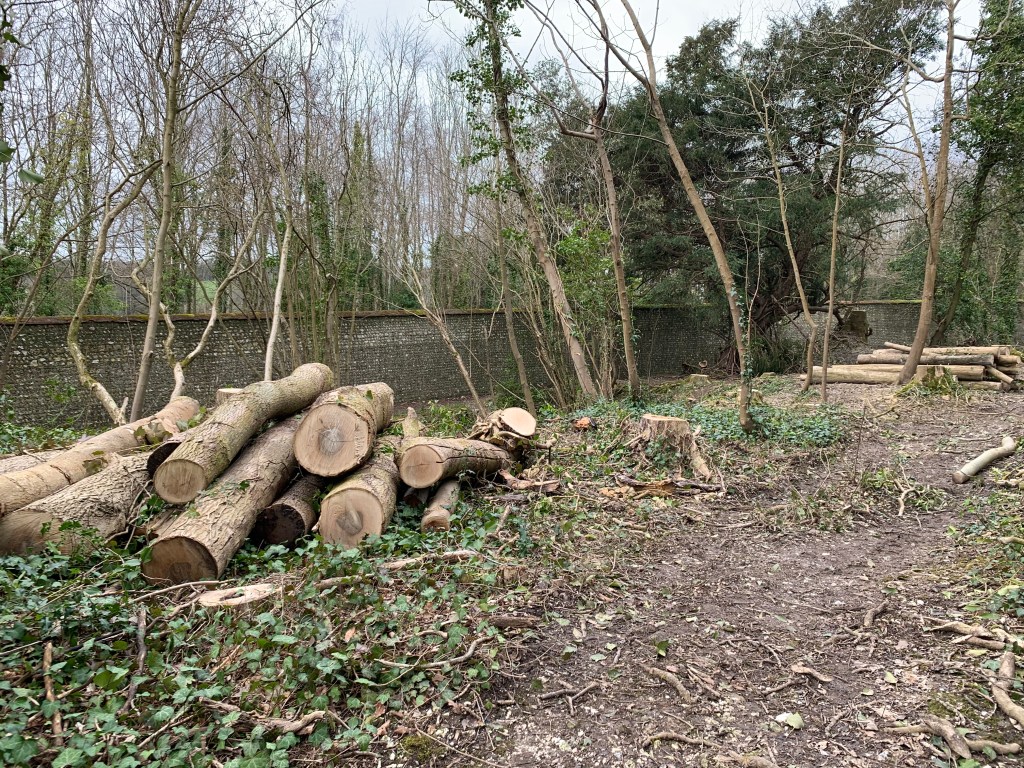
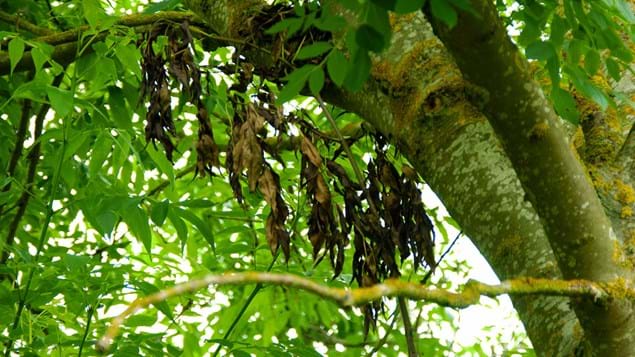
This is what the Ash population looks like in Seeley Copse

What is ash dieback and how does it effect the tree? According to The Woodland Trust it is a fungus that can kill up to 95% of the UK’s ash trees. Originally from Asia the host trees Manchurian and Chinese ash are not damaged as much as the European ash. The scientific name for ash dieback is Hymenoscyphus fraxineus. The fungus stays in the ash leaf litter on the ground and produces white “fruiting bodies” which release spores over the months of July and October. The spores land on the leaves of living trees and penetrate through the leaves and then it grows in the tree so big that it cuts off the water supply to the tree therefore killing it.

If it came from Asia, how did it get here? The way it got to the UK hasn’t been discovered however, the scientist believe that the winds carried the spores from one country to the next and continued until it got to the UK. However a more likely reason is imported saplings from Asia and other parts of Europe coming in to the UK and then planted in gardens across the UK. Once it was recognised we had infected trees coming in a ban was put in place in 2012.

What did the Seeley Copse rangers do? How can we stop it? Unfortunately there is nothing to save an infected tree. The rangers of Seeley Copse have made a decision similar to many other forest rangers and removed all of the Ash trees, healthy and infected to ensure it cannot spread to other life in the forest. It is expected that the UK will lose 95% of the ash trees and it can cost as much as £15 Billion to reverse the damage done to the biodiversity of the UK. The Woodland trust said: “The predicted cost of managing the diseases is high. It includes the practical expense of clearing up dead and dying trees, to the loss of its environmental services such as air purification.”

Reference: The Woodland Trust (no date) Ash Dieback Available at: https://www.woodlandtrust.org.uk/trees-woods-and-wildlife/tree-pests-and-diseases/key-tree-pests-and-diseases/ash-dieback/ (Accessed 09 March 2020)

FIRE

It may be scary but it is such a good teaching tool!
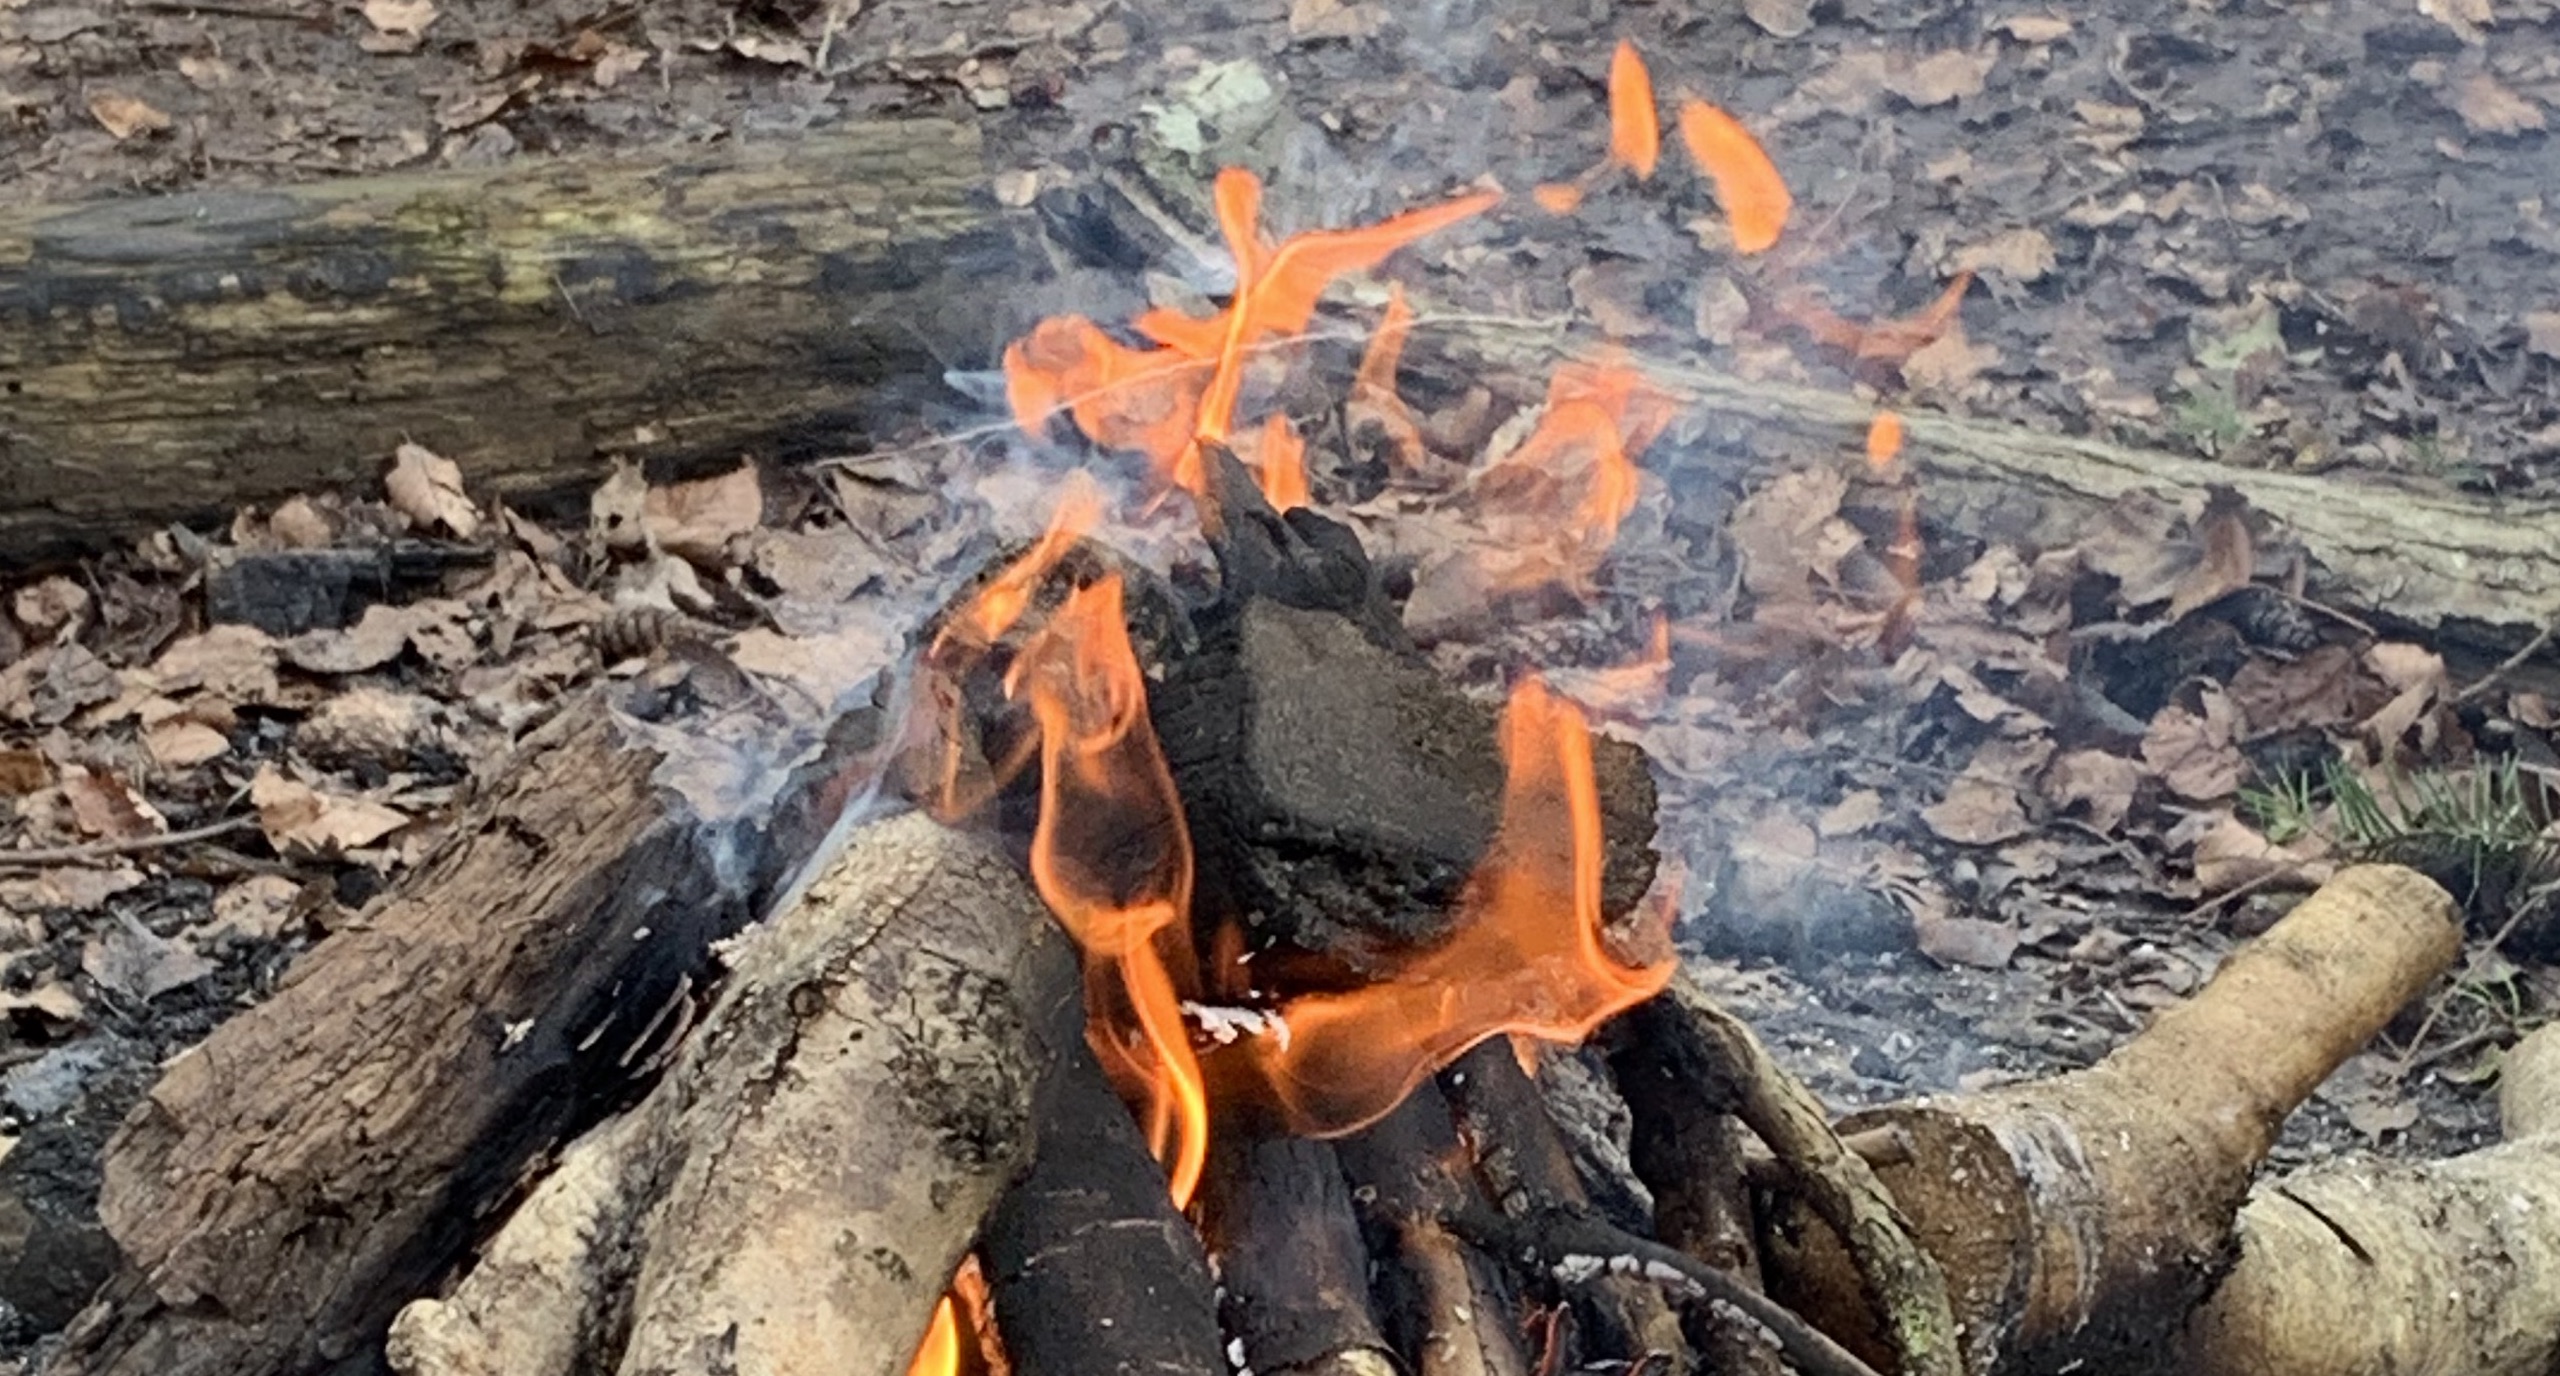
“Having the chance to be a close first-hand witness to the destructive nature of fire and heat adds to the children’s sense of awe at the power of this natural force”

(Rowe and Humphries 2004 p.30)

Fire is an exciting way to introduce children to many different parts of science and make a connection with the outdoors. Not only does fire introduce children to science it also provides their imagination and experiences with new opportunities.

Most children in this generation do not get to explore the outdoors as much as generations before them. Therefore the children may not have ever seen fire in real life, so when they get to be around it in forest schools it can ignite the excitement in the children. Hooking children in with the fairy blankets and troll bogeys teaches them whilst playing with their imagination.

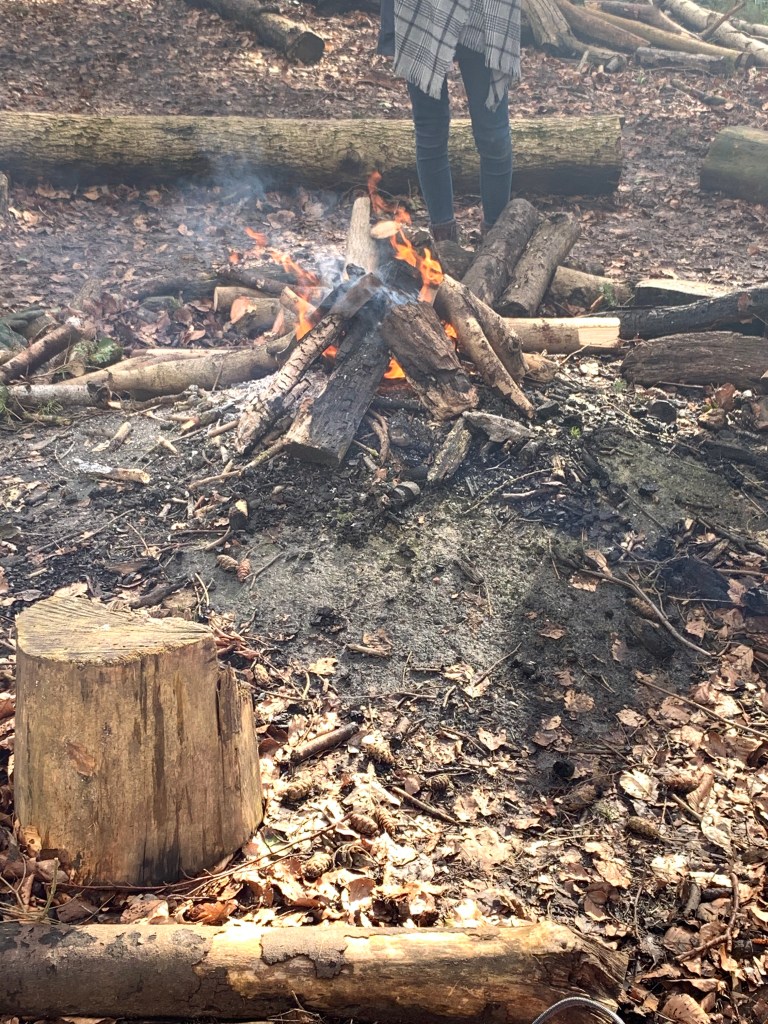
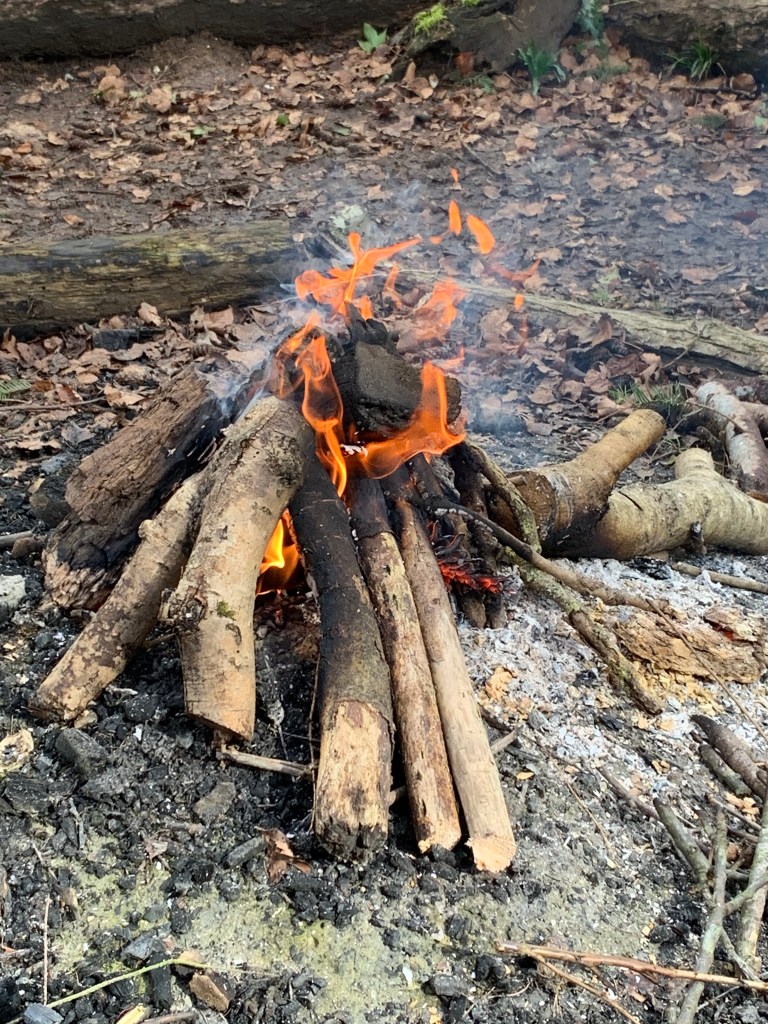
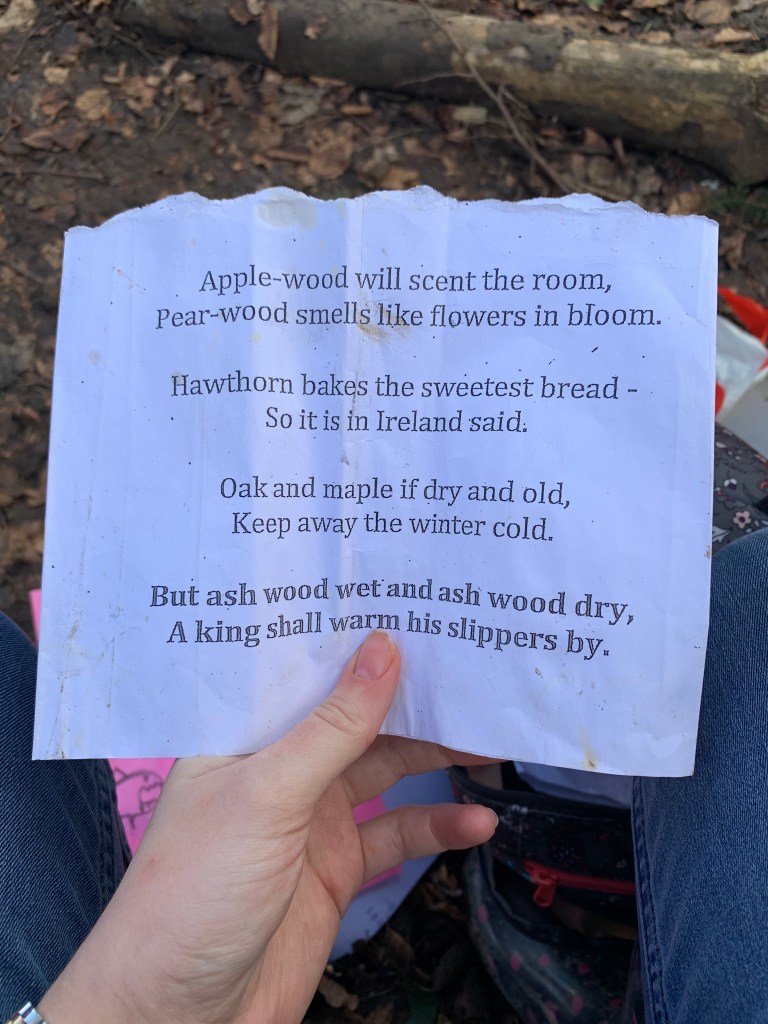
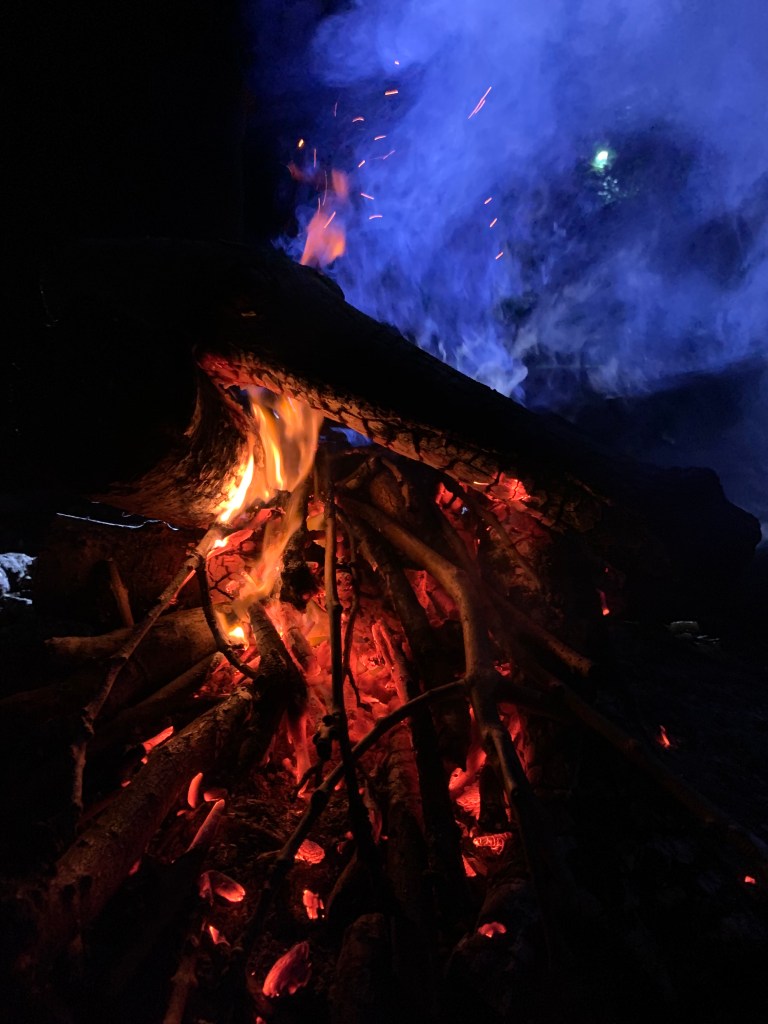
The topic of fire can lead to many different learning experiences, covering much of the curriculum. Forest school campfires are an amazing link to many different science subcategories. For example the children can develop their knowledge and understanding of fire itself, the fire triangle, what makes it burn brighter and faster, what makes it burn slower, different temperatures in different parts of the fire, how fires can be beneficial to the environment, how they are bad for the environment, all the uses for fire, smelting, mixing and making metal alloys then forming them into a mould and creating something new and many more topics. These are just links to the science curriculum, no matter the age if a child is around fire it is worth them knowing all of these things, even if it is at varying degrees of intensity.

The fire can also be used to explain chemical reactions, the importance of heat in reactions, the different ways different woods burn, and other fire related but not specific knowledge.

The Fire can also inspire learning back in the classroom. It can inspire the children to create writing masterpieces in English, the long History of the campfire, many different food recipes for either Food technology or Mathematics, the uses and stories about fire from different countries for Geography, the importance of fire in different religious stories for RE and inspire art work and designs in both Art and Design technology. All of the above just from an experience with a real campfire.

In the Forest the fire can be used for; cooking, there is many recipes that are designed to be made on a campfire. It can be used for smelting metals, allowing children to understand metal alloys and metal mixings and melting points and it can also be used to make different materials, we have made charcoal out of hazel wood, by taking the bark off of the wood itself then, putting it into a airtight container and then baking it on the fire and ink from Galls, from an Oak tree.

  • References
  • S.Rowe and S.Humphries (no date) ‘The Outdoor Classroom’ in M.Braund and M.Reiss (eds.) Learning science outside the classroom London: Routledge

Why is Seeley Copse a good place to teach Science?

Is teaching Science outside more beneficial than doing Science in the classroom?

There are so many thing you can teach about in the forest

McGlashan, Gasser, Dow, Hartney and Rogers have written a criteria for a ‘Good site’ for children to perform science outdoors, they state that a good site needs to be: safe, accessible, diverse and of a decent size. Seeley is all those things.

Seeley provides teachers with ample amounts of opportunities for teaching, science and other subjects. If you look at the post about FIRE there are many examples of lessons and teaching episodes that can be focused on fire, and fire is only a fraction of the resources that Seeley Copse can provide.

There are many ways Seeley Copse links to the National Curriculum Science program of study (PoS) (DfE, 2013 p.148-173) for example; – Identification of different plant and animal species links to many areas of Years 1, 2, 3 and 4 – The plants section of all years PoS have opportunities for them be introduced, learnt, expanded on and taught out in Seeley Copse – Fire and the uses for it (Blog post on it) can link to both working scientifically and different chemistry links – Spending time in the forest over a year period children could look into seasonal changes in a more concrete physical way. – A few different habitats of animals that link to the Y2 living things and their habitats are in Seeley Copse: “identify that most living things live in habitats to which they are suited and describe how different habitats provide for the basic needs of different kinds of animals and plants, and how they depend on each other” and “identify and name a variety of plants and animals in their habitats, including micro- habitats” (DfE, 2013, p.151). – Seeley Copse has different soil types in different sections which can link to Y3 rocks: “compare and group together different kinds of rocks on the basis of their appearance and simple physical properties” and “describe in simple terms how fossils are formed when things that have lived are trapped within rock” (DfE, 2013, p.158) – Links to classification in Y4 living things: “explore and use classification keys to help group, identify and name a variety of living things in their local and wider environment” (DfE, 2013, p.161) – Some trees in Seeley are removed for safety reasons and the people who do that can come in and talk to the children about it linking to Y4 PoS living things and their habitats : “recognise that environments can change and that this can sometimes pose dangers to living things.” (2013, p.161) – With the vast size of Seeley Copse the children could do an experiment relating to Sound in the Y4 Pos linking to “recognise that sounds get fainter as the distance from the sound source increases.” (DfE, 2013, p.163) – In Seeley Copse there are many examples where children can physically see “the life process of reproduction in some plants” (DfE 2013, p.168) from Y5 living things and their habitats – Thanks to the resources in Seeley Copse the Y6 all of the living things and their habitats objectives can be covered just using the natural resources and classifications of many different living things.

Seeley Copse is a definitely better place to teach certain areas of the science curriculum than the classroom, it allows children to not only have new experiences but also have concrete physical forms of the sometimes very abstract scientific concepts that they face, making it much more accessible for all abilities and ages.

Design a site like this with WordPress.com
Get started